How to Pull a Retroactive Building Permit in San Diego: A Step-by-Step Guide
Discovered unpermitted work on your property? Here’s exactly how to navigate San Diego’s retroactive permit process—and avoid common mistakes that cost thousands.
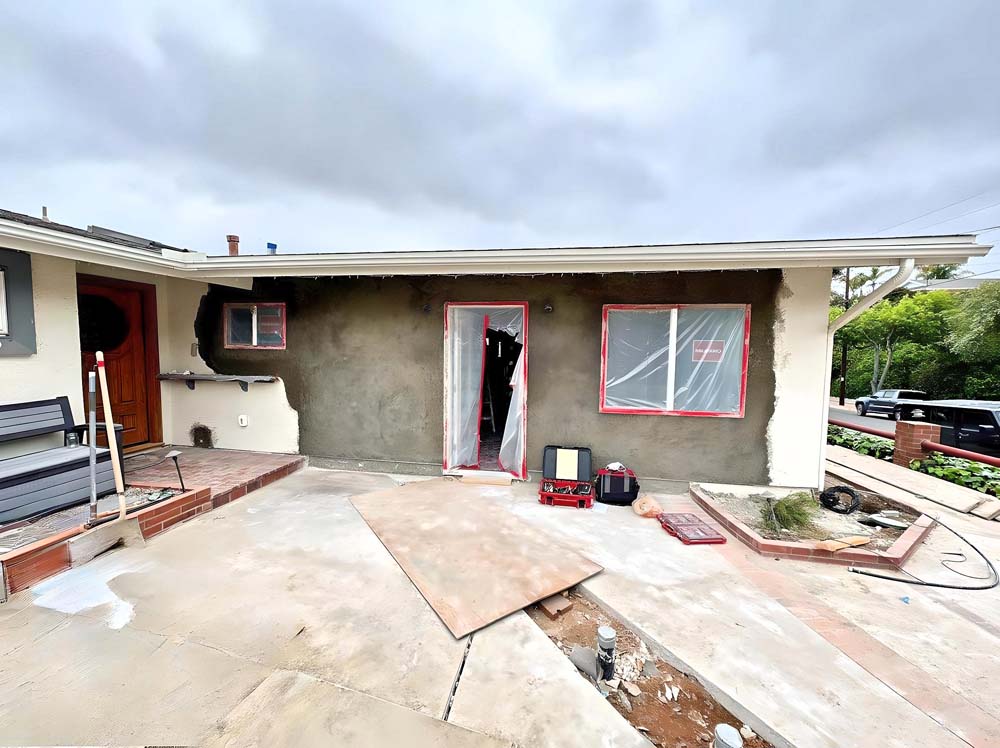
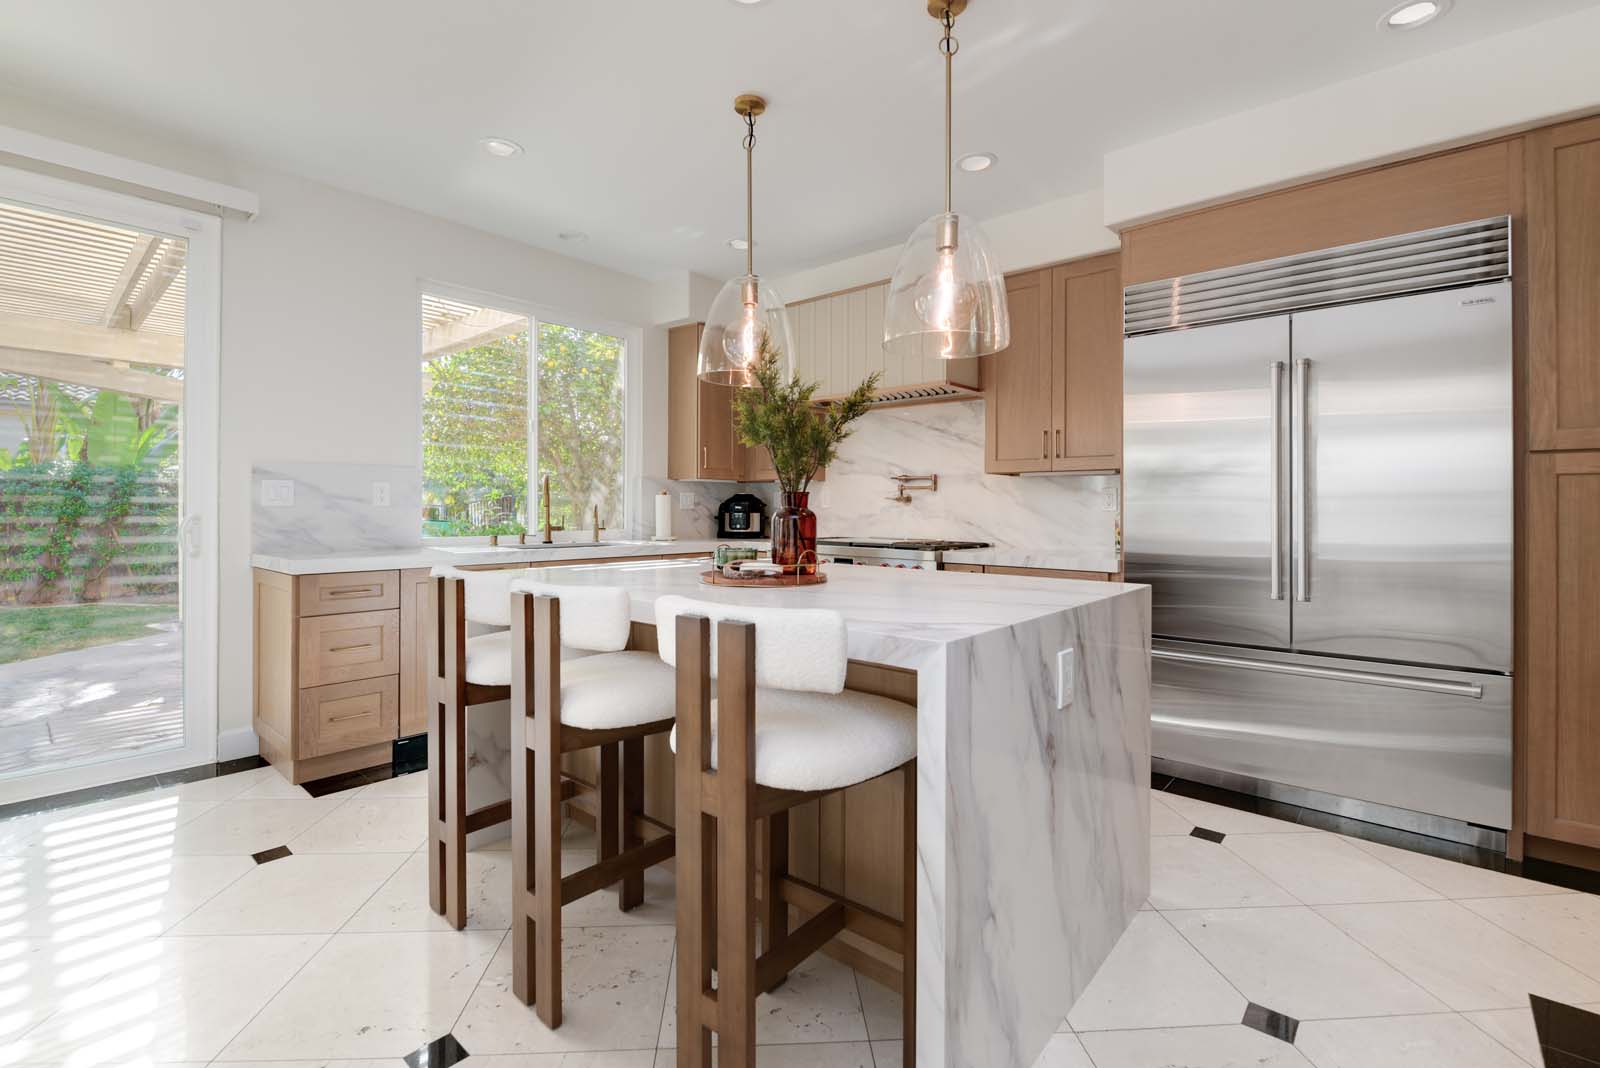
You’ve just discovered that your beautiful kitchen remodel, room addition, or converted garage was done without permits. Maybe you found out during a home inspection. Perhaps you received a code enforcement notice. Or you discovered it while planning new work. Now you need a retroactive permit—essentially asking the city for forgiveness rather than permission.
As specialists in resolving unpermitted construction throughout San Diego County, we’ve pulled hundreds of retroactive permits. While the process can be complex and frustrating, it’s absolutely doable if you know the steps, understand the requirements, and avoid the pitfalls that trap most homeowners. This guide walks you through the entire process.
Understanding Retroactive Permits
What Is a Retroactive Permit?
A retroactive permit (also called an “as-built permit”) legalizes work that was completed without proper permits. It’s not a simple rubber stamp—the city treats it as if you’re asking for permission today, meaning all work must meet current building codes, not the codes from when the work was done.
The Hard Truth About Retroactive Permits
- You must meet TODAY’S building codes, not past codes
- Penalties and fees often triple normal permit costs
- Inspectors need access to see hidden work (may require demolition)
- Some work simply cannot be legalized and must be removed
- The process typically takes 3-6 months minimum
When You Need a Retroactive Permit
- Selling your home (buyers/lenders will require it)
- Refinancing (appraisers flag unpermitted work)
- Code enforcement citation received
- Insurance claim denied due to unpermitted work
- Planning additional work that requires permits
- Rental property licensing requirements
Step 1: Document What You Have
Before approaching the building department, gather intelligence:
Research Existing Permits
Start online to see what’s already permitted:
City of San Diego:
- Visit: Development Services Department (DSD) website
- Search: Property Information Portal
- Find: All permits on record since 1990
- Cost: Free online
San Diego County (Unincorporated Areas):
- Visit: County Planning & Development Services
- Use: Permit History Search
- Coverage: Varies by area
- Note: Older permits may require in-person research
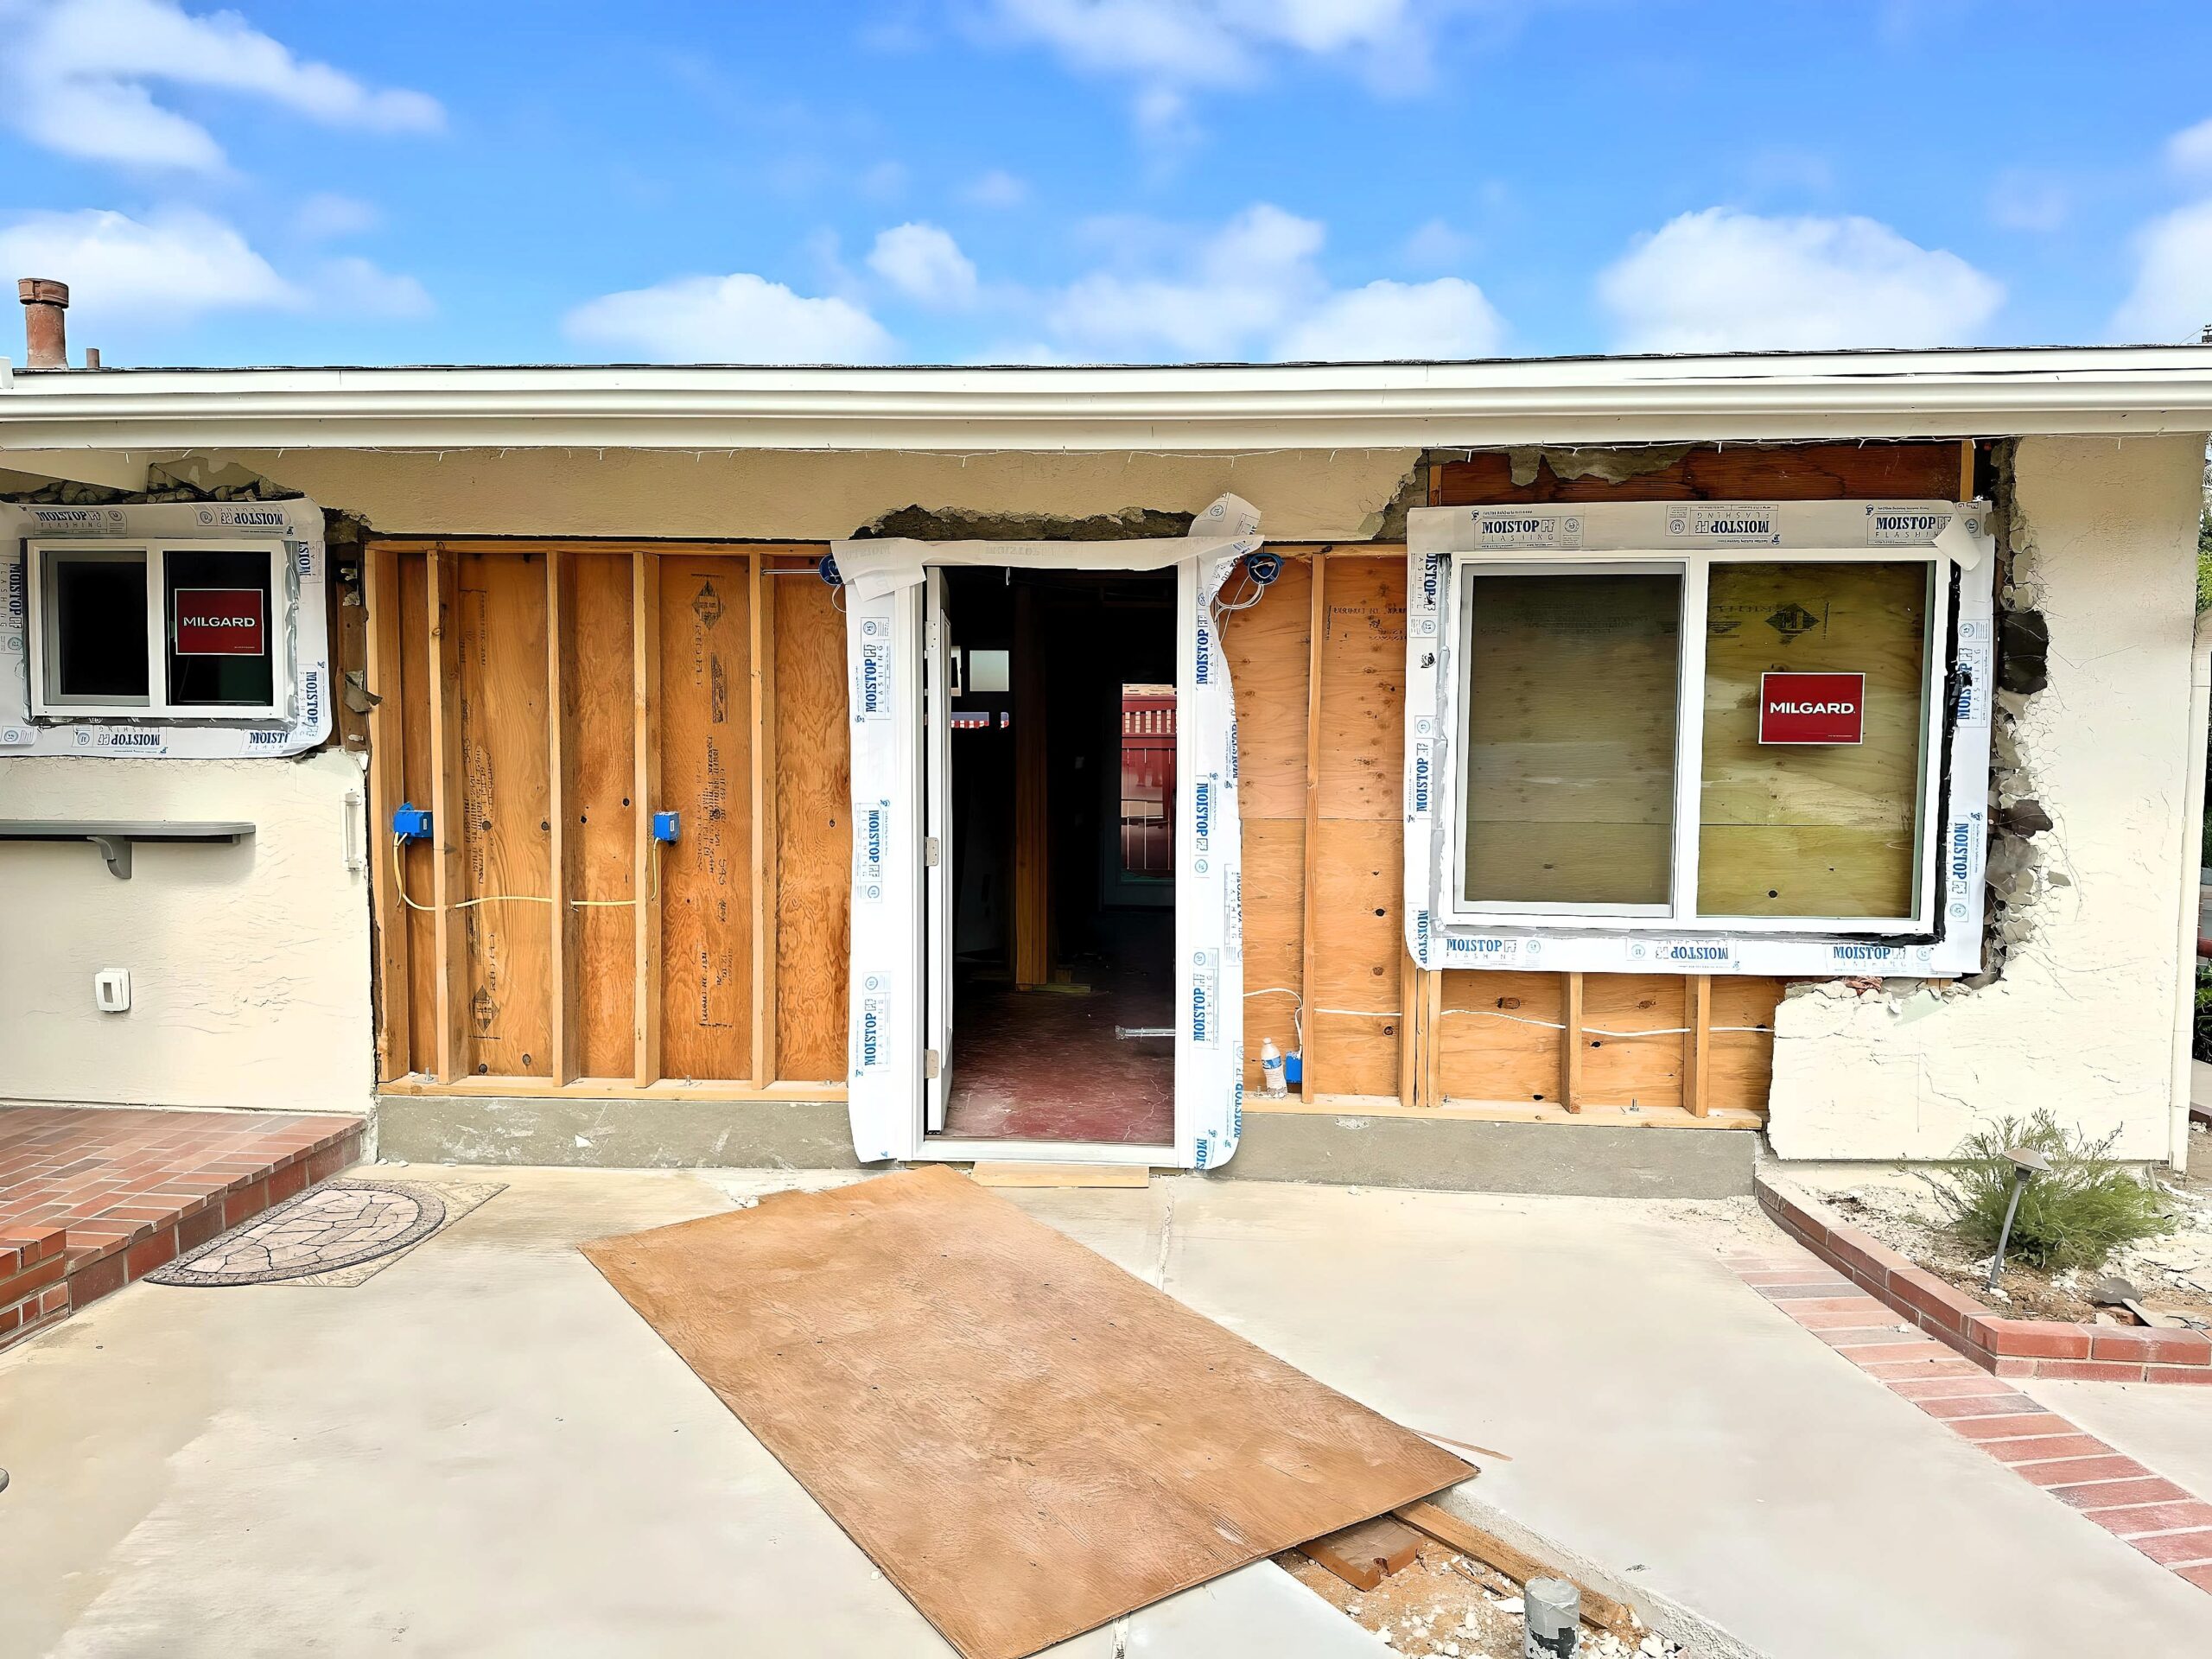
Document Current Conditions
Take extensive photos and measurements:
- Overall room/addition photos from multiple angles
- Close-ups of electrical, plumbing, HVAC work
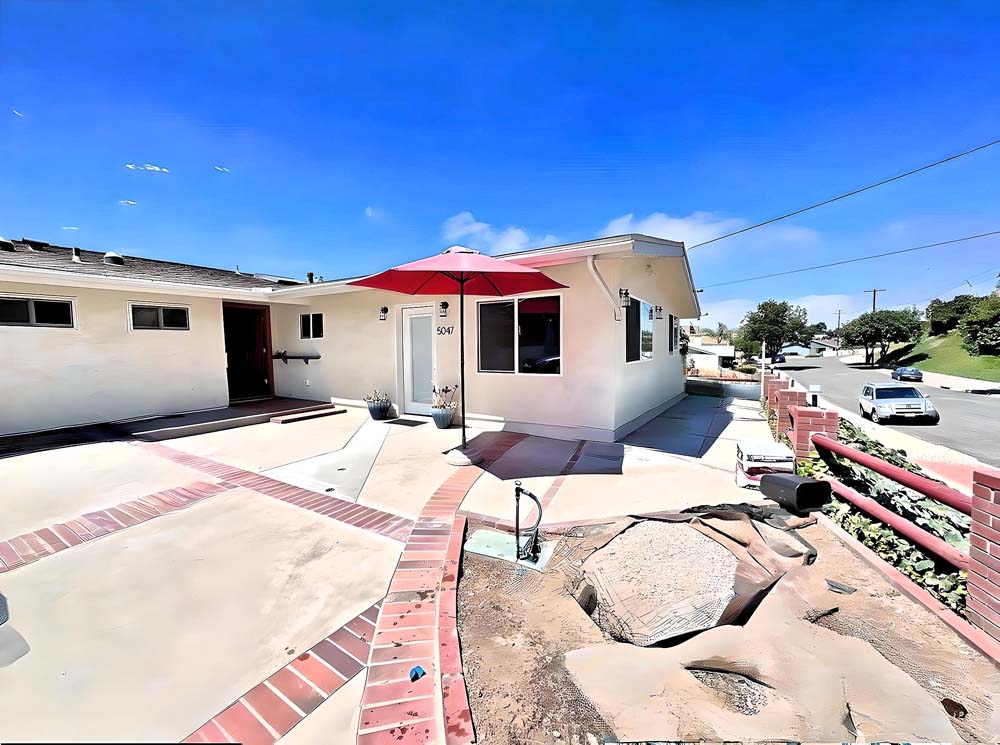
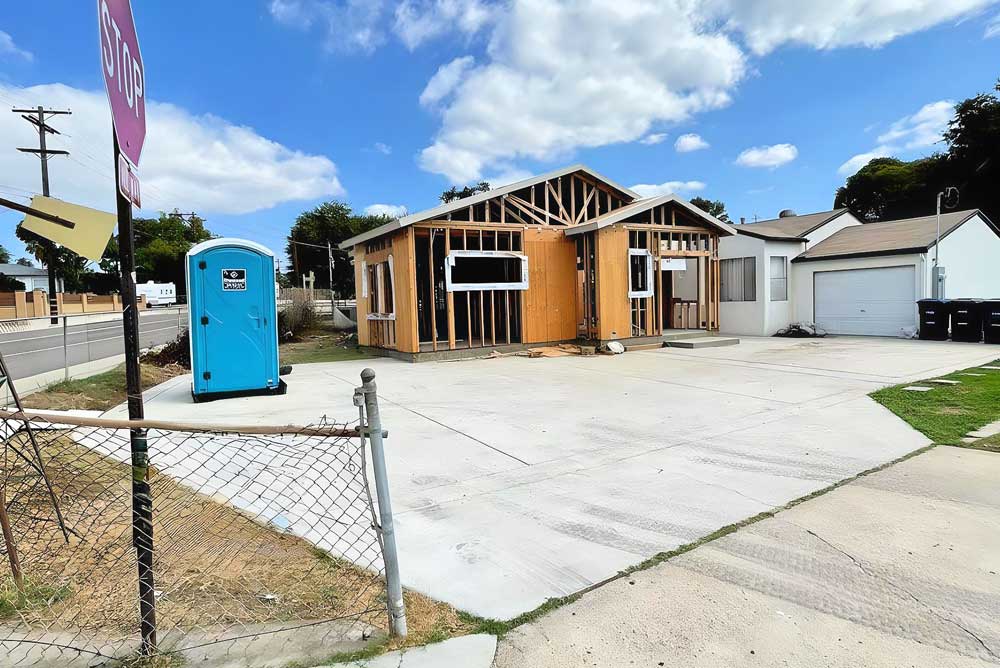
- Exterior shots showing setbacks and heights
- Foundation and structural elements visible
- Before photos if available (crucial evidence)
Identify Original Permitted Conditions
- Original blueprints (check with city archives)
- Real estate listings showing square footage over time
- Old MLS photos showing previous layout
- Property tax records indicating additions
- Satellite imagery showing construction dates (Google Earth historical view)
Step 2: Assess If Legalization Is Possible
Not all unpermitted work can be legalized. Check these deal-breakers:
Setback Violations
Measure distance from structures to property lines:
- Front setback: Usually 20-25 feet
- Side setback: Typically 4-10 feet (varies by zone)
- Rear setback: Often 10-20 feet
If your addition violates setbacks, you’ll need a variance (difficult and expensive) or must demolish.
Lot Coverage Exceeded
San Diego limits how much of your lot can be covered:
- Single family residential: Usually 50-60% maximum
- Calculate: (Building footprint + garage + covered patios) ÷ lot size
- Over the limit? Legalization may be impossible
Ceiling Height Requirements
- Habitable spaces: 7’6″ minimum
- Bathrooms/kitchens: 7’0″ acceptable
- Garages converted to living: 7’6″ required
- Below minimum? Major structural work needed
Parking Requirements
- Single family: Usually 2 covered spaces required
- Converted garage? Must replace parking
- No room for parking? Variance required (rarely granted)
Easements and Utilities
- Check title report for easements
- Structures can’t be built over utility easements
- Sewer/water lines under addition? Big problem
Step 3: Hire the Right Professionals
Option A: Do It Yourself (Not Recommended)
Technically, homeowners can pull their own permits, but for retroactive permits:
- Building departments are less helpful to homeowners
- Mistakes trigger expensive revision cycles
- You’re personally liable for code compliance
- Inspectors are tougher on owner-builders
Option B: Hire a Permit Expediter ($2,000-$5,000)
Expediters specialize in permit processing:
- Know the reviewers and processes
- Catch problems before submission
- Navigate bureaucracy efficiently
- Can’t sign off on technical drawings
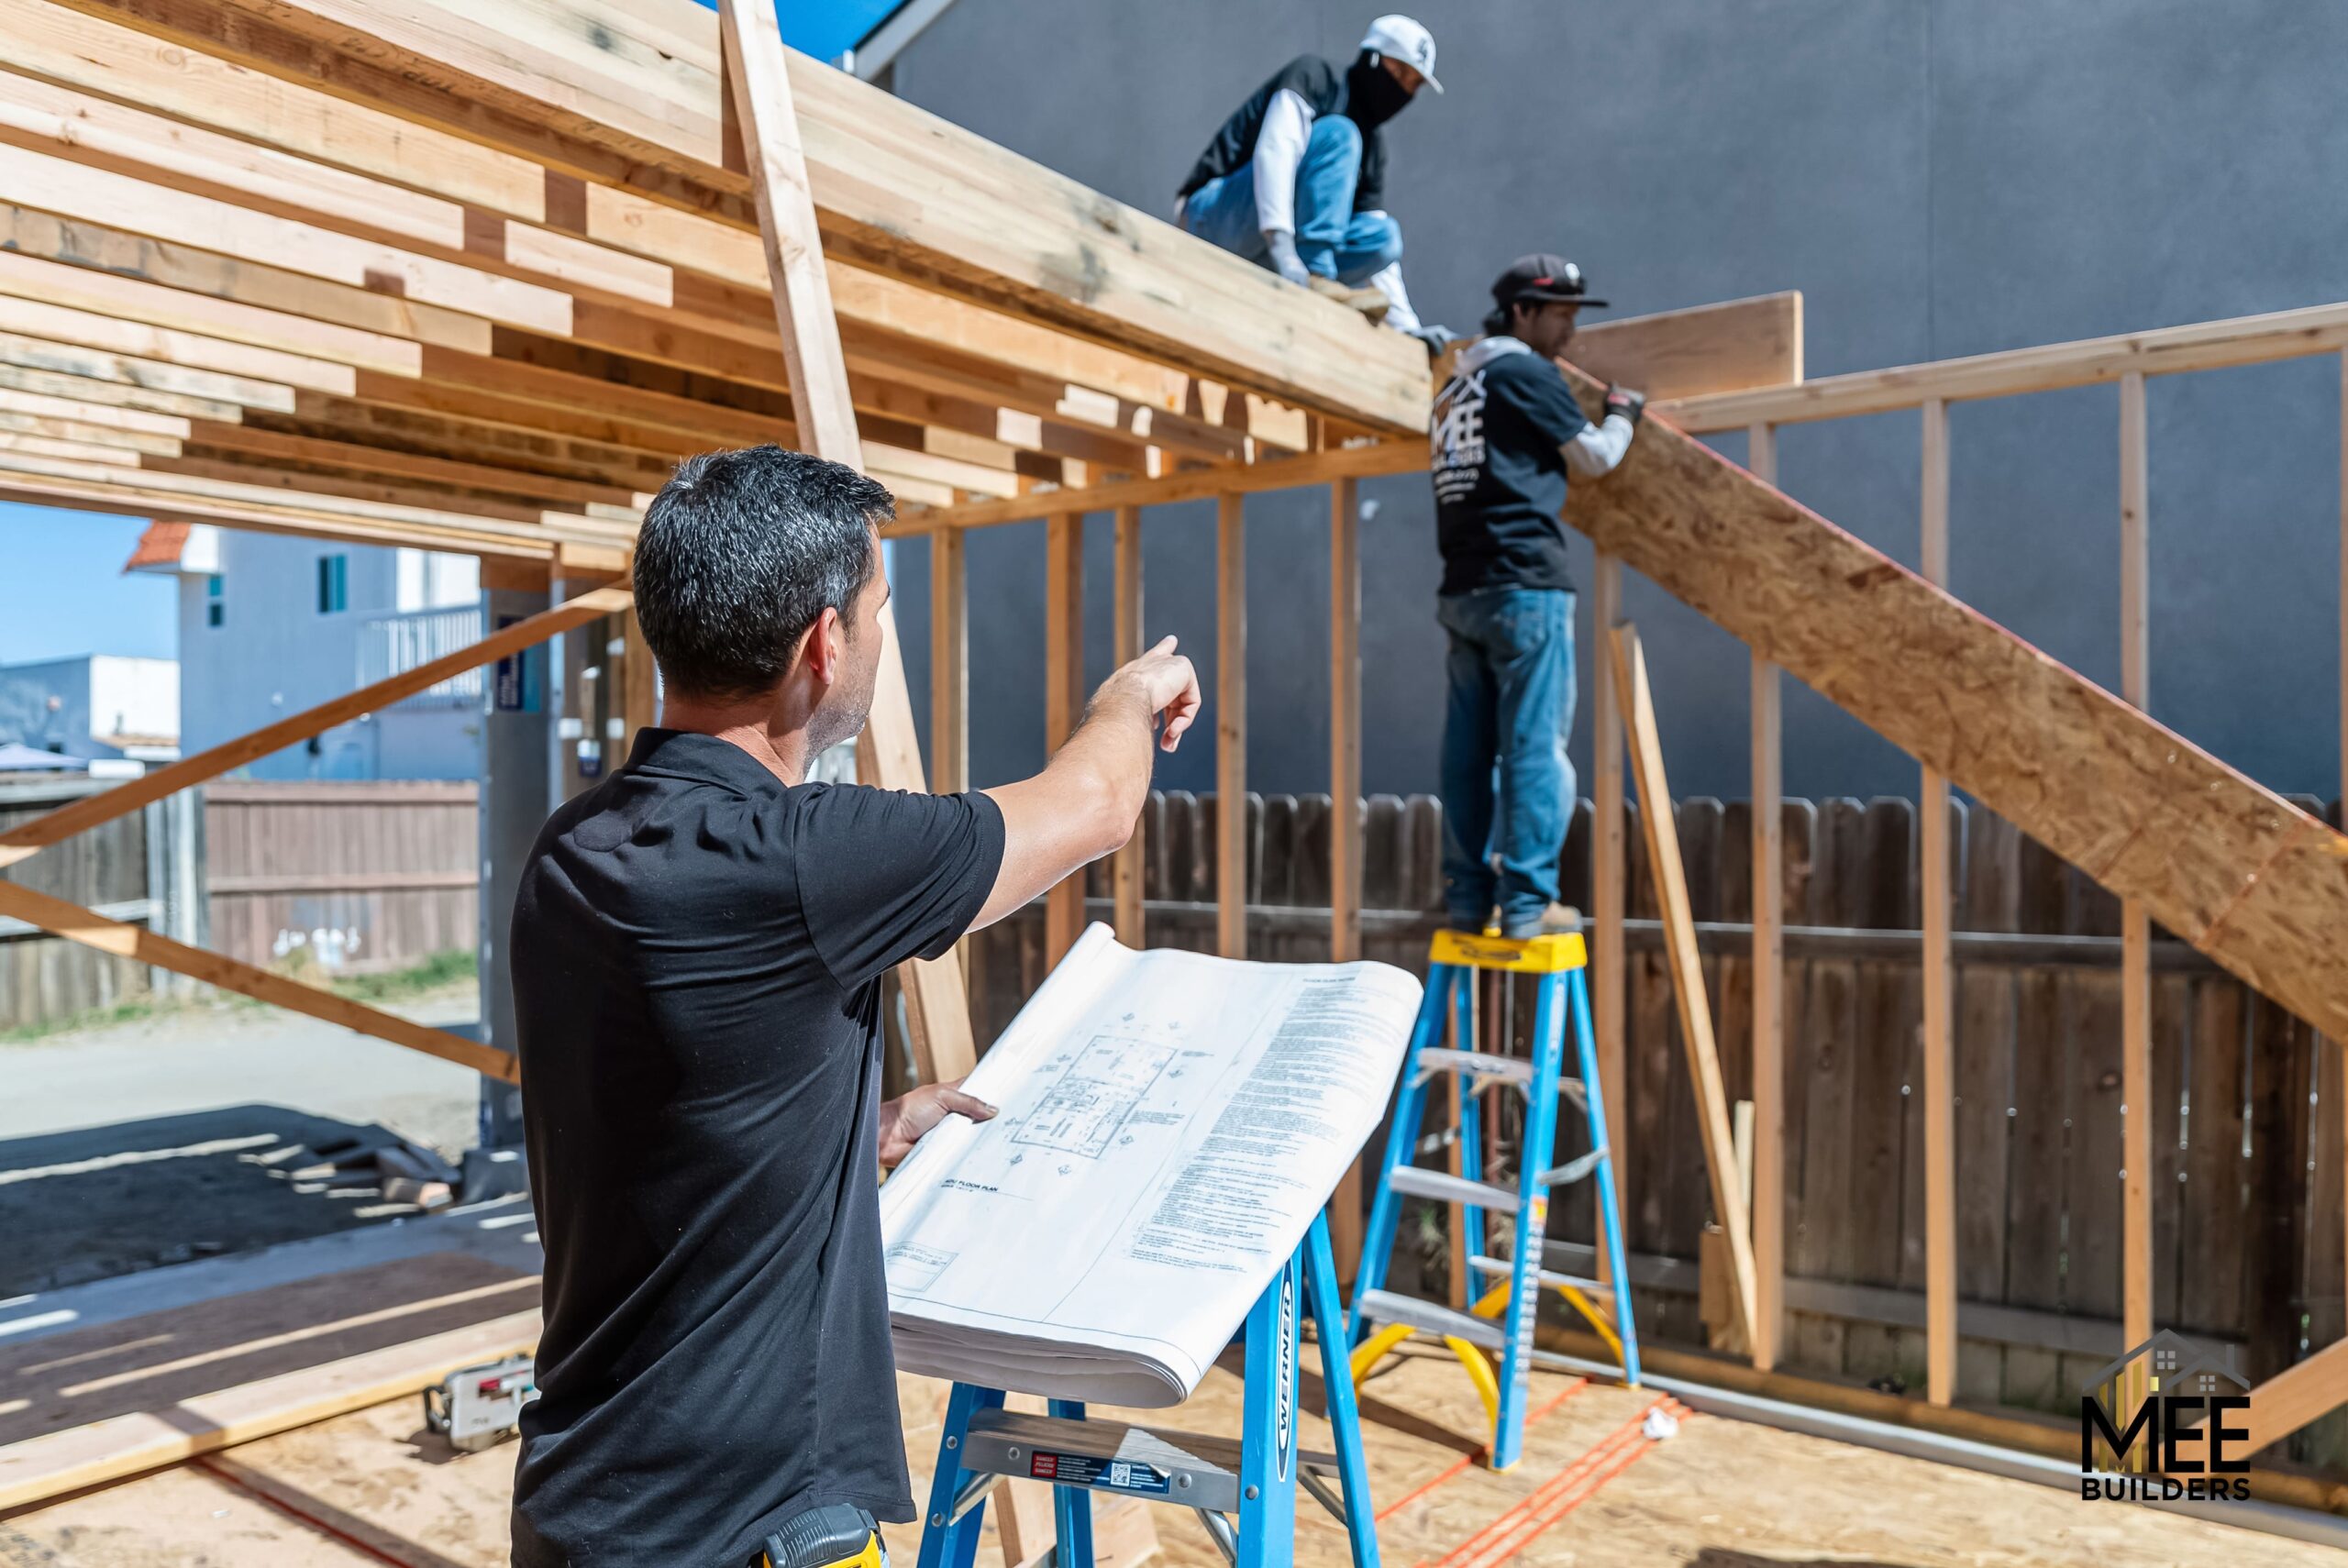
Option C: Licensed Contractor (Recommended)
General contractors like MEE Builders can:
- Pull permits under their license
- Take liability for code compliance
- Handle inspections and corrections
- Actually perform required work
Required Professionals:
Architect or Designer ($2,000-$5,000)
- Create as-built drawings
- Develop code-compliant solutions
- Stamp plans (if required)
Structural Engineer ($1,500-$3,500)
- Evaluate existing structure
- Calculate loads and stresses
- Design reinforcements needed
- Required for most additions
Title 24 Consultant ($500-$1,500)
- Energy compliance calculations
- Required for conditioned space
- Prescriptive vs. performance methods
Step 4: Prepare Your Submittal Package
Required Documents for San Diego:
1. Permit Application
- Form DS-3031 (Building Permit Application)
- Owner Authorization (if contractor pulls)
- Worker’s Compensation declaration
2. As-Built Plans (4 sets typically)
- Site plan with setbacks
- Floor plans (existing and proposed)
- Electrical plan
- Plumbing plan (if applicable)
- Foundation plan
- Framing details
- Cross-sections showing heights
3. Structural Calculations
- Load calculations
- Foundation adequacy
- Lateral force analysis (seismic/wind)
- Beam and header sizing
4. Title 24 Energy Compliance
- CF1R forms
- Envelope compliance
- Mechanical compliance
- Lighting compliance (if applicable)
5. Special Reports (if required)
- Soils report
- Truss calculations
- Property survey
Pro Tips for Plan Preparation:
- Show EVERYTHING—hidden work becomes violations later
- Highlight code-compliant features prominently
- Include photos of existing conditions
- Add notes explaining prior construction methods
- Reference original permits where possible
Step 5: Submit and Navigate Plan Review
The Submission Process:
Online vs. In-Person:
- San Diego offers online submittals (faster)
- Complex retroactive permits benefit from in-person discussion
- Meet the reviewer to explain unique situations
What Happens at Plan Check:
- Intake Review (Day 1): Basic completeness check
- First Review (Weeks 2-4): Multiple departments review
- Corrections Letter (Week 4-5): List of required changes
- Resubmittal (Week 6-7): Address all comments
- Second Review (Weeks 8-10): Verify corrections
- Approval or More Corrections (Week 10-12)
Common Plan Check Corrections:
Building Department:
- “Provide smoke detector locations”
- “Show safety glass in windows near doors”
- “Verify ceiling heights in all rooms”
- “Add ventilation calculations”
Electrical Department:
- “Show all outlets and switches on plan”
- “Provide electrical load calculations”
- “Add GFCI/AFCI protection as required”
Plumbing Department:
- “Verify water heater strapping”
- “Show gas pipe sizing calculations”
- “Add backflow preventer location”
Fire Department:
- “Increase address numbers visibility”
- “Show fire extinguisher locations”
- “Verify emergency egress windows”
Strategies for Faster Approval:
- Address ALL comments, even minor ones
- Provide more detail than requested
- Include code references for solutions
- Build relationships with reviewers
- Consider hiring reviewer’s recommended consultants
Step 6: Pay Fees and Pull the Permit
Understanding the Fee Structure:
Base Permit Fees:
- Calculated on construction valuation
- San Diego uses Building Valuation Data (BVD) table
- Example: $50,000 valuation = ~$1,500 base fee
Plan Check Fees:
- Typically 65% of building permit fee
- Separate fees for electrical/plumbing/mechanical
Penalty Fees (The Expensive Part):
- Investigation fee: $500-$1,000 minimum
- Penalty: 2x to 6x normal permit fees
- Based on how long ago work was done
- Can negotiate if voluntary compliance
Additional Fees:
- School fees: ~$4 per square foot
- Drainage fees: Varies by area
- Sewer capacity: $2,000-$5,000 for bathrooms
- Fire fees: If in special districts
Payment Strategies:
- Request penalty reduction (if voluntary)
- Pay in phases if allowed
- Appeal excessive penalties
- Some fees defer to property tax bill
Step 7: Prepare for Inspections
The Challenge with Retroactive Permits:
Inspectors need to verify work that’s already covered. You must expose:
Electrical:
- One outlet per room (minimum)
- Panel connections
- GFCI/AFCI devices
- Grounding system
Plumbing:
- Under-sink connections
- Water heater installation
- Gas connections
- Vent terminations
Framing:
- Cut inspection holes in drywall
- Expose connections to house
- Show foundation bolting
- Verify insulation
Foundation:
- May require excavation
- Verify depth and reinforcement
- Check moisture barriers
Inspection Strategy:
Schedule Pre-Inspection Meeting
- Walk through with inspector
- Agree on what needs exposure
- Understand specific concerns
Open Only What’s Required
- Strategic holes minimize repairs
- Use access panels where possible
- Document everything exposed
Fix Issues Immediately
- Have electrician/plumber on standby
- Address violations same day
- Avoid re-inspection fees
Common Inspection Failures:
- Missing fire blocking in walls
- Improper electrical connections
- Inadequate ventilation
- Missing moisture barriers
- Incorrect joist hangers
- No separation from garage
Step 8: Handle Corrections and Final Approval
When Things Don’t Pass:
Expect corrections—it’s normal. Common required fixes:
Minor Corrections (Fix immediately):
- Add smoke detectors
- Install GFCI outlets
- Strap water heater
- Add insulation
- Improve ventilation
Major Corrections (Expensive surprises):
- Sister floor joists (undersized)
- Underpin foundation (inadequate)
- Rebuild to meet setbacks
- Add shear walls (seismic)
- Replace electrical panel
The Correction Notice Response:
Don’t Argue at Inspection
- Document inspector’s comments
- Ask for code references
- Request clarification if unclear
Review With Your Team
- Some corrections are negotiable
- Alternative solutions may exist
- Code allows equivalencies
Appeal If Necessary
- Request supervisor review
- Provide code documentation
- Suggest alternatives
- Hire third-party review
Final Approval Process:
- All trades pass inspection
- Building final completed
- Permit card signed off
- Certificate of Occupancy issued (if applicable)
- Notice of Completion recorded
Special Situations and Strategies
If Code Enforcement Is Involved:
- Shorter deadlines (30-90 days typically)
- Higher penalties (non-negotiable)
- Must maintain communication
- Extensions possible with progress
- Legal consequences if ignored
For Real Estate Transactions:
- Escrow companies hold permits
- Buyers may demand completion
- Credits often better than completing
- Disclose everything in writing
- Consider 203(k) renovation loans
Multiple Unpermitted Projects:
- Combine into one permit (saves fees)
- Prioritize life-safety issues
- Phase if financially necessary
- May trigger whole-house upgrades
Historic Properties:
- Mills Act properties have special rules
- Can use Historical Building Code
- Maintains original features
- Requires historical review
Cost-Saving Strategies
1. Voluntary Compliance Discount
Approach the city before they find you:
- Reduced penalties (2x vs 6x)
- More cooperative reviewers
- Extended timelines
- Payment plans possible
2. Owner-Builder Hybrid Approach
- Owner pulls permit (saves contractor markup)
- Hire subs for specific work
- Contractor consultants for inspections
- Risk vs. reward calculation
3. Phased Permitting
If multiple issues exist:
- Permit life-safety first
- Defer cosmetic items
- Spread costs over time
- Maintain habitability
4. Negotiated Solutions
Work with reviewers on alternatives:
- Prescriptive vs. performance compliance
- Equivalency requests
- Variance applications (last resort)
- Deed restrictions instead of demolition
Common Mistakes to Avoid
1. Lying or Hiding Work
- Inspectors aren’t stupid
- Neighbors report violations
- Dishonesty triggers enforcement
- Criminal penalties possible
2. Using Unlicensed Contractors
- Can’t pull permits legally
- No recourse if work fails
- Often make things worse
- You’re liable for injuries
3. Ignoring Deadlines
- Fees increase dramatically
- Enforcement escalates
- Legal action initiated
- Property liens attached
4. DIY Beyond Your Ability
- Retroactive permits are complex
- Mistakes cost thousands
- Time is usually critical
- Professional help worth it
The Bottom Line: Is It Worth It?
Benefits of Legalizing:
✓ Sell property without issues
✓ Valid insurance coverage
✓ Legal rental income
✓ No enforcement threats
✓ Financing available
✓ Peace of mind
When to Consider Alternatives:
- Cost exceeds property value add
- Technically impossible to legalize
- Market doesn’t support investment
- Planning to demolish anyway
Your Next Steps
- Document everything – Photos, measurements, permit history
- Assess feasibility – Check setbacks, height, lot coverage
- Get professional evaluation – Worth the consultation fee
- Budget realistically – Add 30% contingency
- Act quickly – Costs increase with time
Need Help With Your Retroactive Permit?
MEE Builders specializes in legalizing unpermitted construction throughout San Diego County. We handle the entire process—from initial assessment through final inspection. Our team knows exactly what inspectors want to see and how to navigate the bureaucracy efficiently.
Let us review your situation and explain your options. We’ll provide realistic timelines and honest cost estimates.
Serving all of San Diego County since 2010. CSLB License #1046249.
Frequently Asked Questions
How long does the retroactive permit process take?
Typically 3-6 months from application to final approval, longer if corrections are extensive.
Can I sell my house with unpermitted work?
Yes, but you must disclose it. Buyers typically demand credits or repairs, and cash buyers pay less.
What if the previous owner did the unpermitted work?
Current owners are responsible regardless. You can potentially sue previous owners if they didn’t disclose.
Will my property taxes increase?
Yes, once permitted. The assessor will likely add the improvement value retroactively.
Can I just tear out the unpermitted work instead?
Sometimes that’s cheaper, but you still need demolition permits and inspections to clear violations.
What if I can't afford all the corrections?
Discuss phasing with building department. Address life-safety issues first, cosmetic items later.