Building an Accessory Dwelling Unit (ADU) is a major investment—whether you’re adding rental income, creating a private space for family, or increasing your property value. To demystify the process, we’re walking you through the real-life construction journey of an ADU from start to finish, showing you what happens at each stage and why it matters.
1. Site Preparation & Layout

The journey begins with clearing the construction site. This includes removing grass, debris, or old structures and leveling the ground for proper drainage and stability. Surveyors mark the boundaries of the ADU to guide the excavation team.
Why it matters:
A properly prepared site prevents future issues like foundation cracking, poor drainage, or structural instability.
2. Trenching for Foundation and Underground Utilities
Trenches are dug to install plumbing, sewer lines, electrical conduits, and other underground utilities. At the same time, the layout for the foundation footings is carved out in the soil.
Why it matters:
This phase ensures your ADU will have functioning utilities and that the foundation will be anchored securely into the ground.
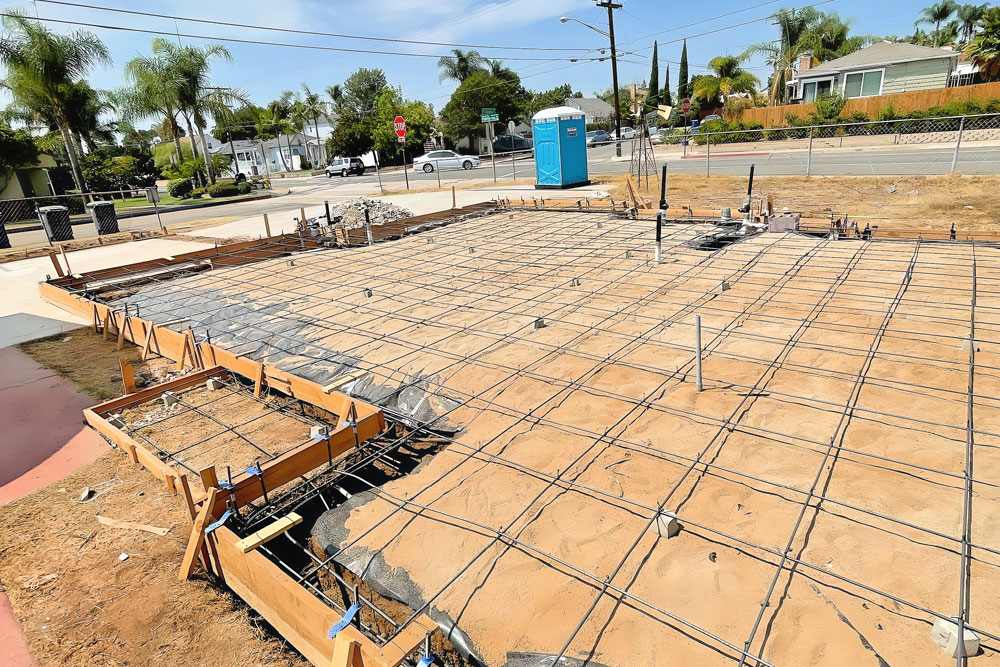
3. Foundation Forms and Rebar Placement
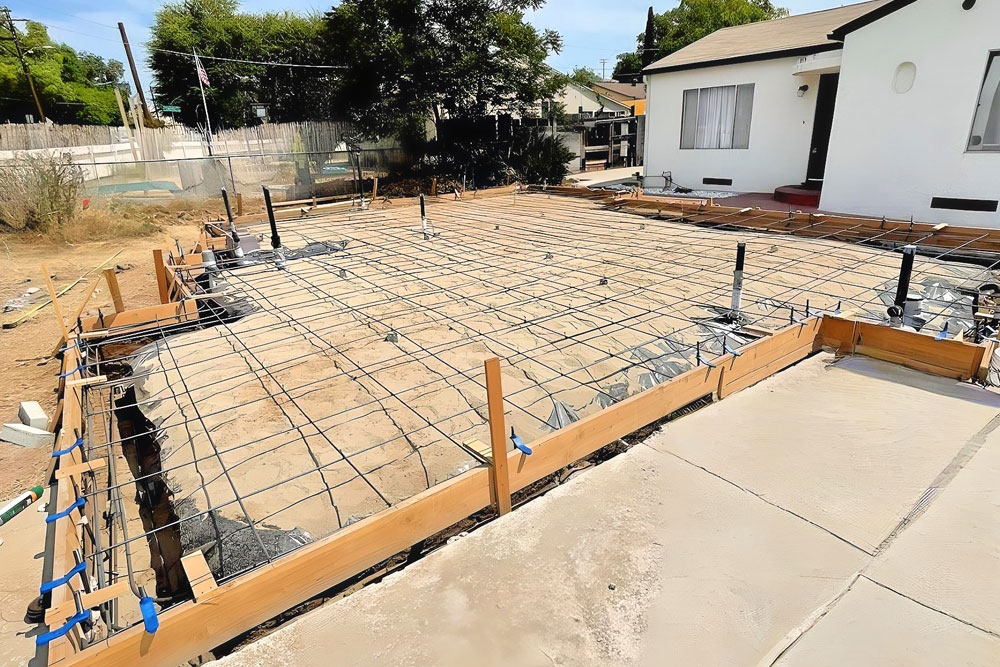
Wooden forms are set up to shape the concrete slab. Inside the forms, steel rebar is installed to reinforce the foundation and improve its load-bearing capacity.
Why it matters:
The forms create a mold for the concrete. Reinforcement with rebar ensures the slab can support the weight of the ADU without cracking or shifting.
4. Concrete Slab Poured and Cured
Concrete is poured into the forms to create the slab foundation. Once leveled, it must cure for several days to harden and gain strength.
Why it matters:
This slab is the literal and legal foundation of the building—it must be level, structurally sound, and properly cured for a safe and lasting structure.
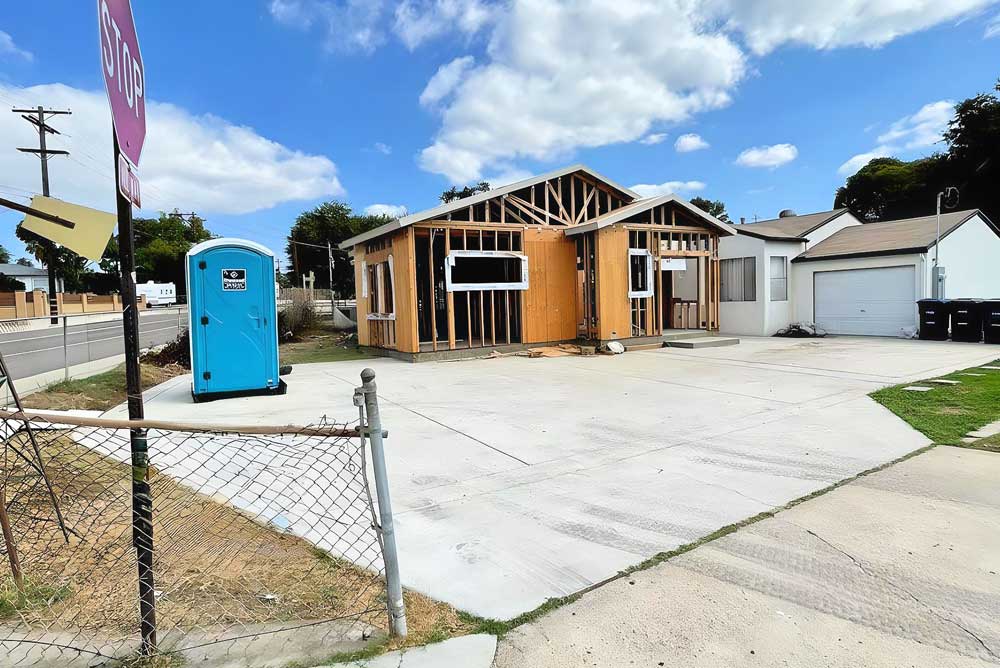
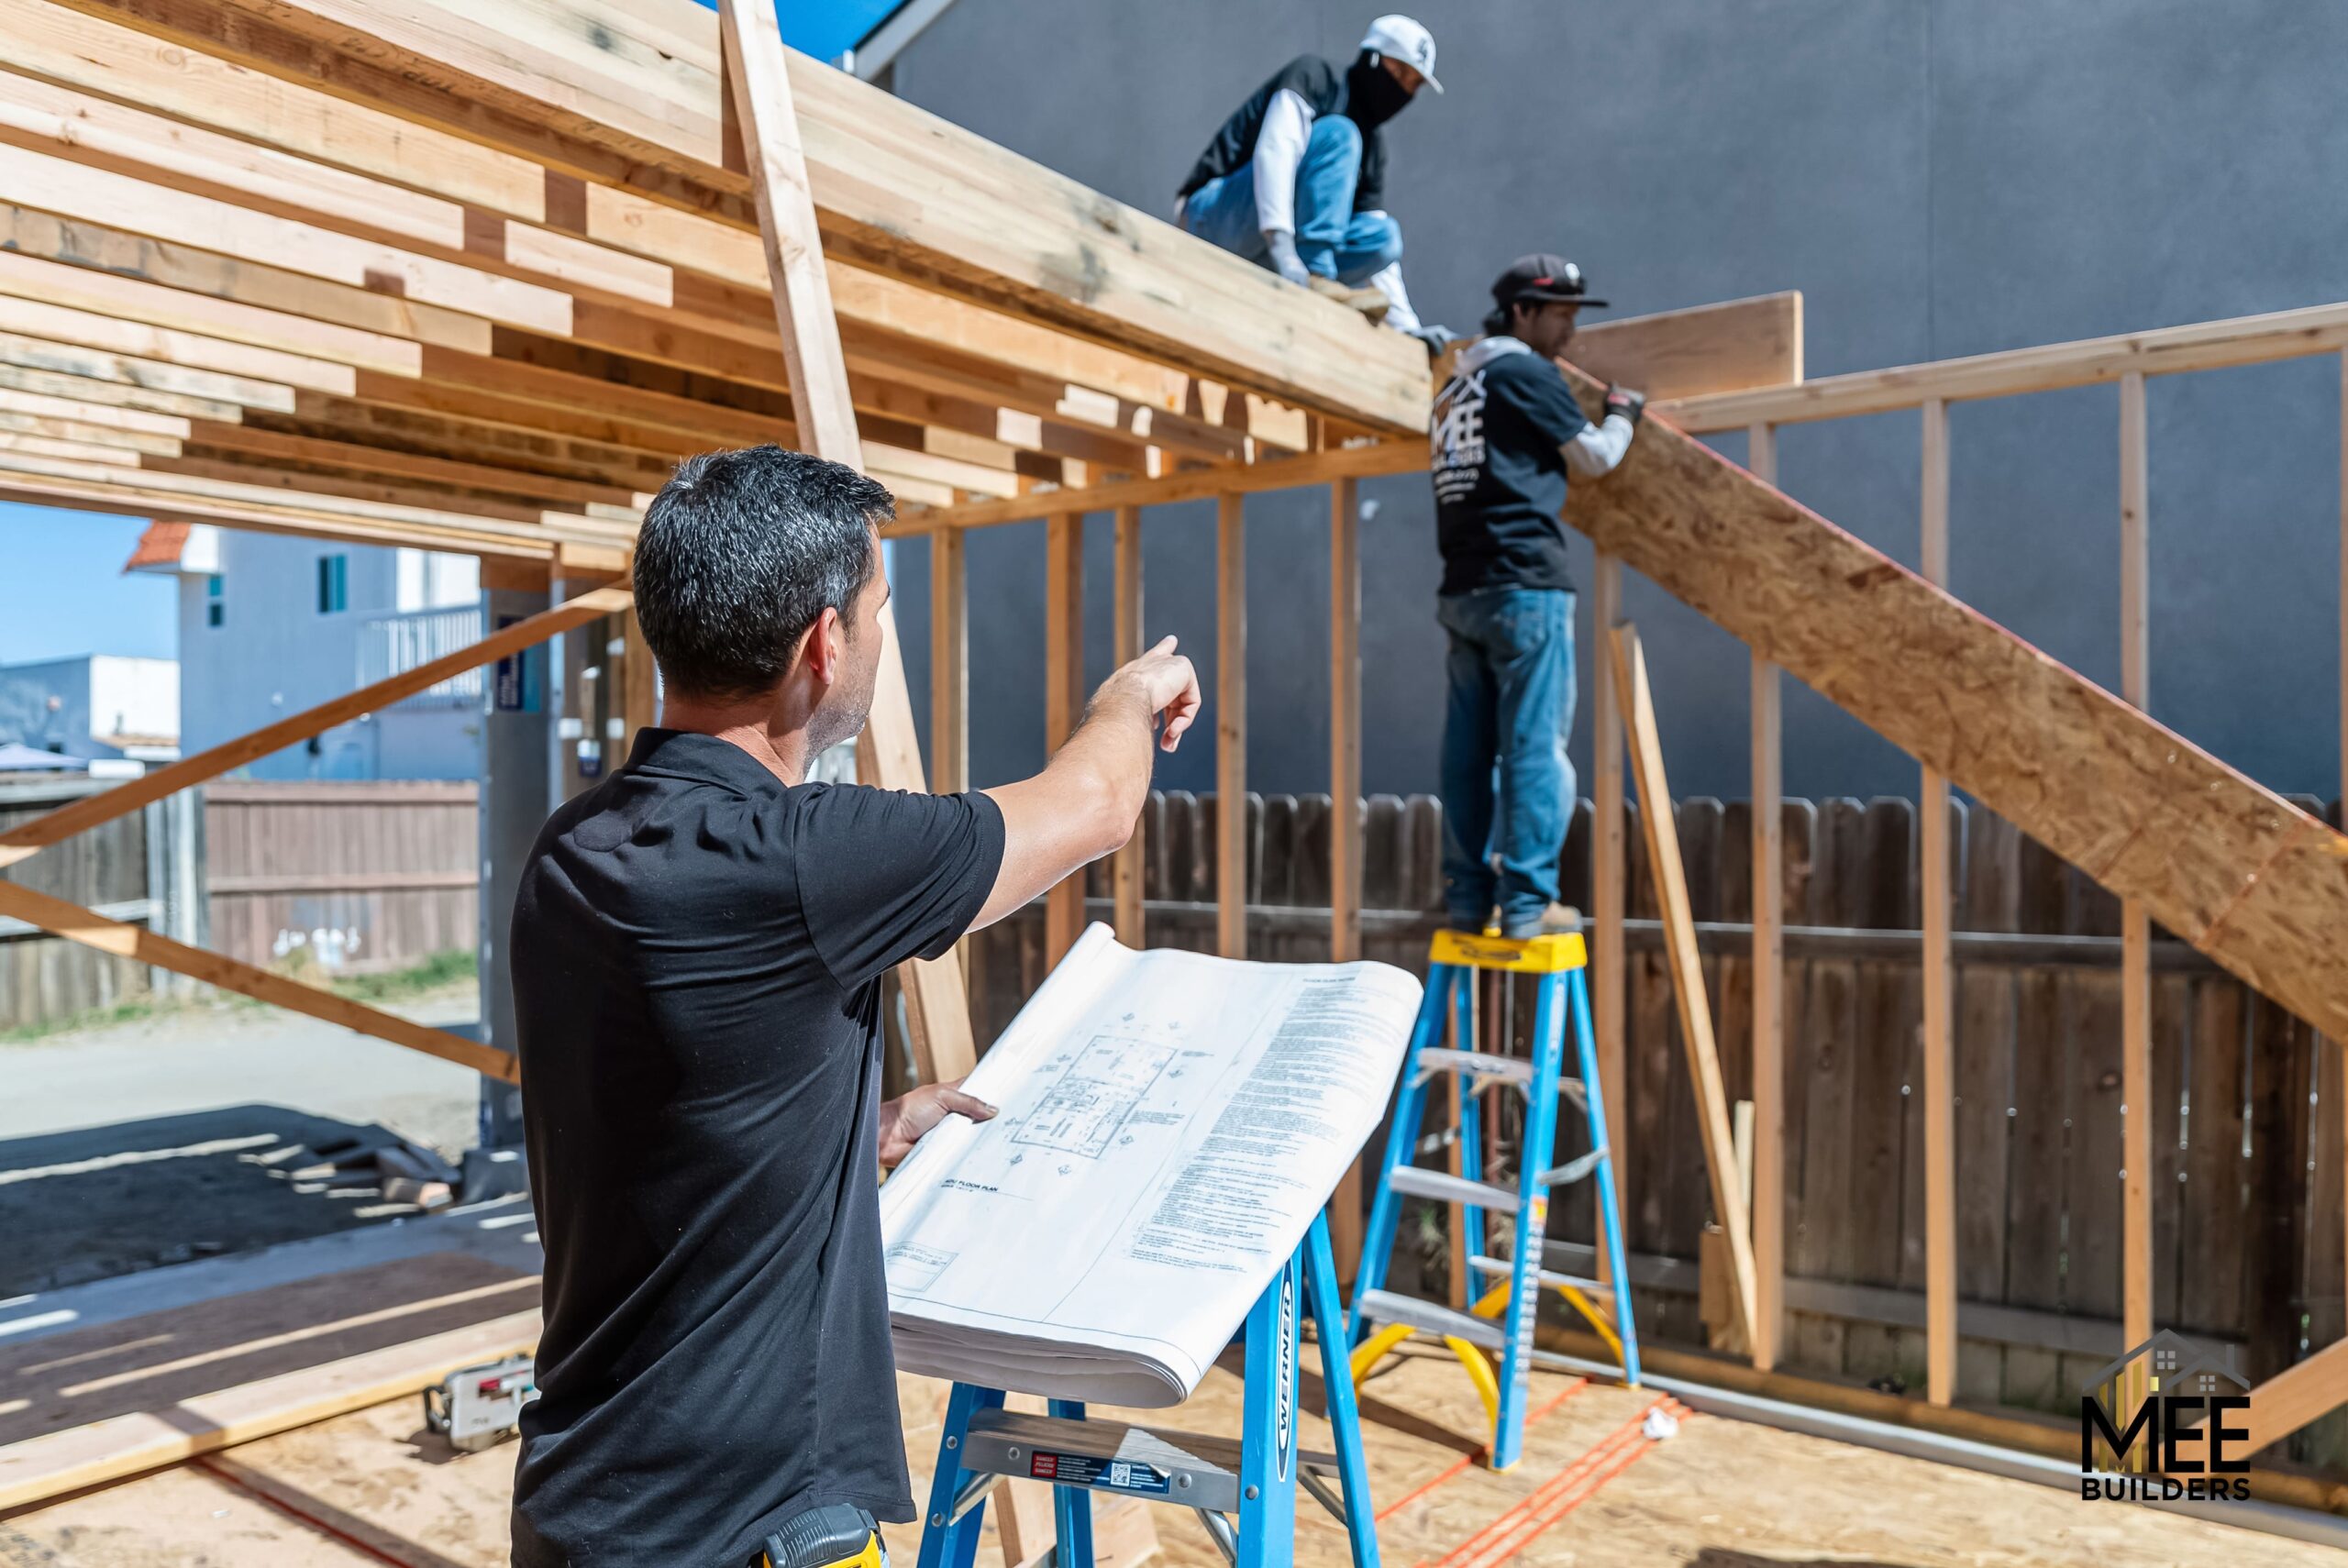
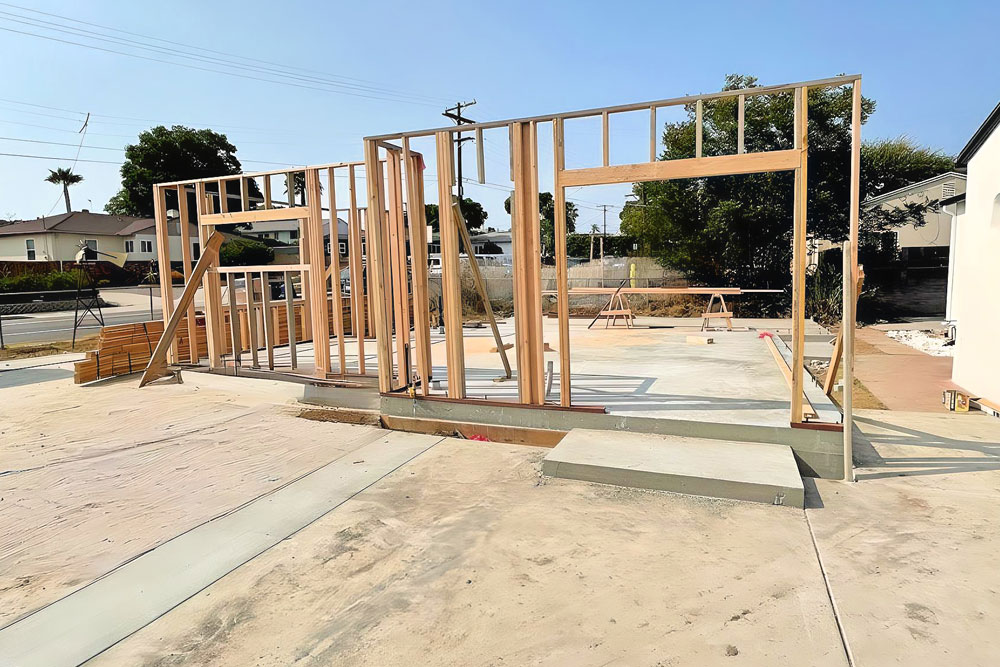
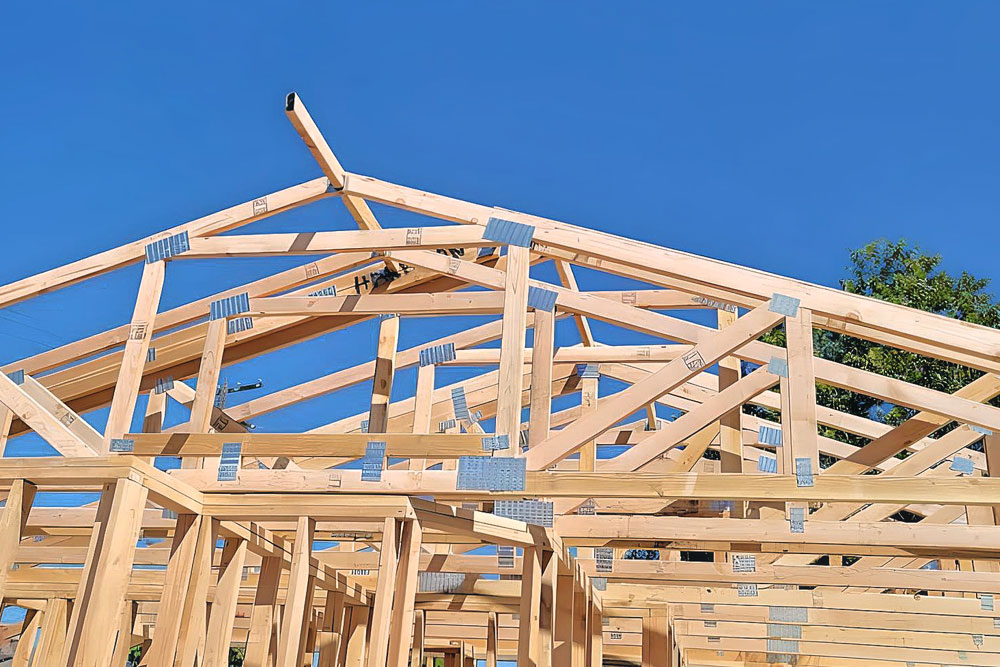
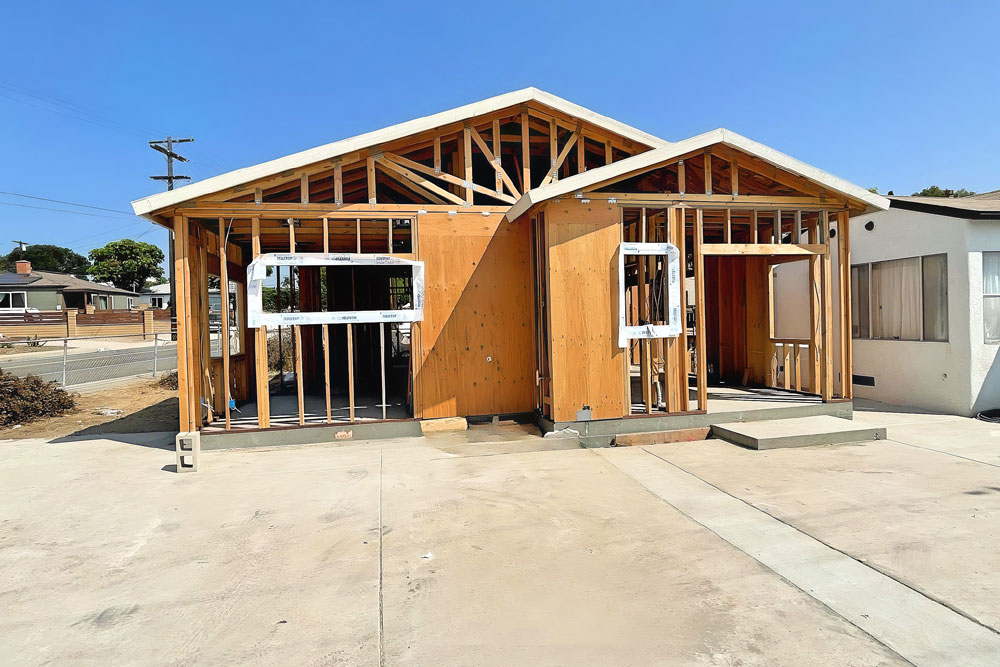
5. Framing the Structure
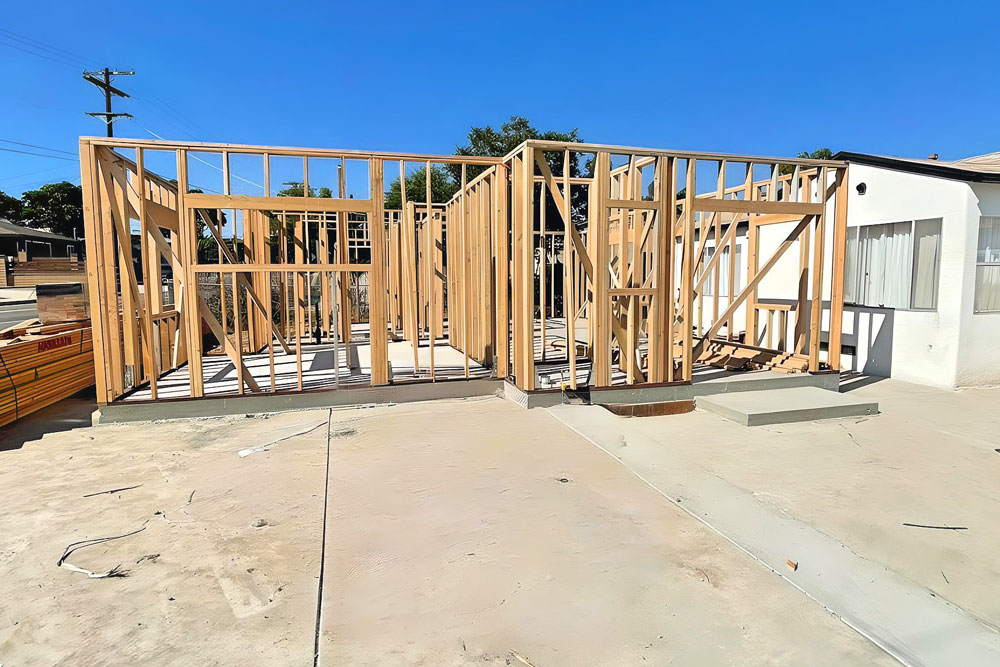
With the foundation cured, the wood framing begins. This includes the walls, floor system, and roof trusses, which form the skeleton of the home.
Why it matters:
Framing sets the shape and dimensions of your ADU. It’s where the floor plan starts to take form, and it must meet local structural codes.
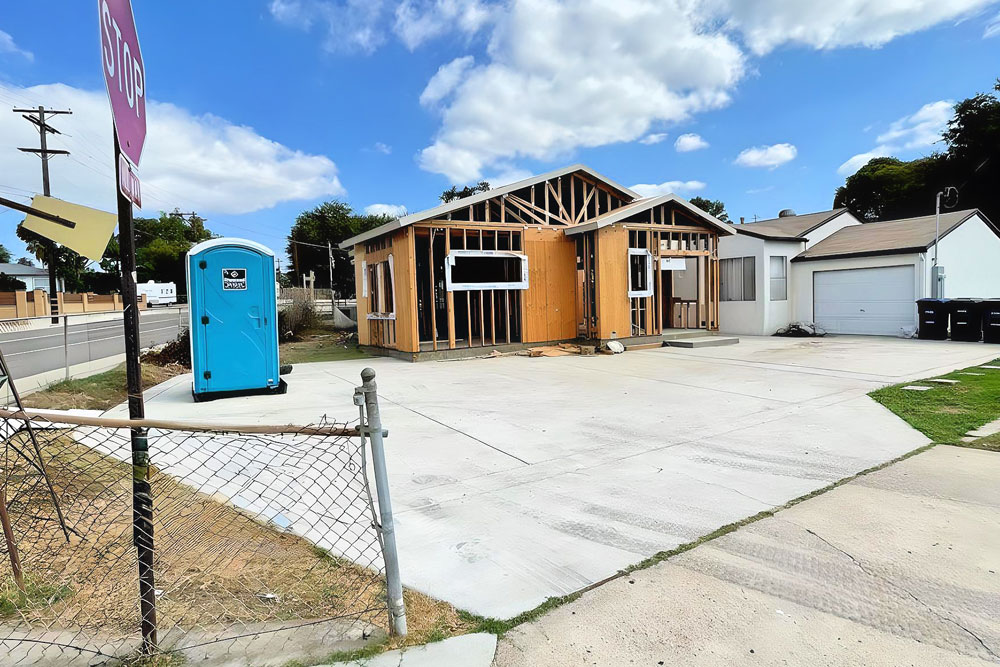
6. Wall and Roof Sheathing
The structure is enclosed with exterior wall sheathing (usually plywood or OSB), and the roof gets its sheathing to prepare for shingles or tiles.
Why it matters:
This step strengthens the structure and provides the base for waterproofing layers. It also marks the official “dry-in” phase—when the structure can begin resisting weather.
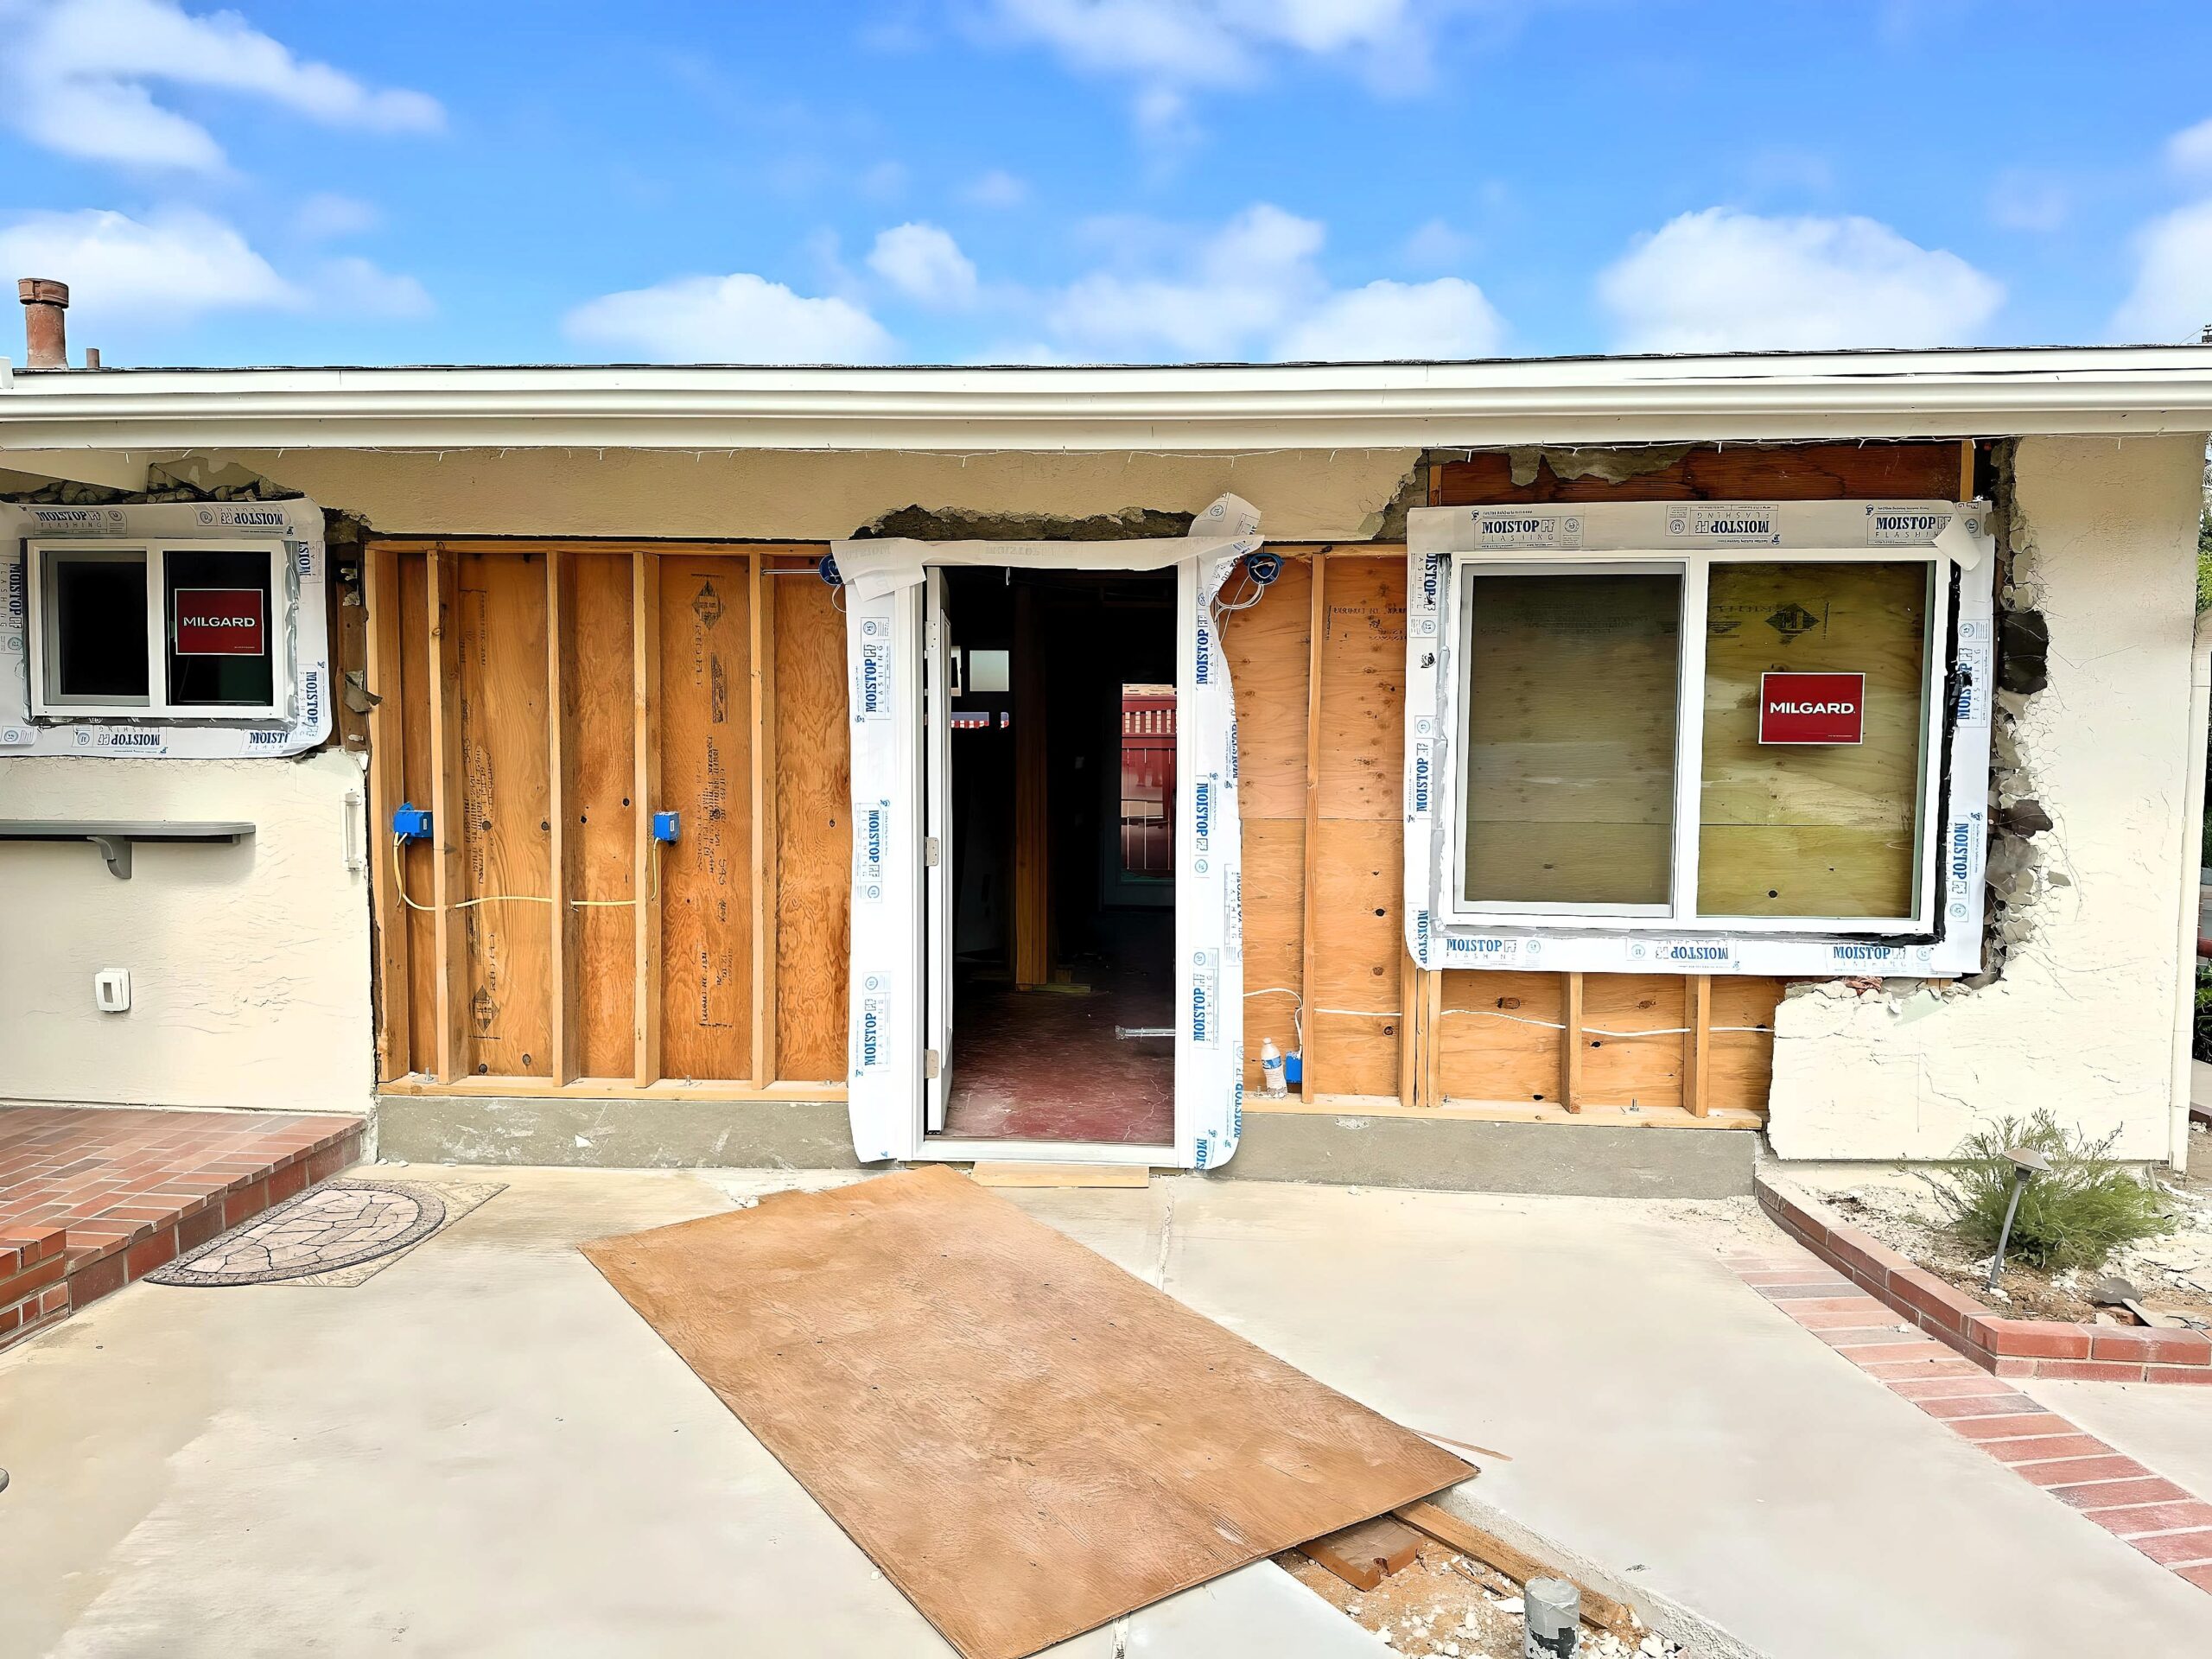
7. Windows, Doors, and Roofing
Now it’s time to install windows, exterior doors, and roofing materials such as shingles or tile. The building is becoming weatherproof.
Why it matters:
Sealing the ADU from the elements protects the structure and allows interior work (like electrical and insulation) to begin safely.
8. Driveway, Grading & Utility Hookups
Crews work on flatwork like driveways and sidewalks, grade the soil to ensure water drains away from the structure, and complete connections to public utility systems.
Why it matters:
Driveways and drainage aren’t just aesthetic—they prevent flooding and damage. Utility hookups bring the ADU to life with power and water.
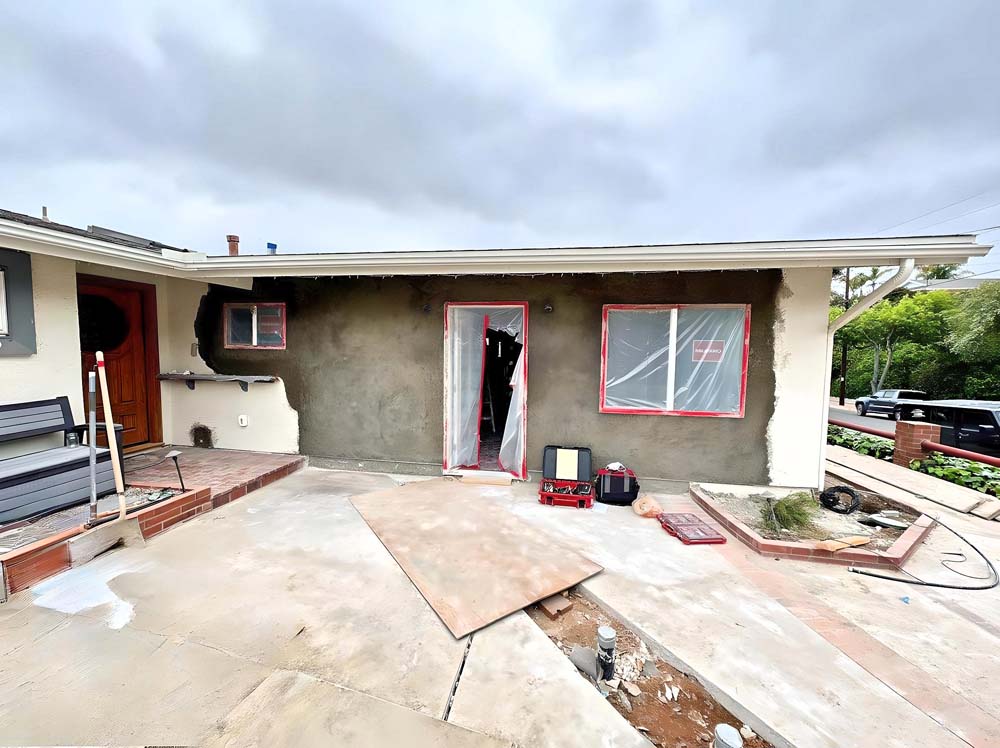
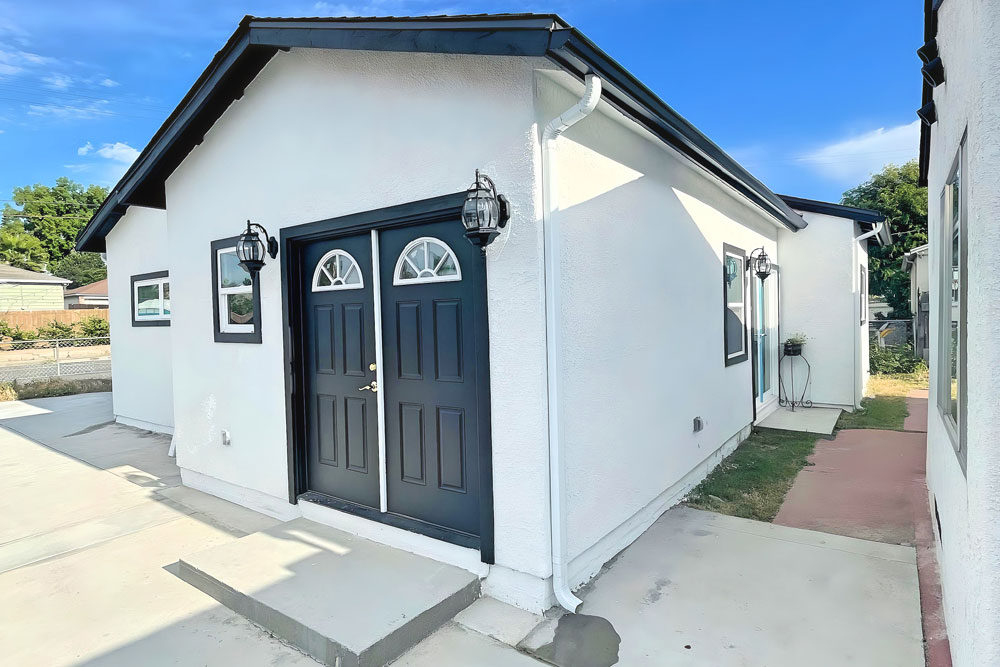
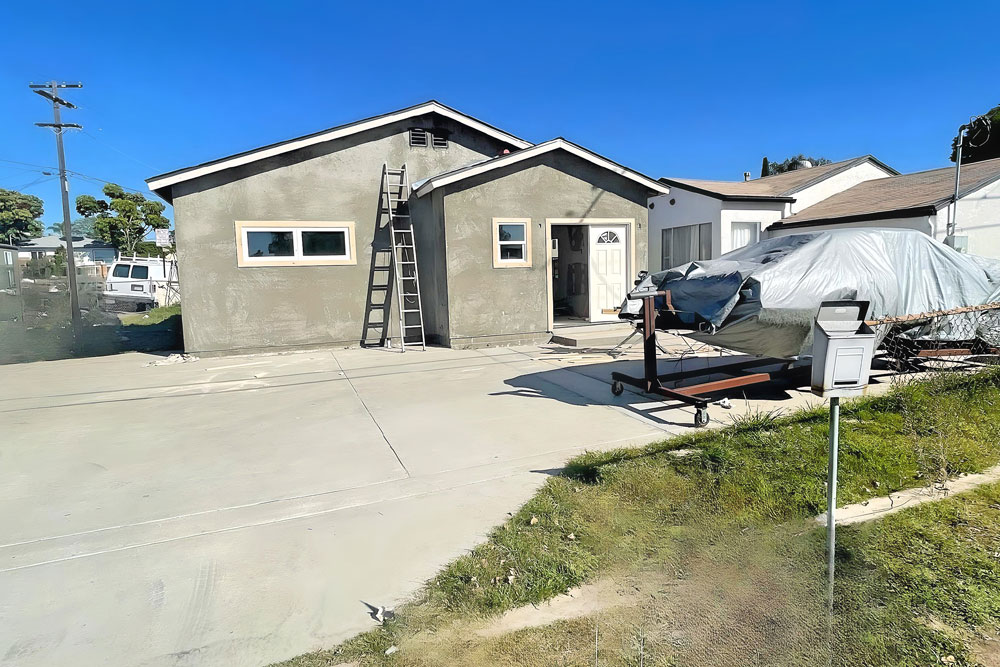
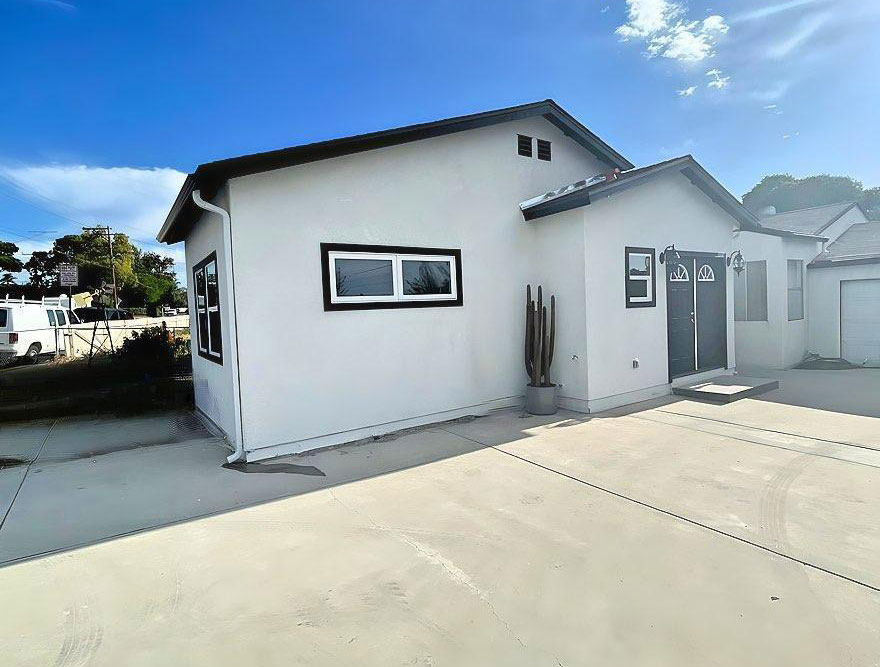
9. Exterior Finishes: Siding, Trim & Paint
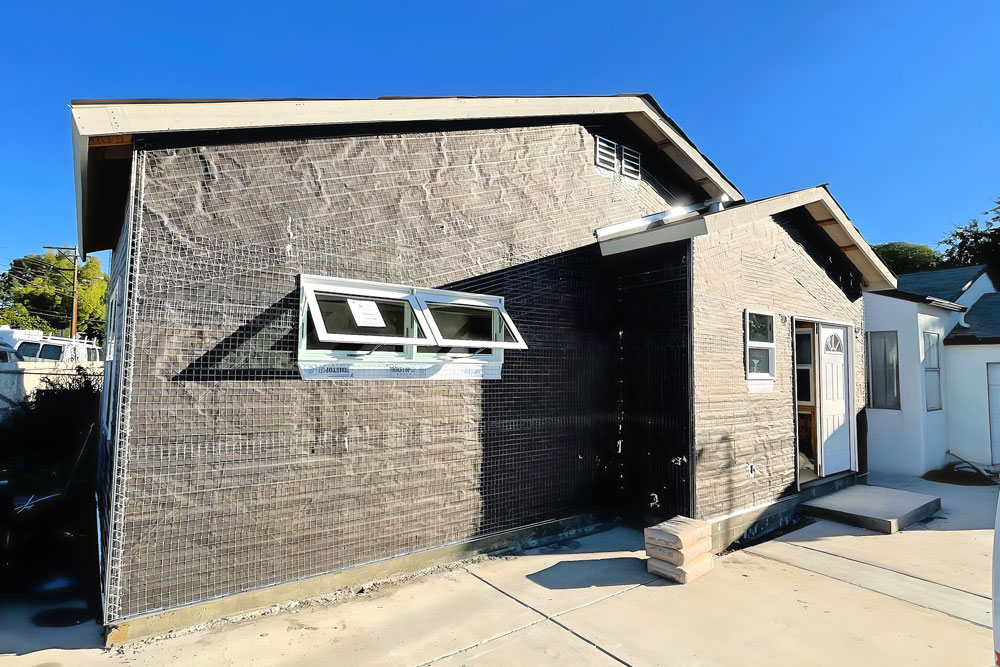
This stage gives the ADU its external appearance—stucco, siding, trims, and paint. These finishes protect the building and enhance curb appeal.
Why it matters:
Exterior finishes aren’t just decorative—they provide weather resistance and insulation, improving energy efficiency and longevity.
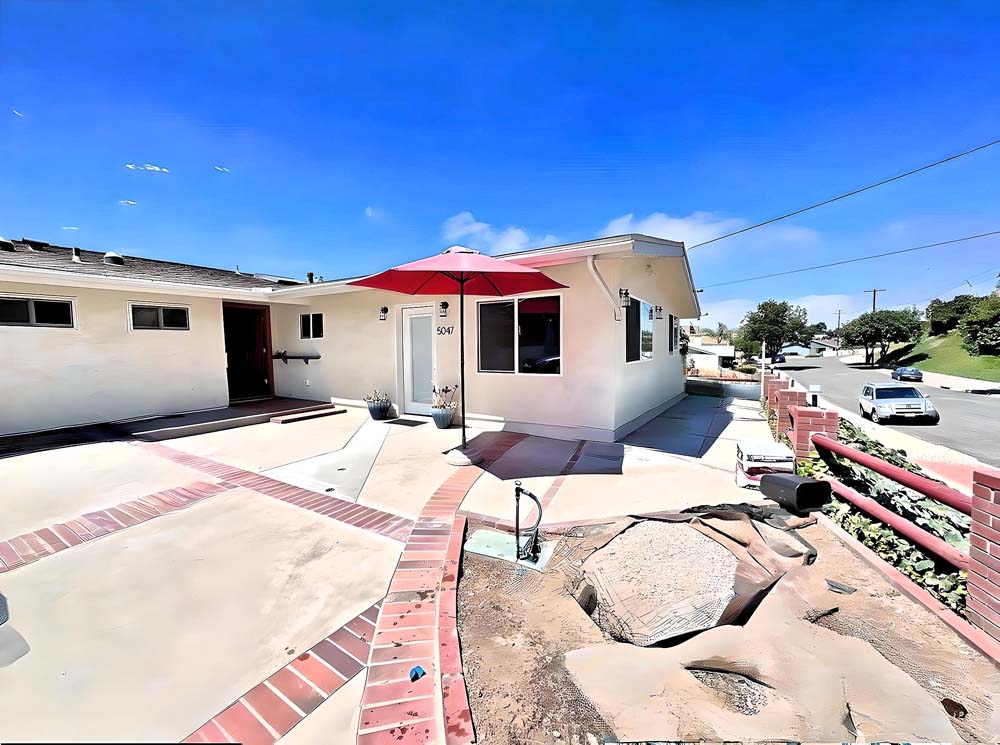
10. Landscaping & Final Touches
The outside is wrapped up with landscaping, fencing, and other features like porch steps or mailboxes. Grass or drought-resistant plants may be installed.
Why it matters:
Curb appeal matters—especially if you’re renting out the ADU. Final grading and landscaping also ensure proper water runoff and erosion control.
11. Final City Inspection and Walkthrough
Before occupancy, the city inspects every system: electrical, plumbing, insulation, fire safety, and more. Corrections, if needed, are made before final approval.
Why it matters:
The final inspection ensures the ADU is up to code, safe for habitation, and legally ready for use.
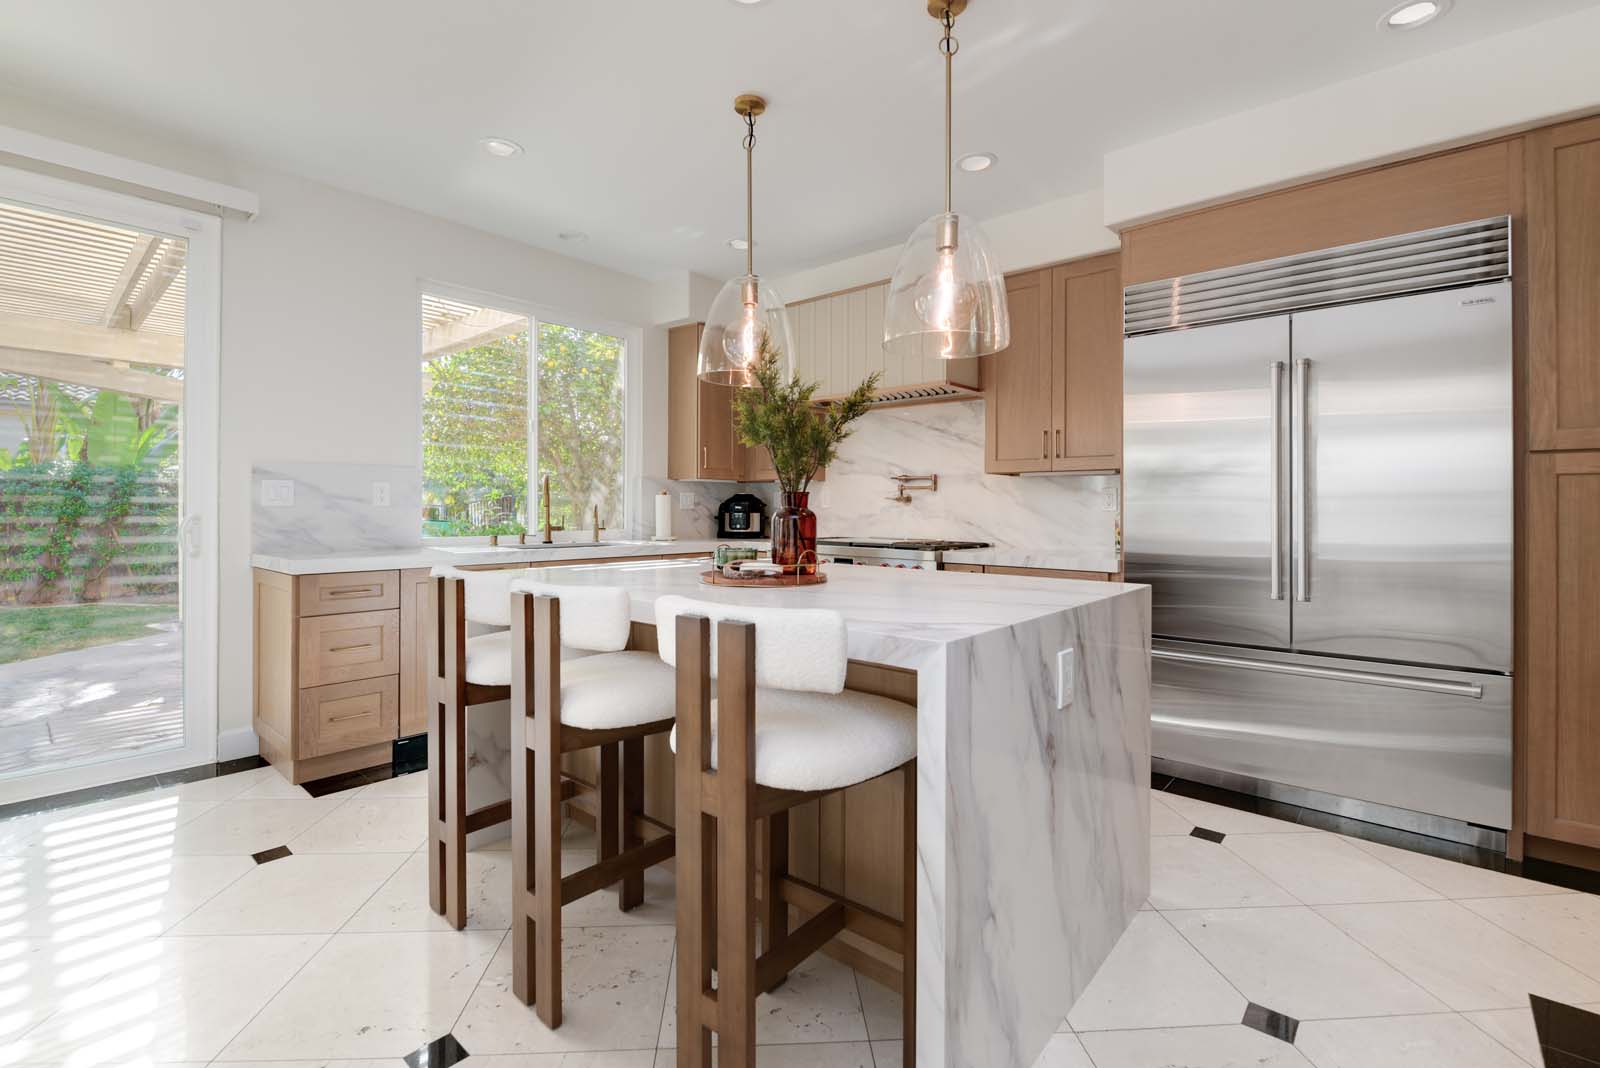
12. Move-in Ready!

The ADU is complete. All systems are functional, interiors are finished, and the space is ready to welcome tenants, guests, or family.
Why it matters:
This is the result of months of planning and construction—a fully permitted, livable home that adds both value and versatility to your property.
Ready to Start Your Own ADU Project?
We specialize in end-to-end ADU construction. Whether you’re exploring options or ready to break ground, our team can help you navigate zoning, permitting, design, and build. Contact us today to get a personalized consultation.