Custom Kitchen Remodeling in San Diego for Modern Luxury Homes


What Separates a High-End Kitchen Remodel From a Standard Renovation?
Kitchen remodeling projects in San Diego require strategic layout reconfiguration, structural engineering to accommodate diverse coastal and inland soil conditions, and precise integration of luxury materials such as Sub-Zero appliances and waterfall islands. Across San Diego County, this process targets the modernization of closed-off 1990s Mediterranean architecture while strictly adhering to the 2026 California Energy Code electric-ready standards.
- Fully Licensed & Insured: CSLB #1046249
- 10 Years of Excellence: Serving the San Diego, CA
- 100+ Verified Reviews Google, Yelp, Houzz
Turning Traditional Layouts Into Bright, Connected Kitchen Spaces
To execute high-end remodeling across San Diego County, you need a deep understanding of the region’s diverse micro-environments, geotechnical realities, and architectural history. Properties located along the coastal bluffs of La Jolla and Del Mar, or nestled within exclusive inland enclaves like The Covenant in Rancho Santa Fe, Del Rayo Estates, and Carmel Valley, present a highly specific set of structural realities that generalist contractors often underestimate.
The region is defined by distinct topographical and soil conditions that dictate the engineering requirements of any major home addition or structural kitchen footprint expansion
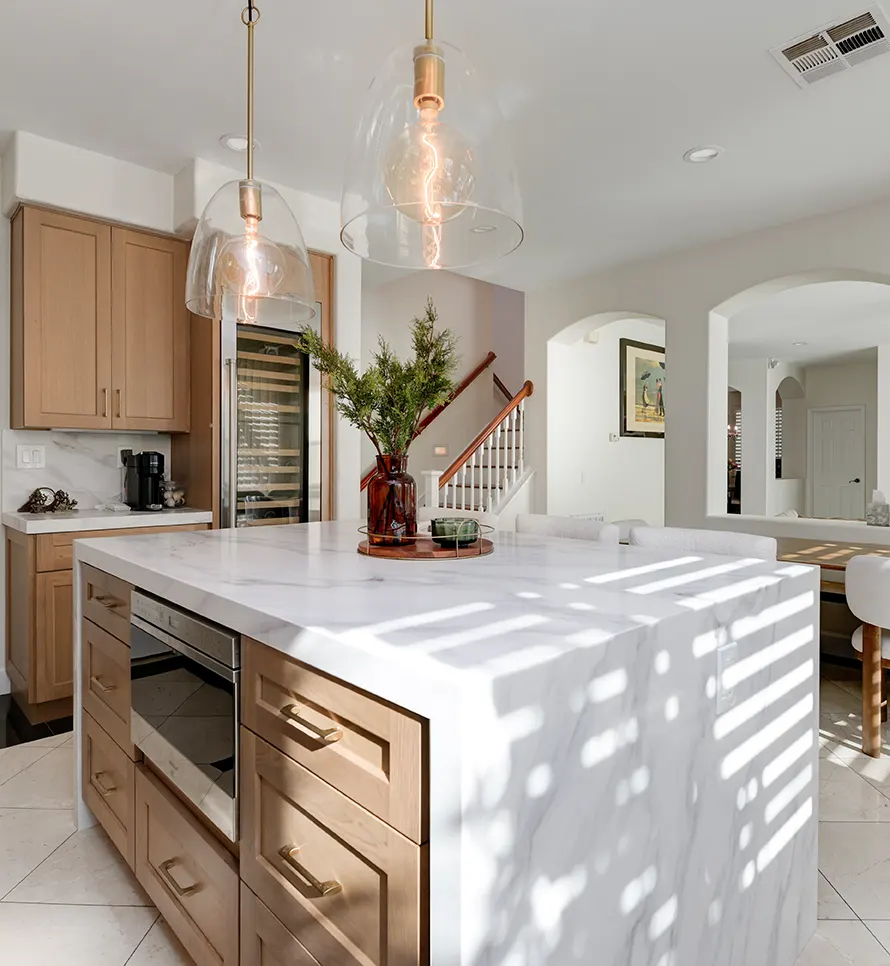
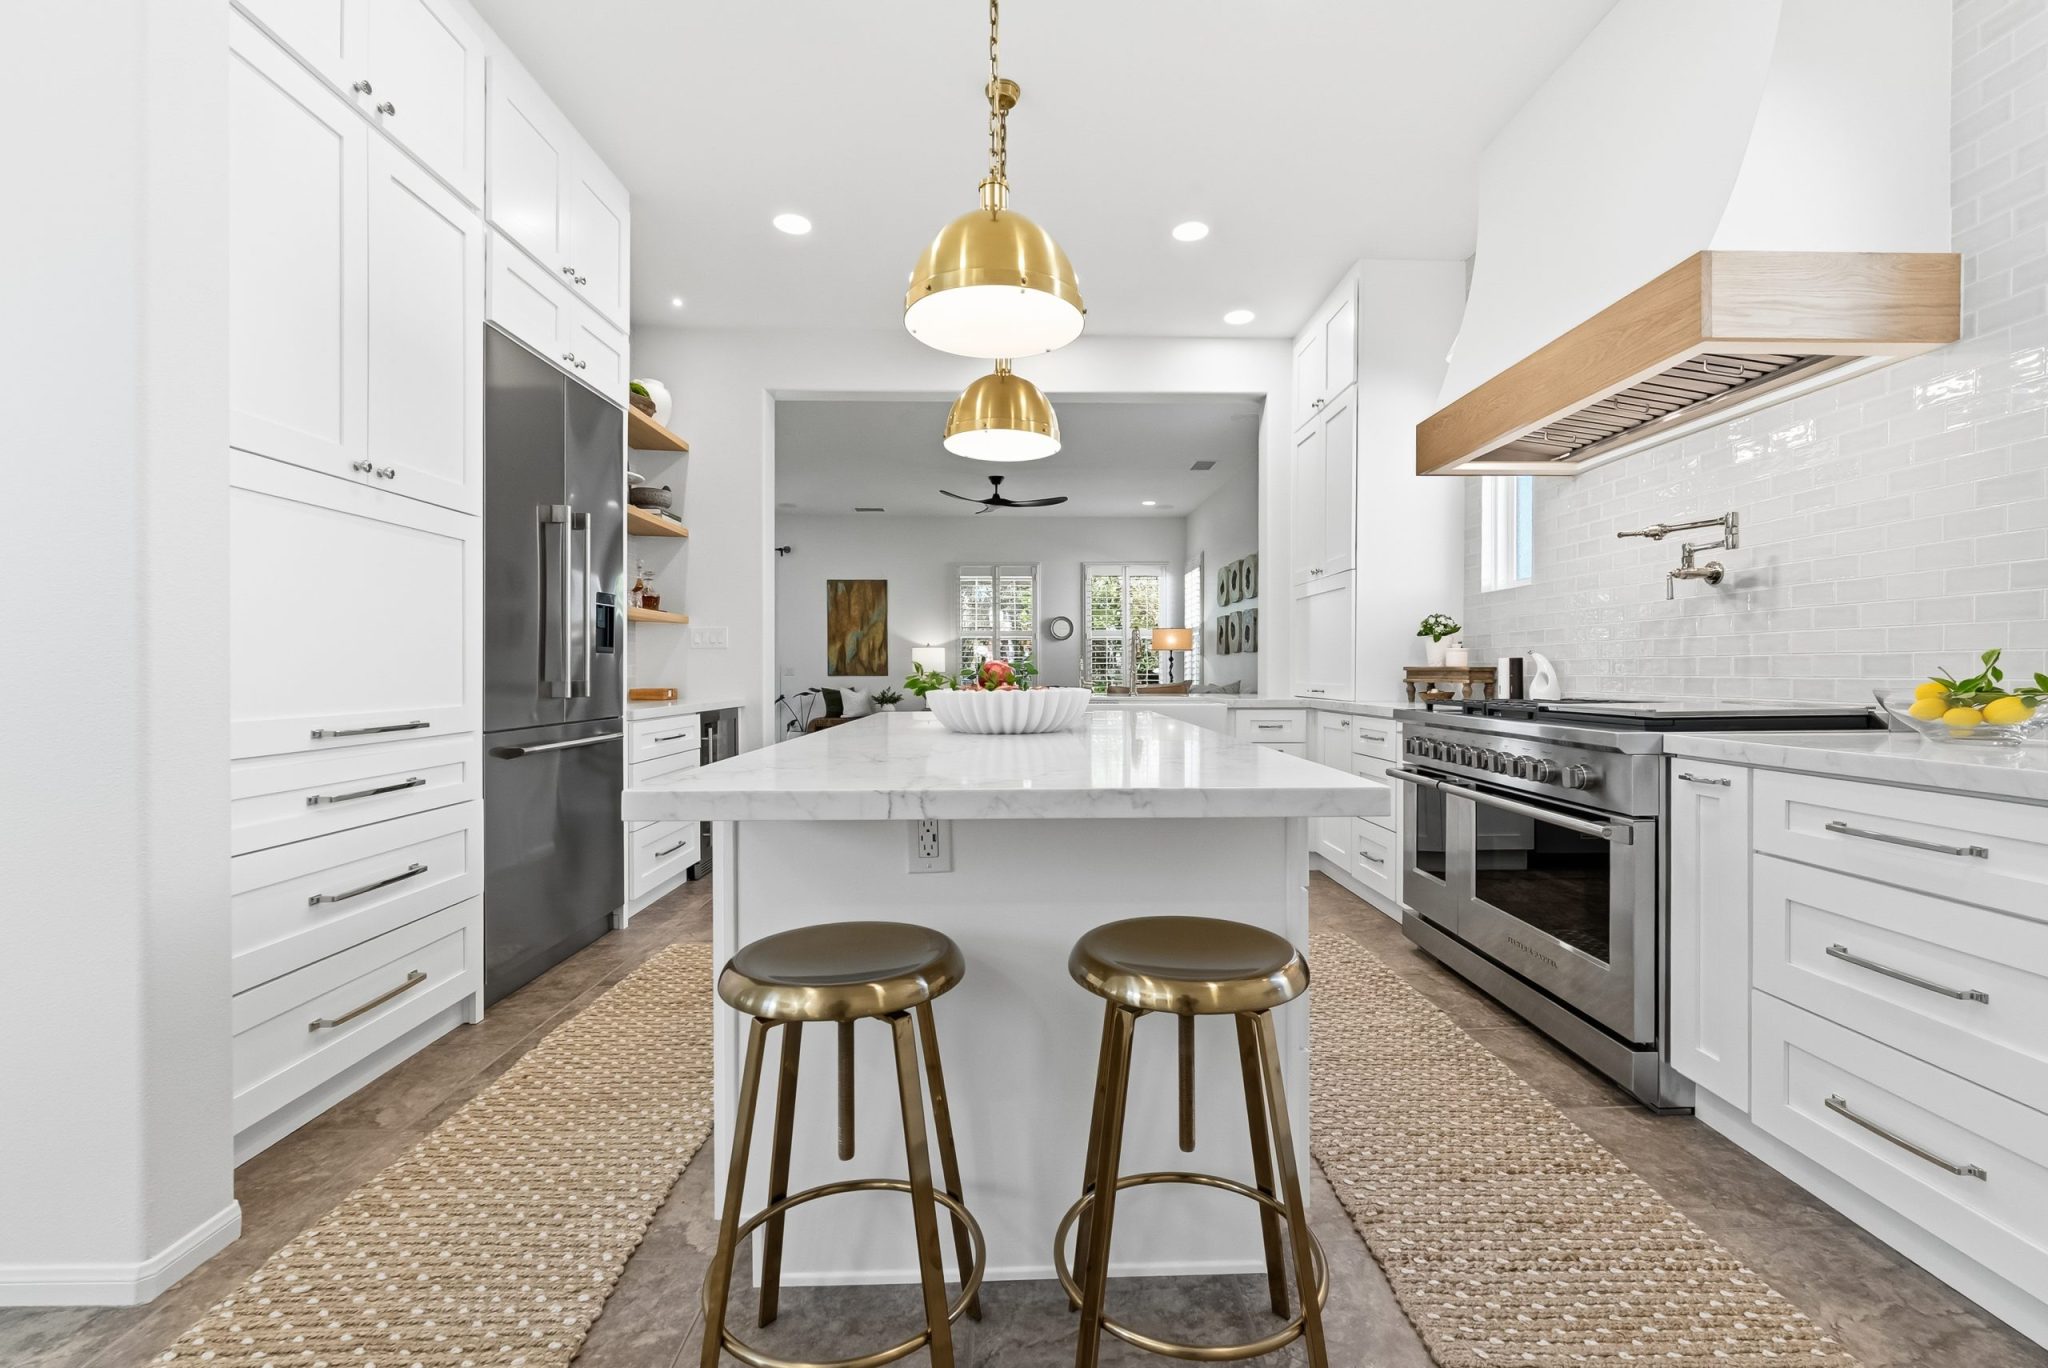
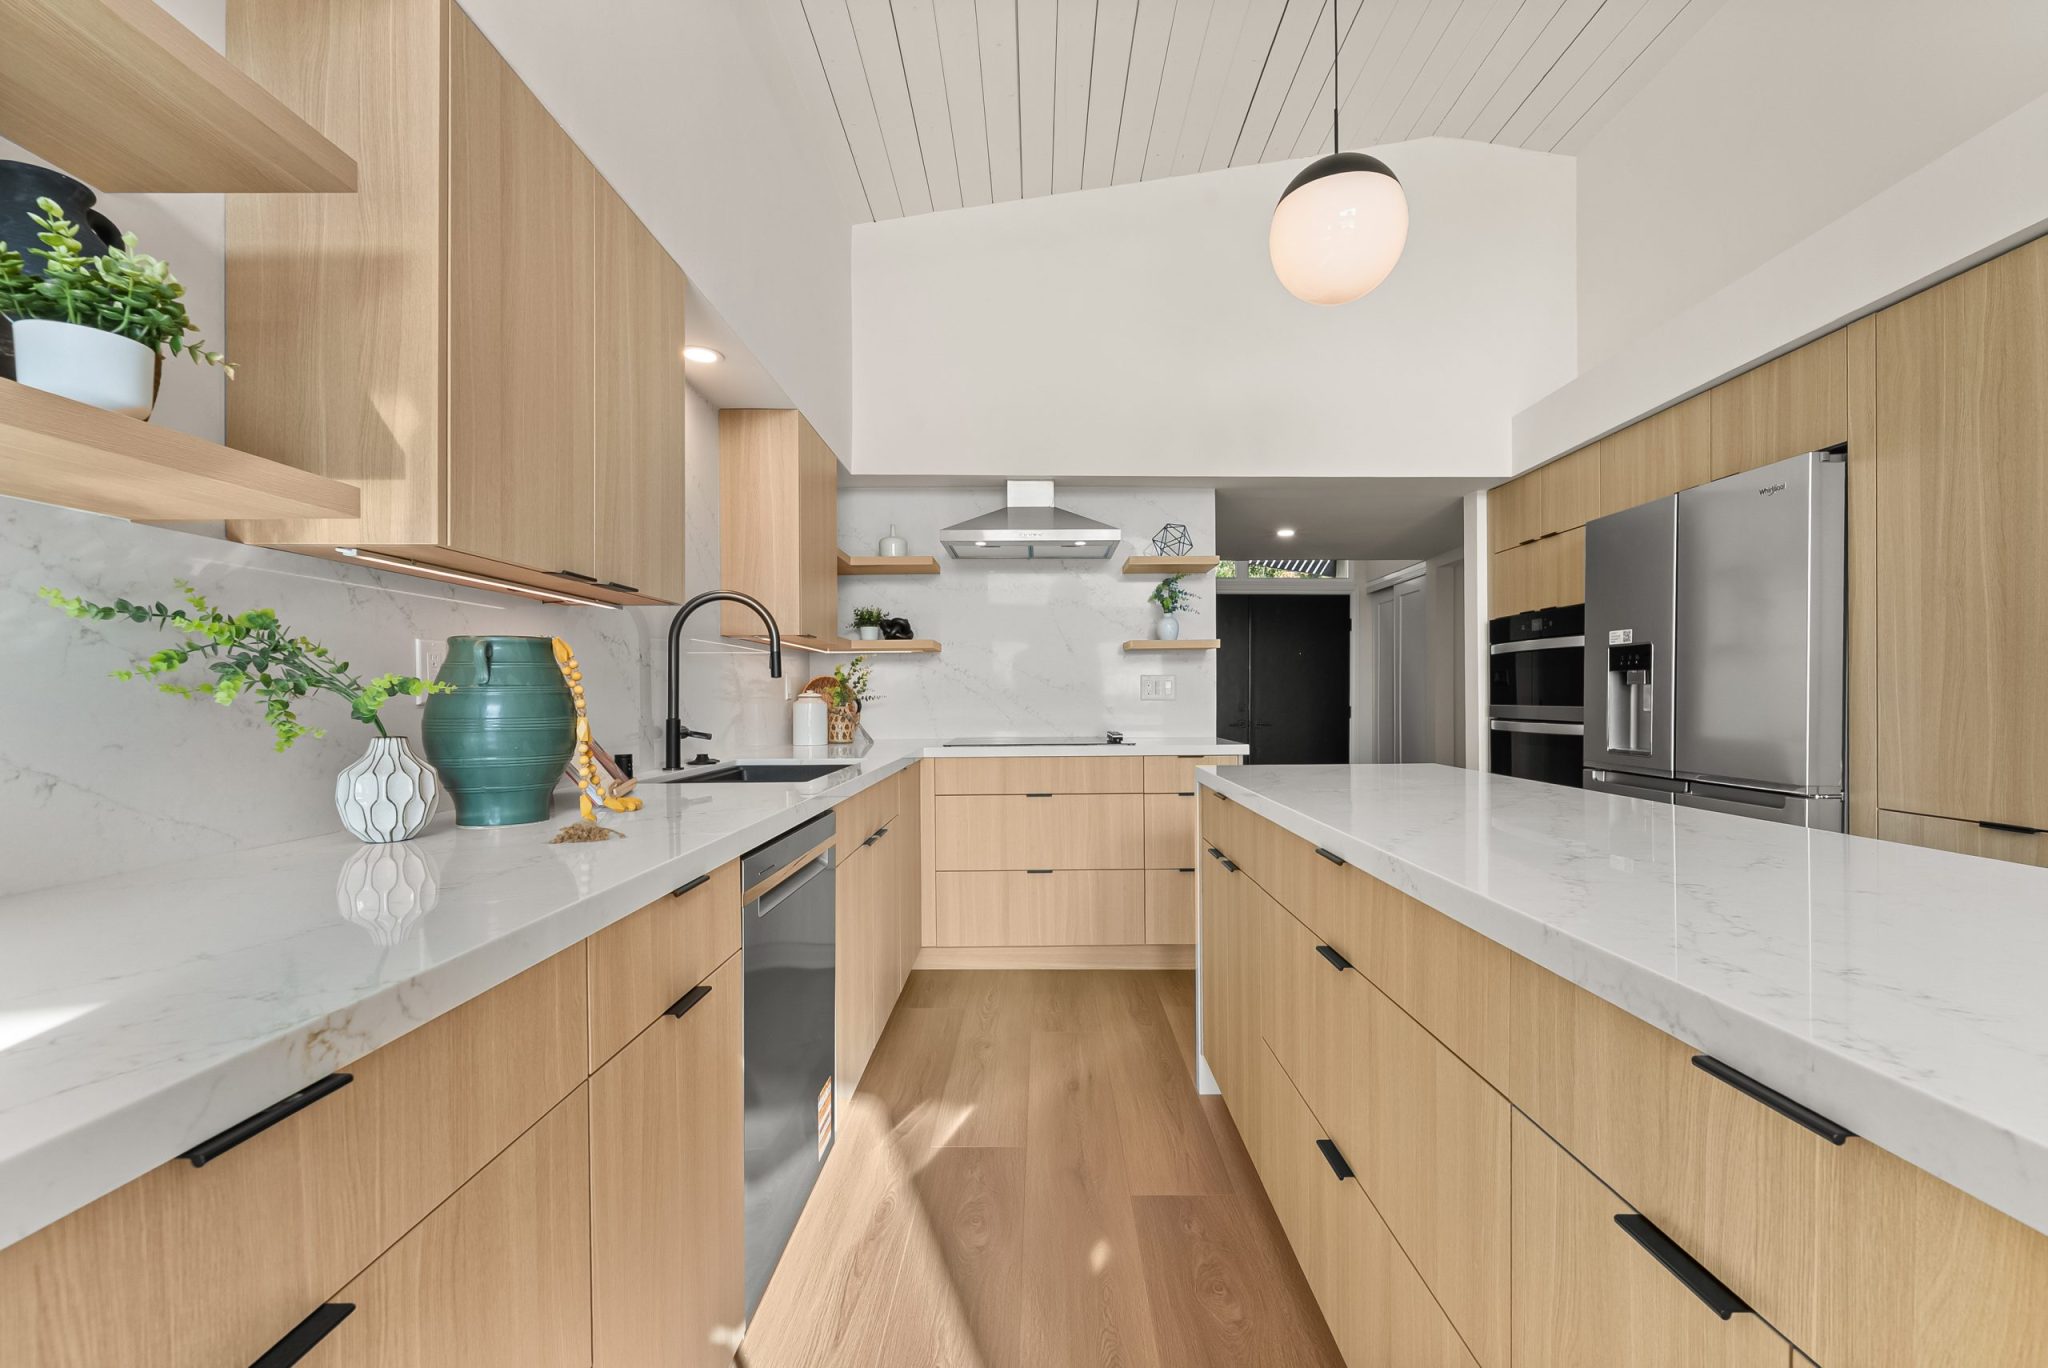
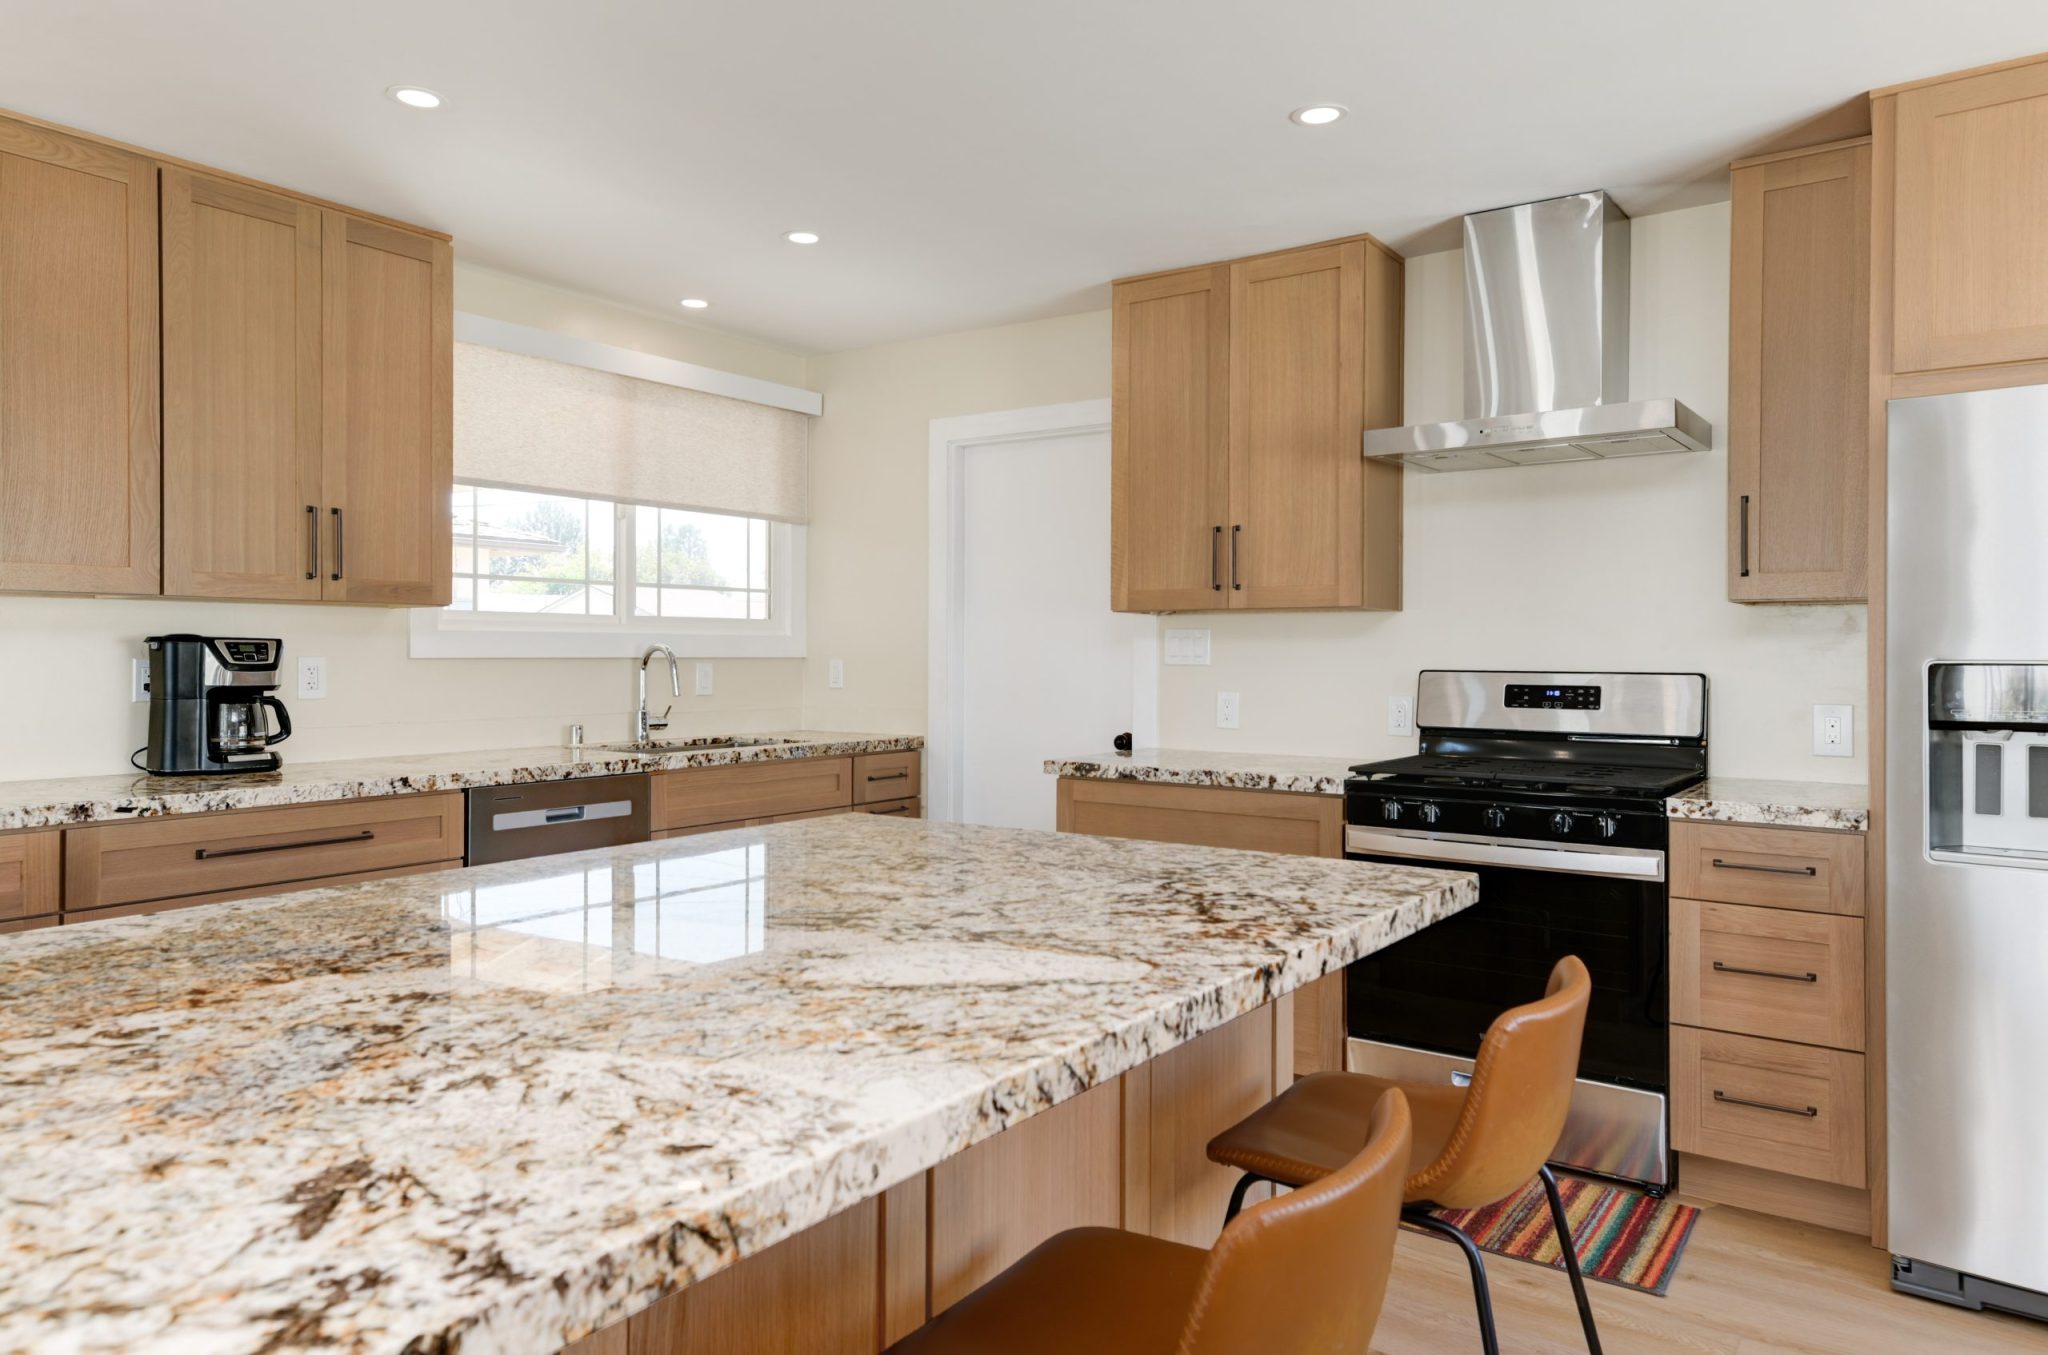
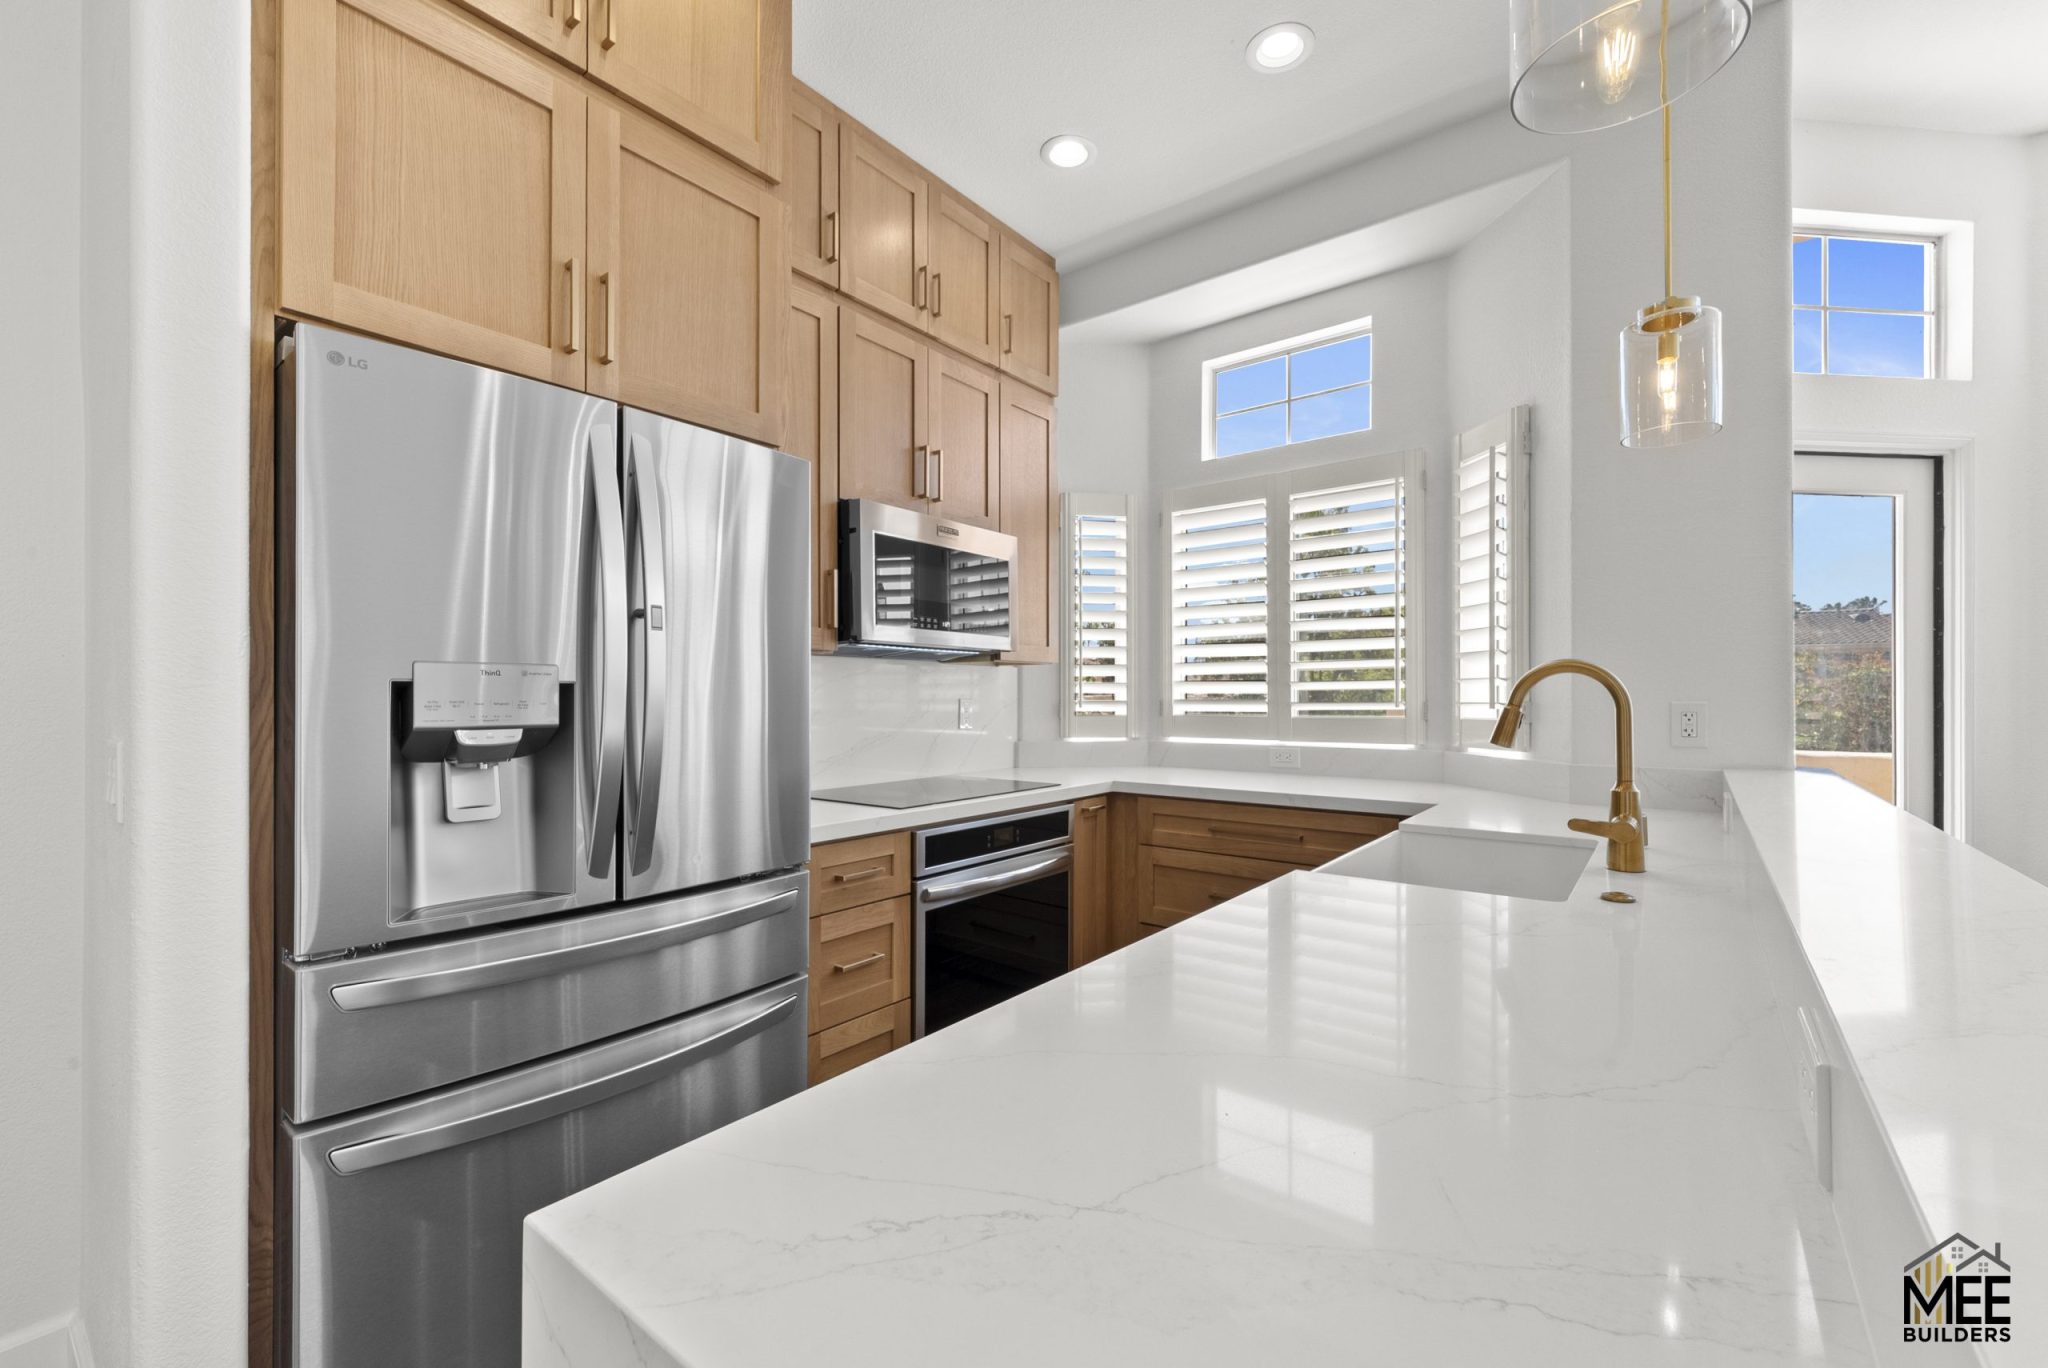
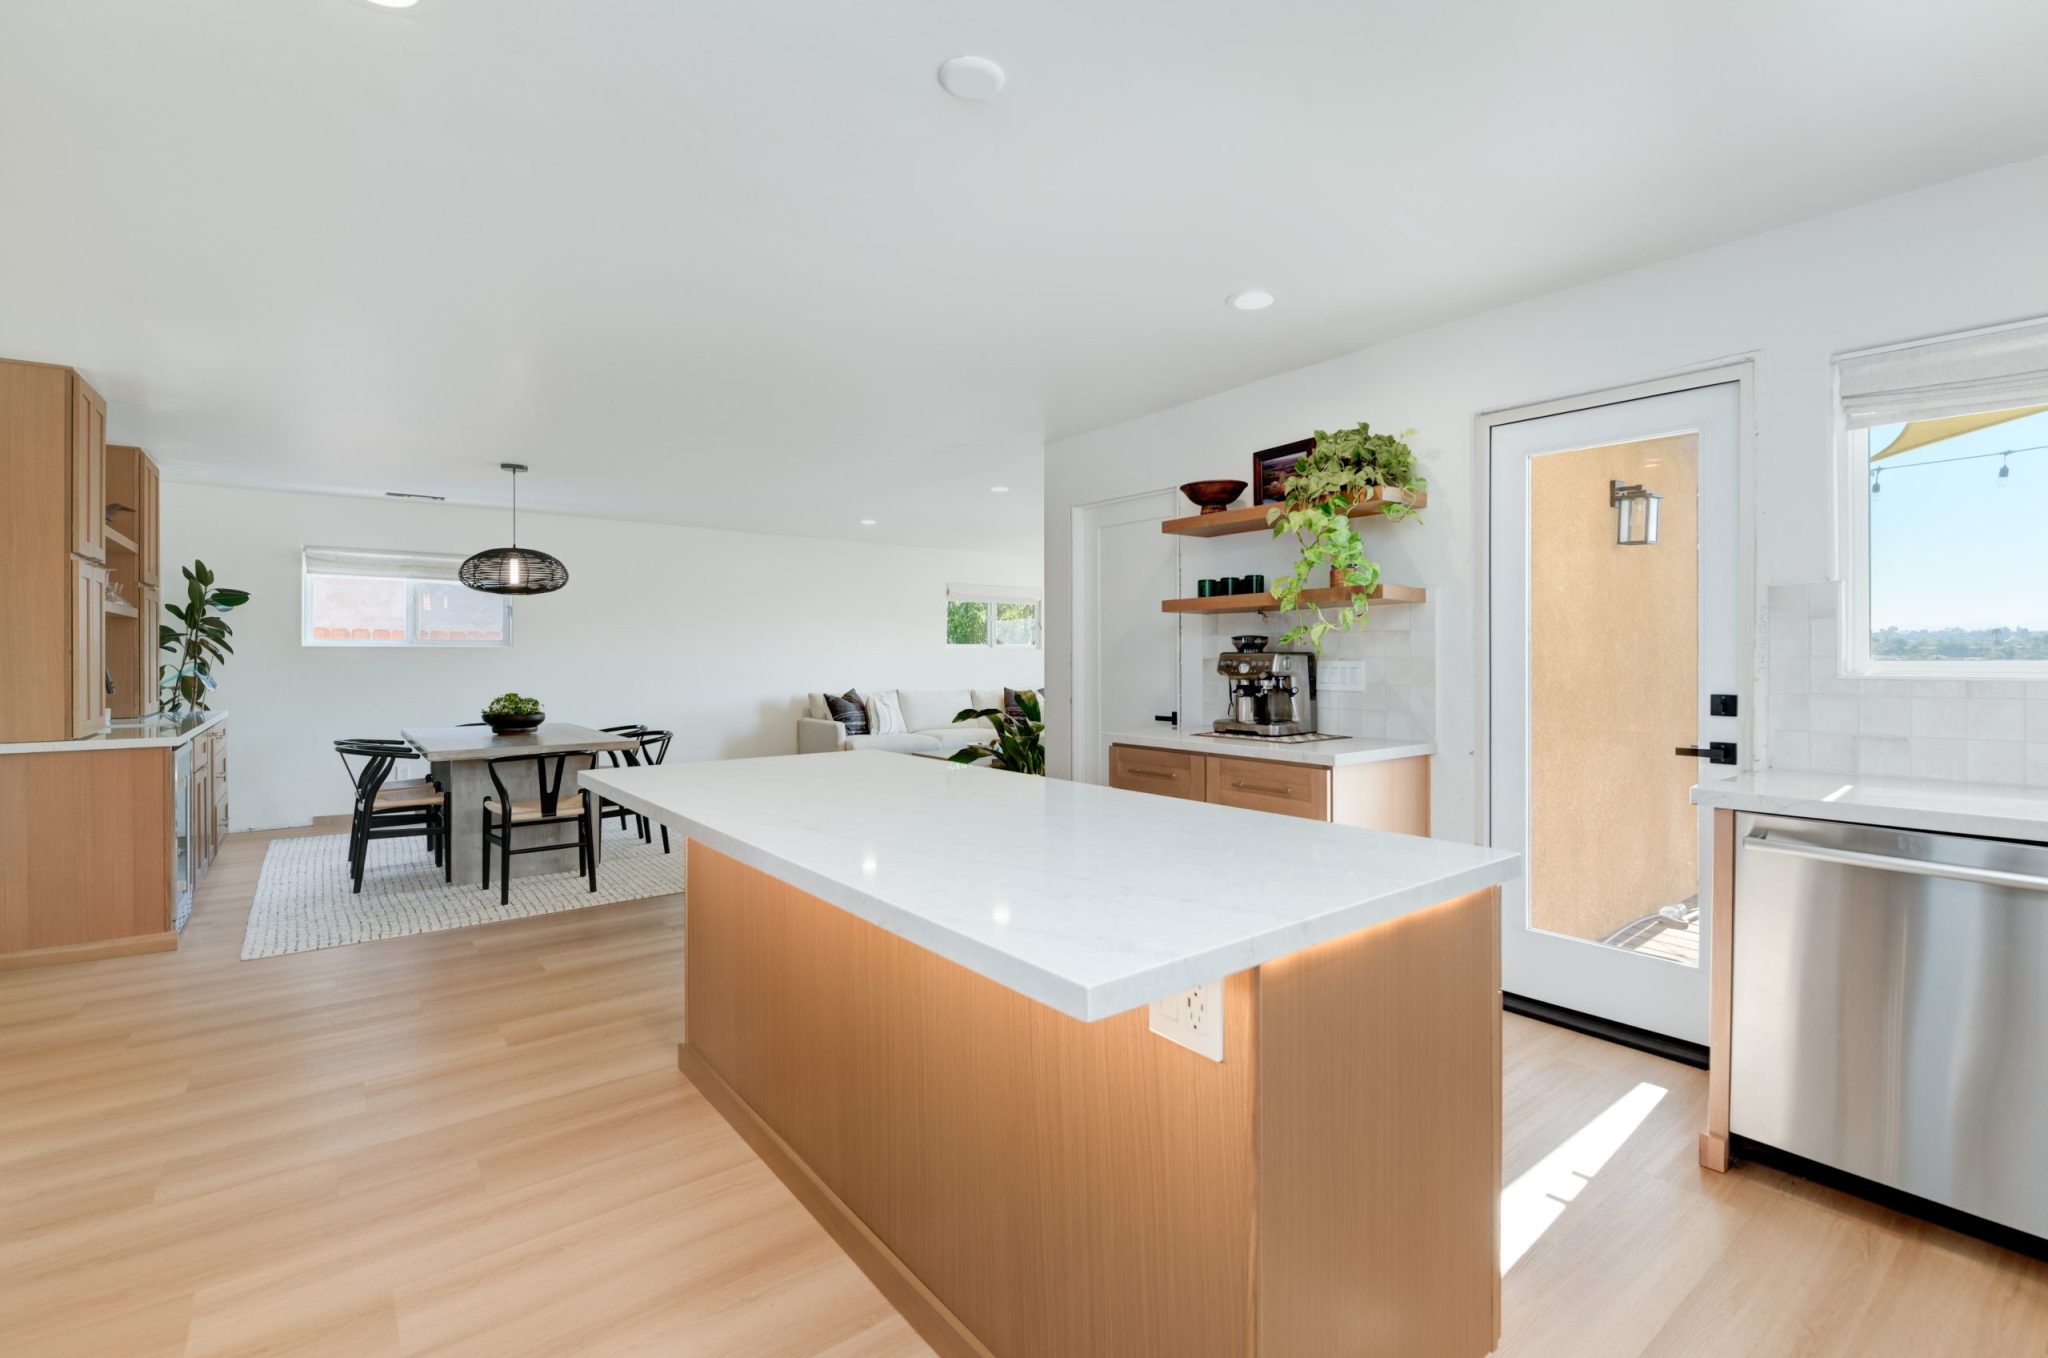
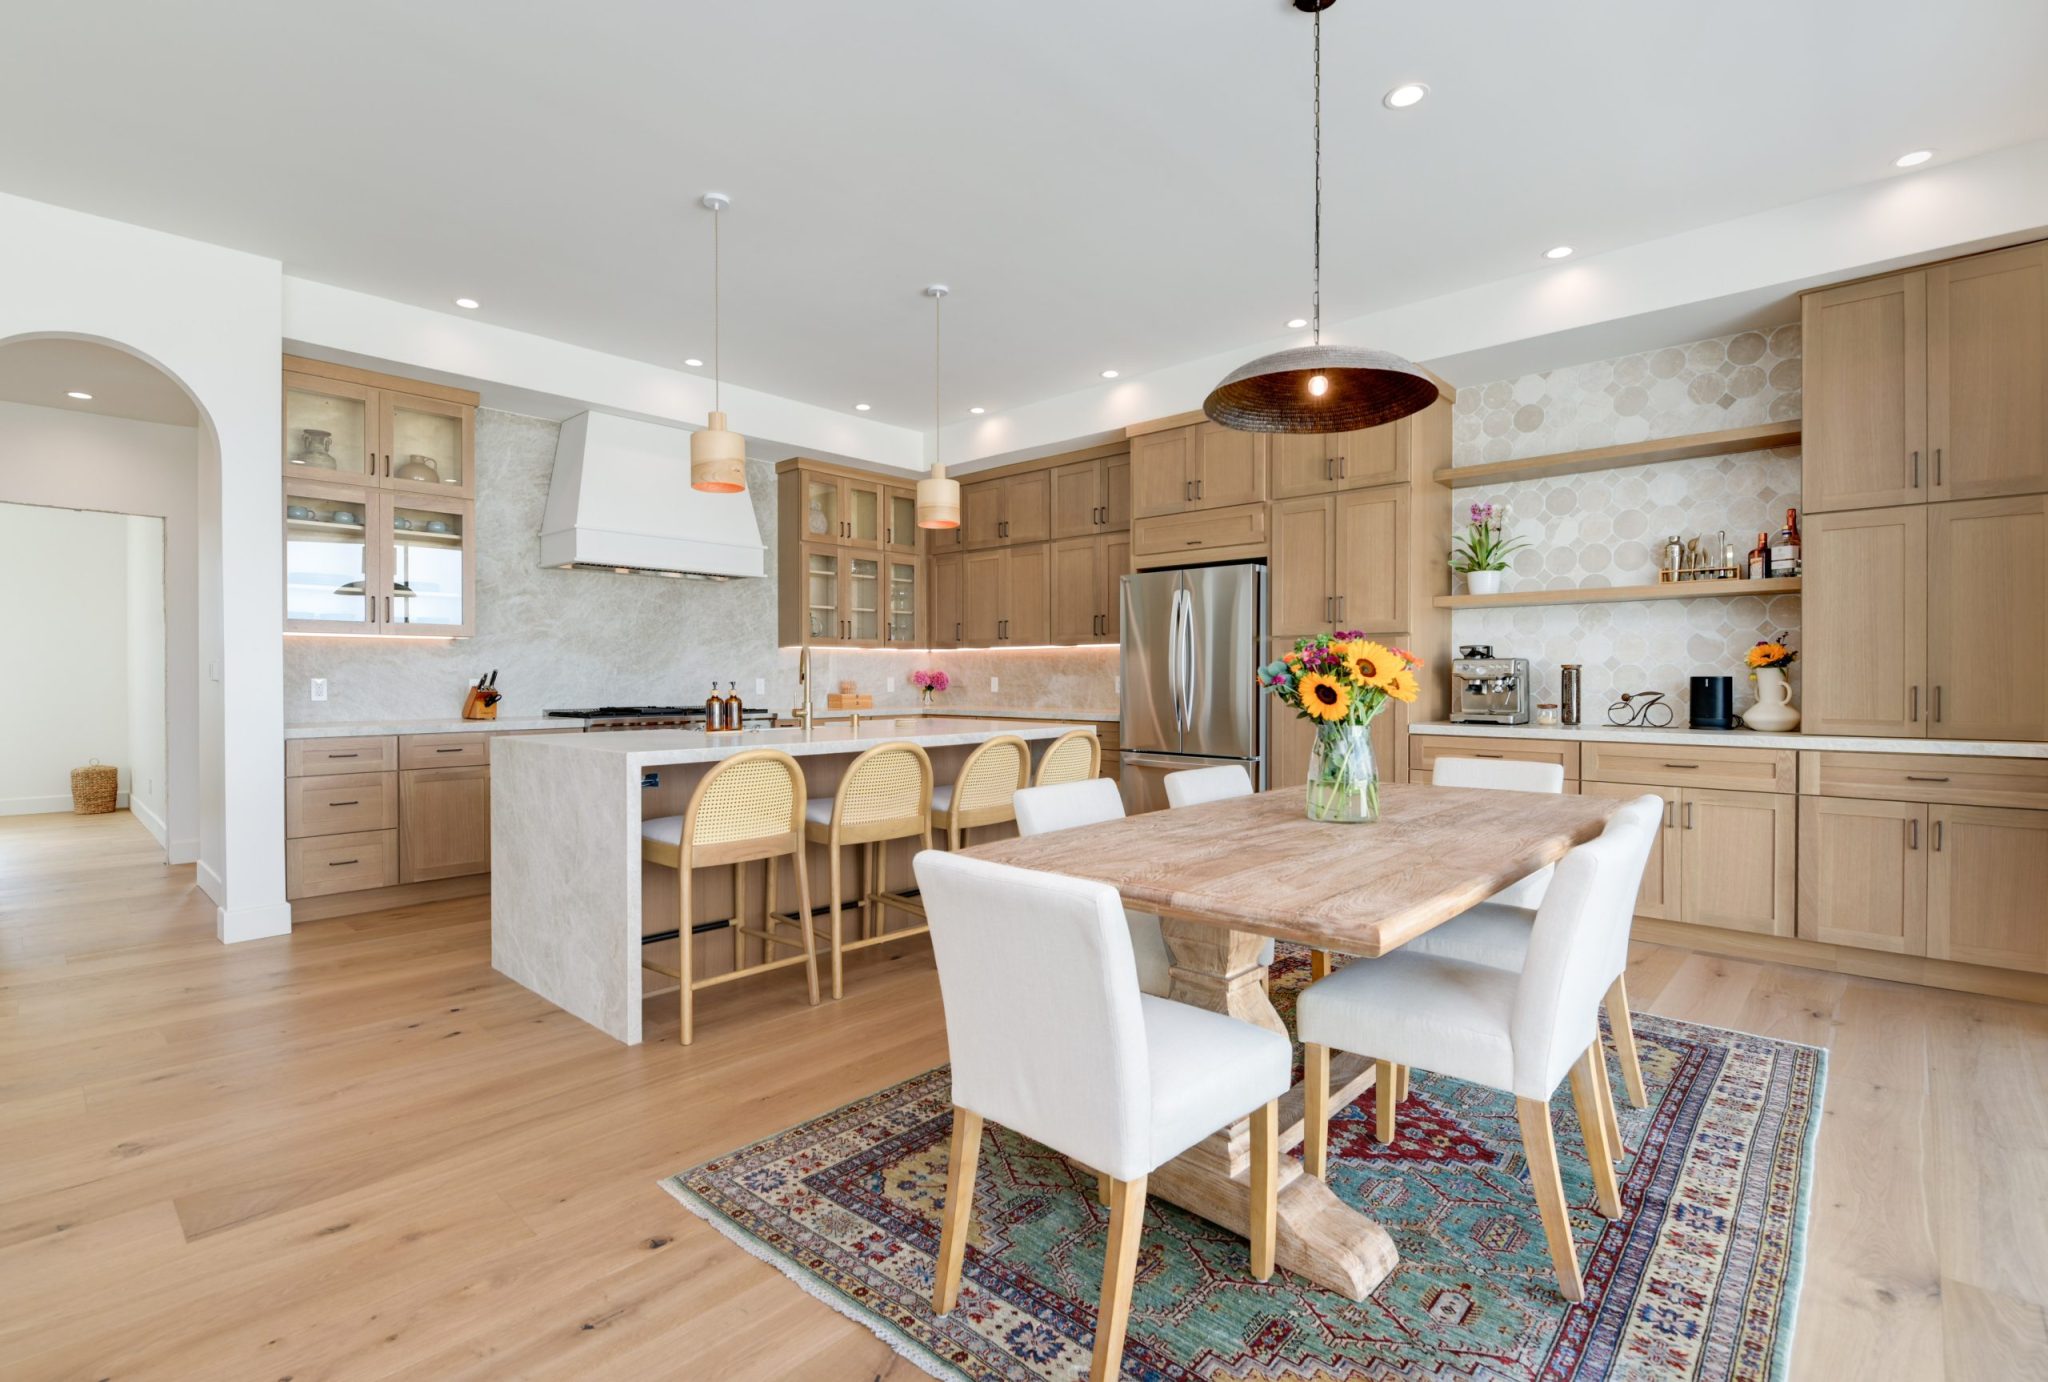
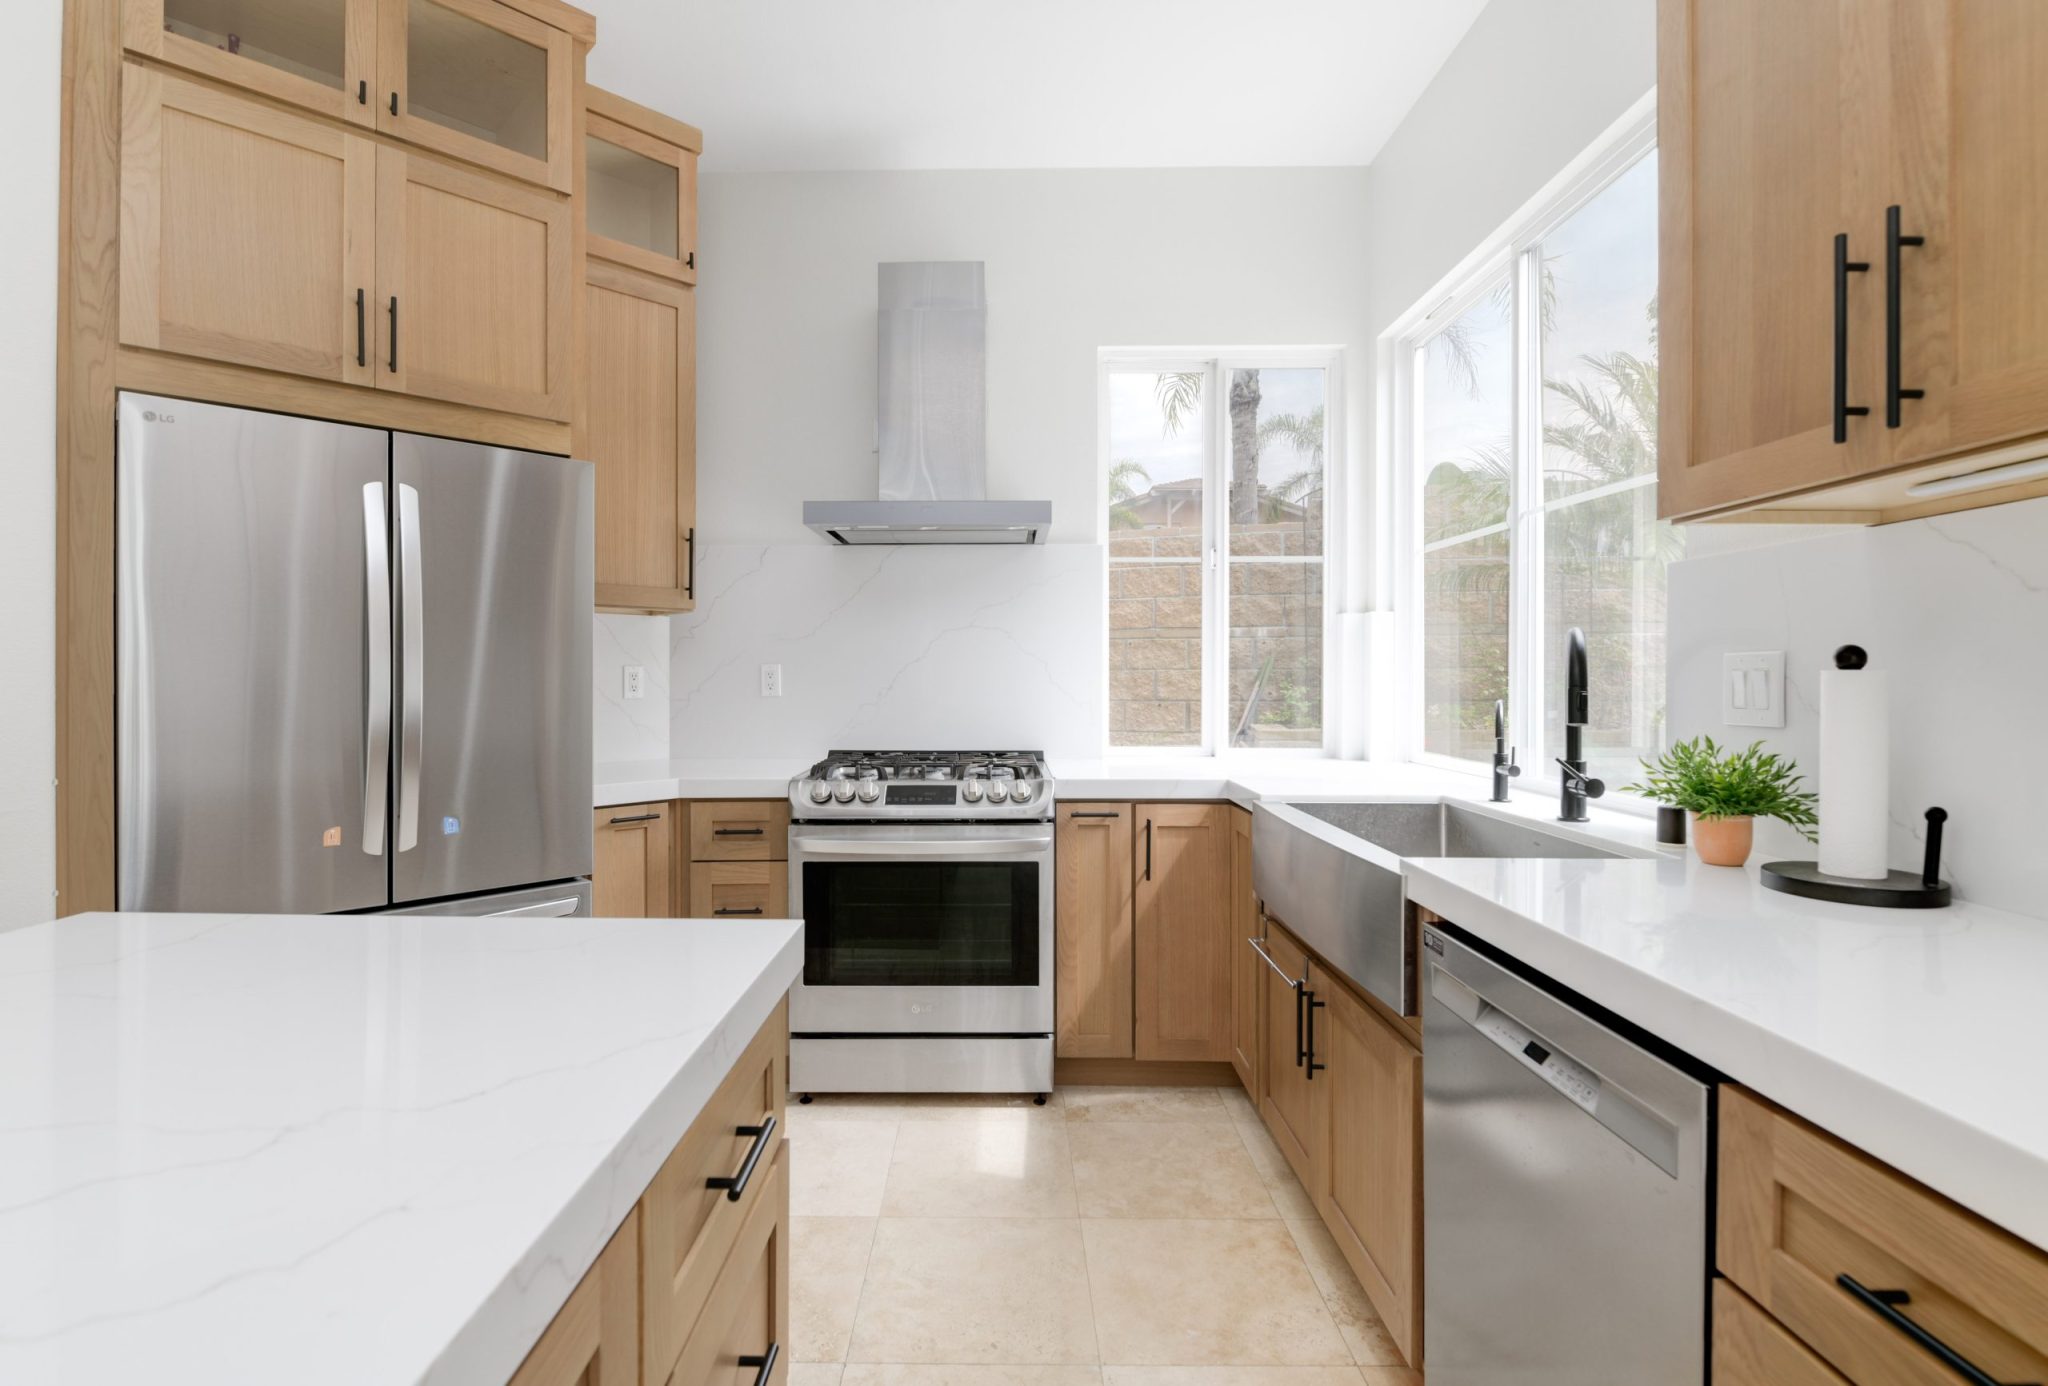
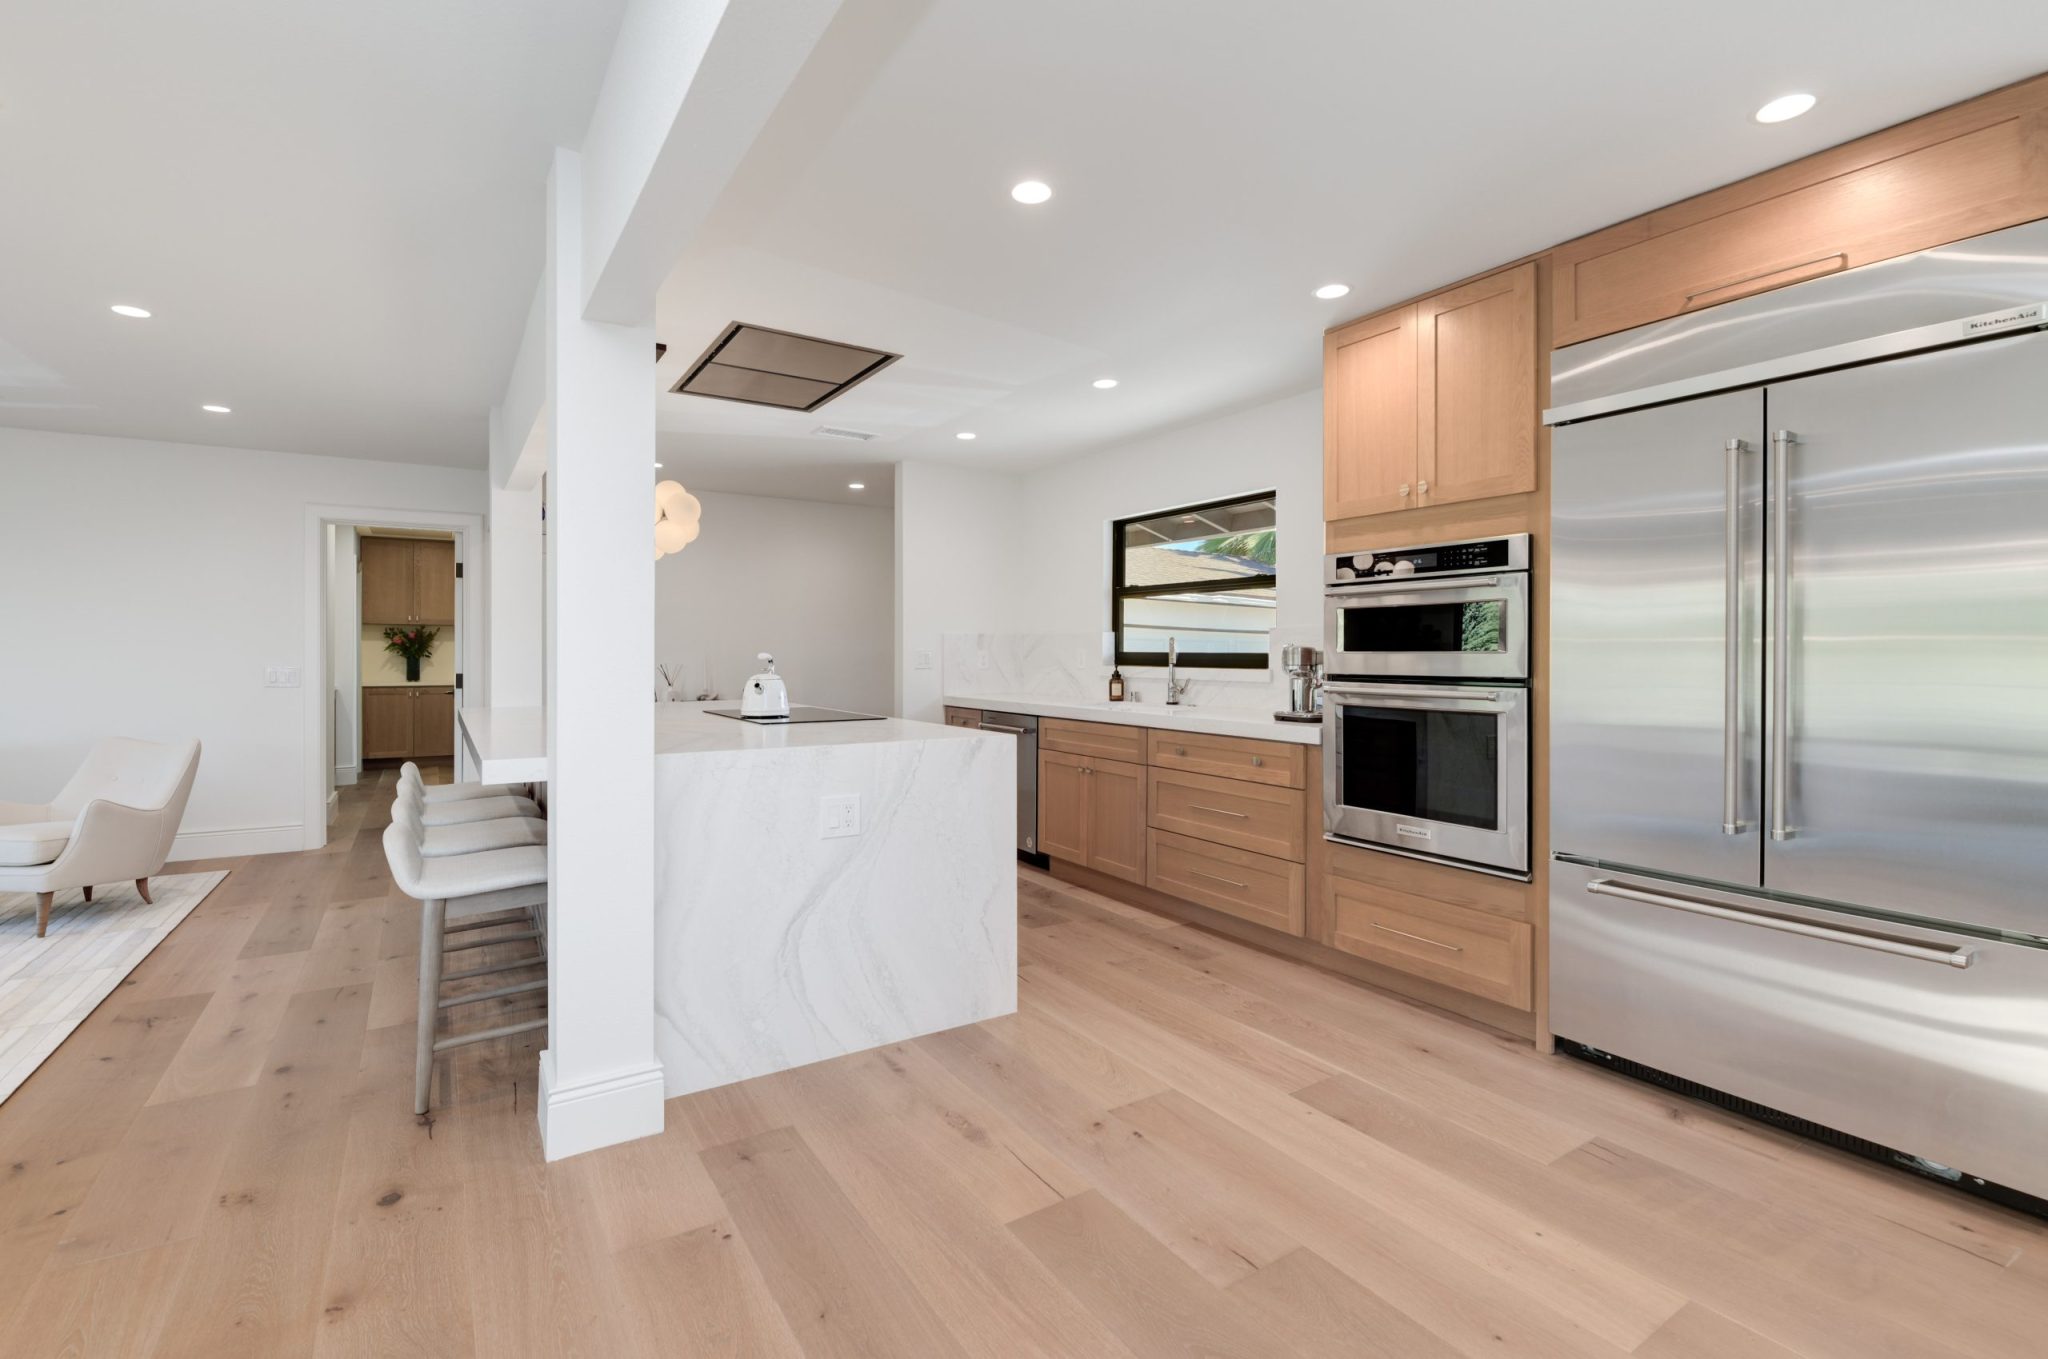
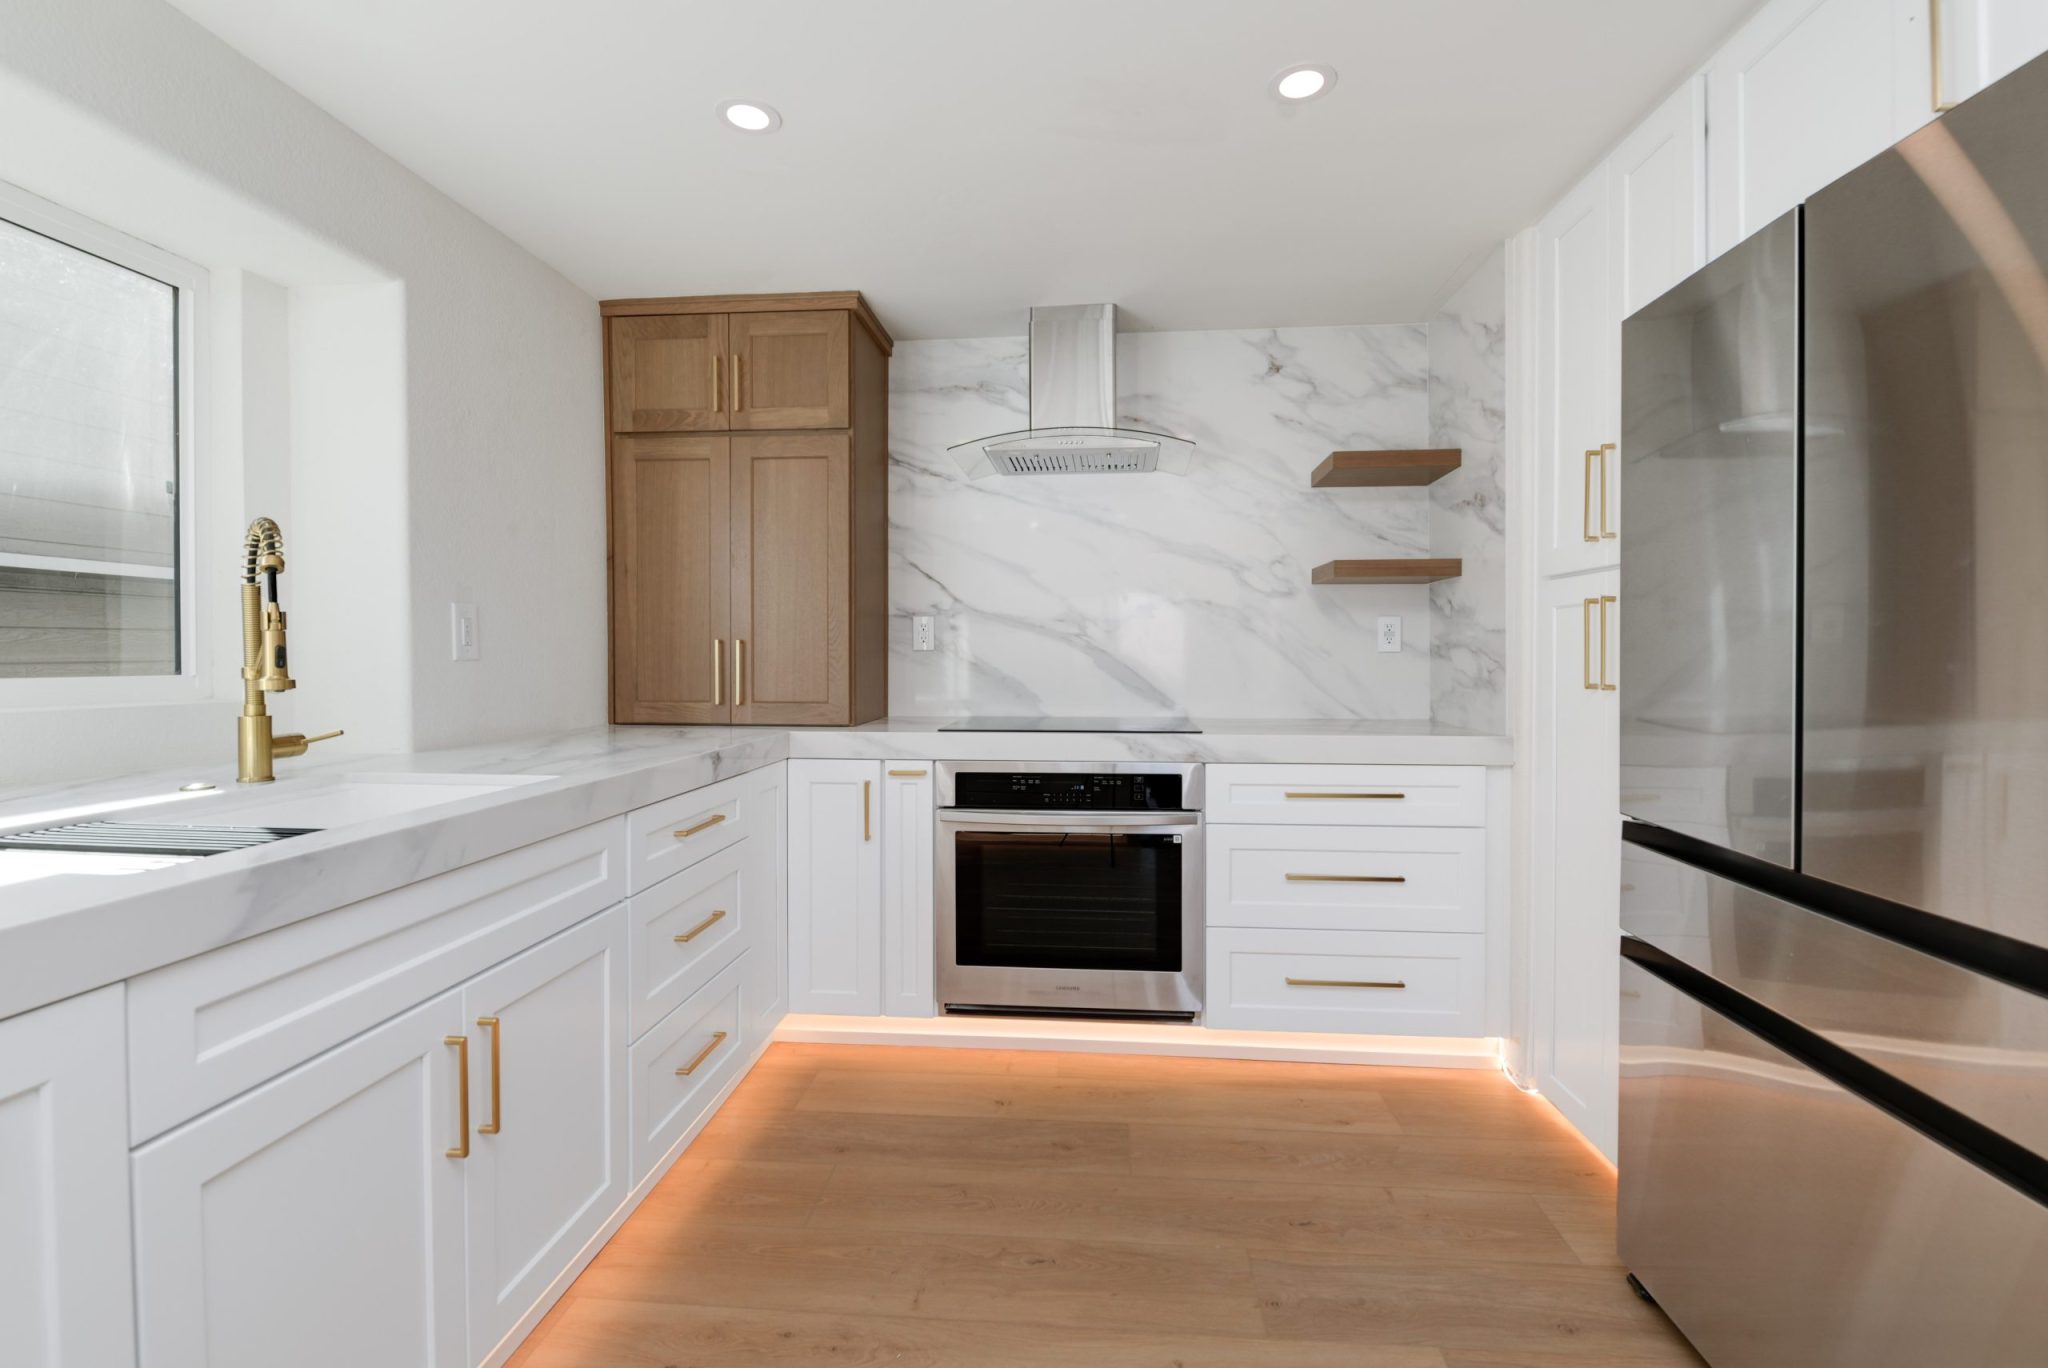
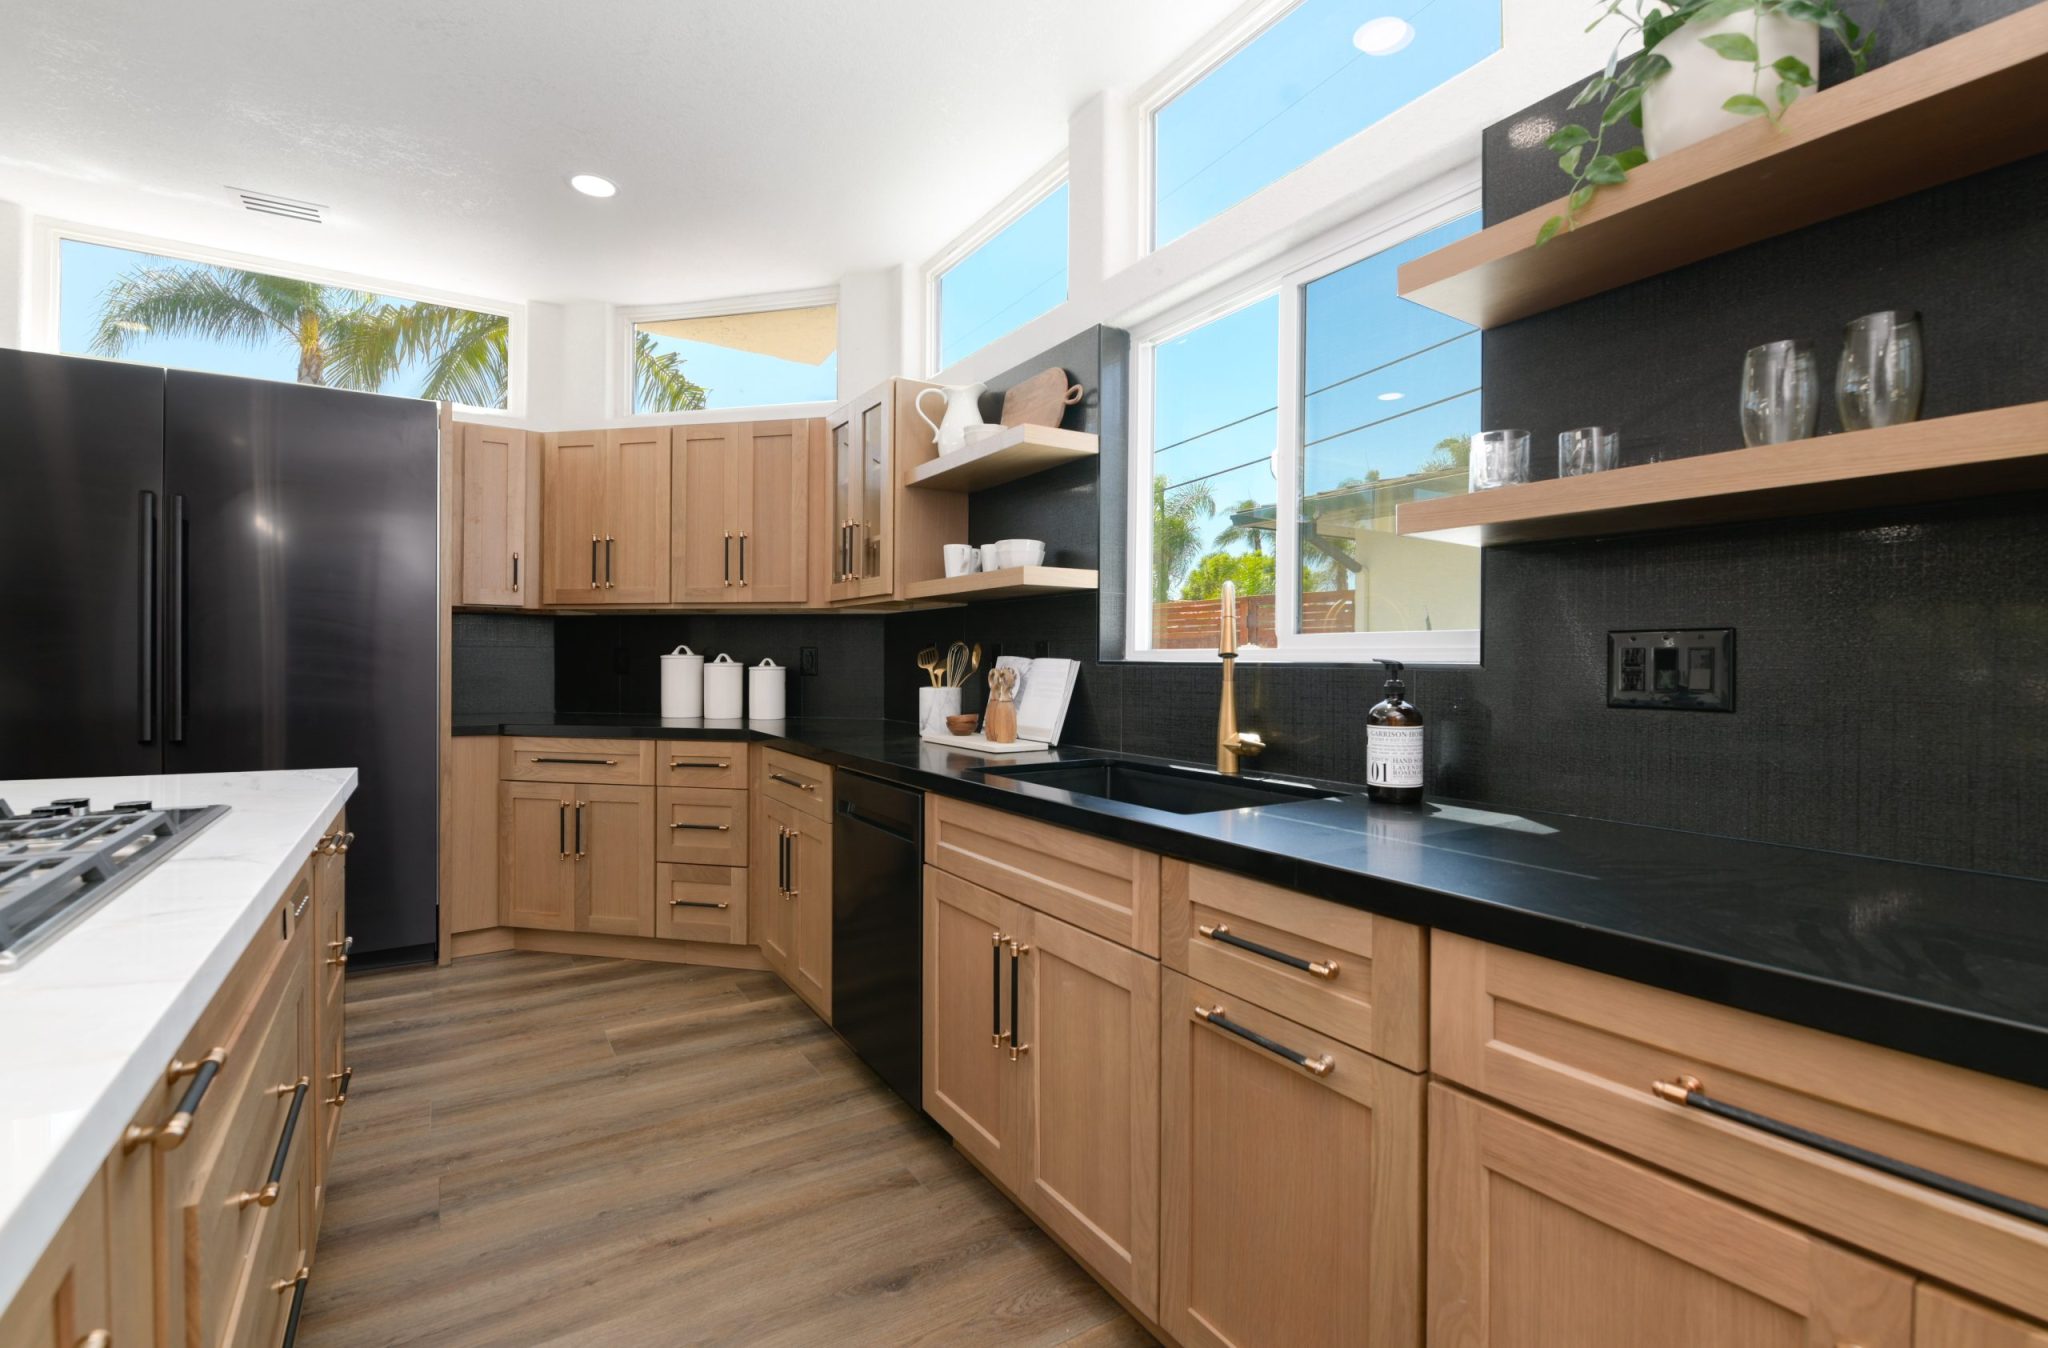
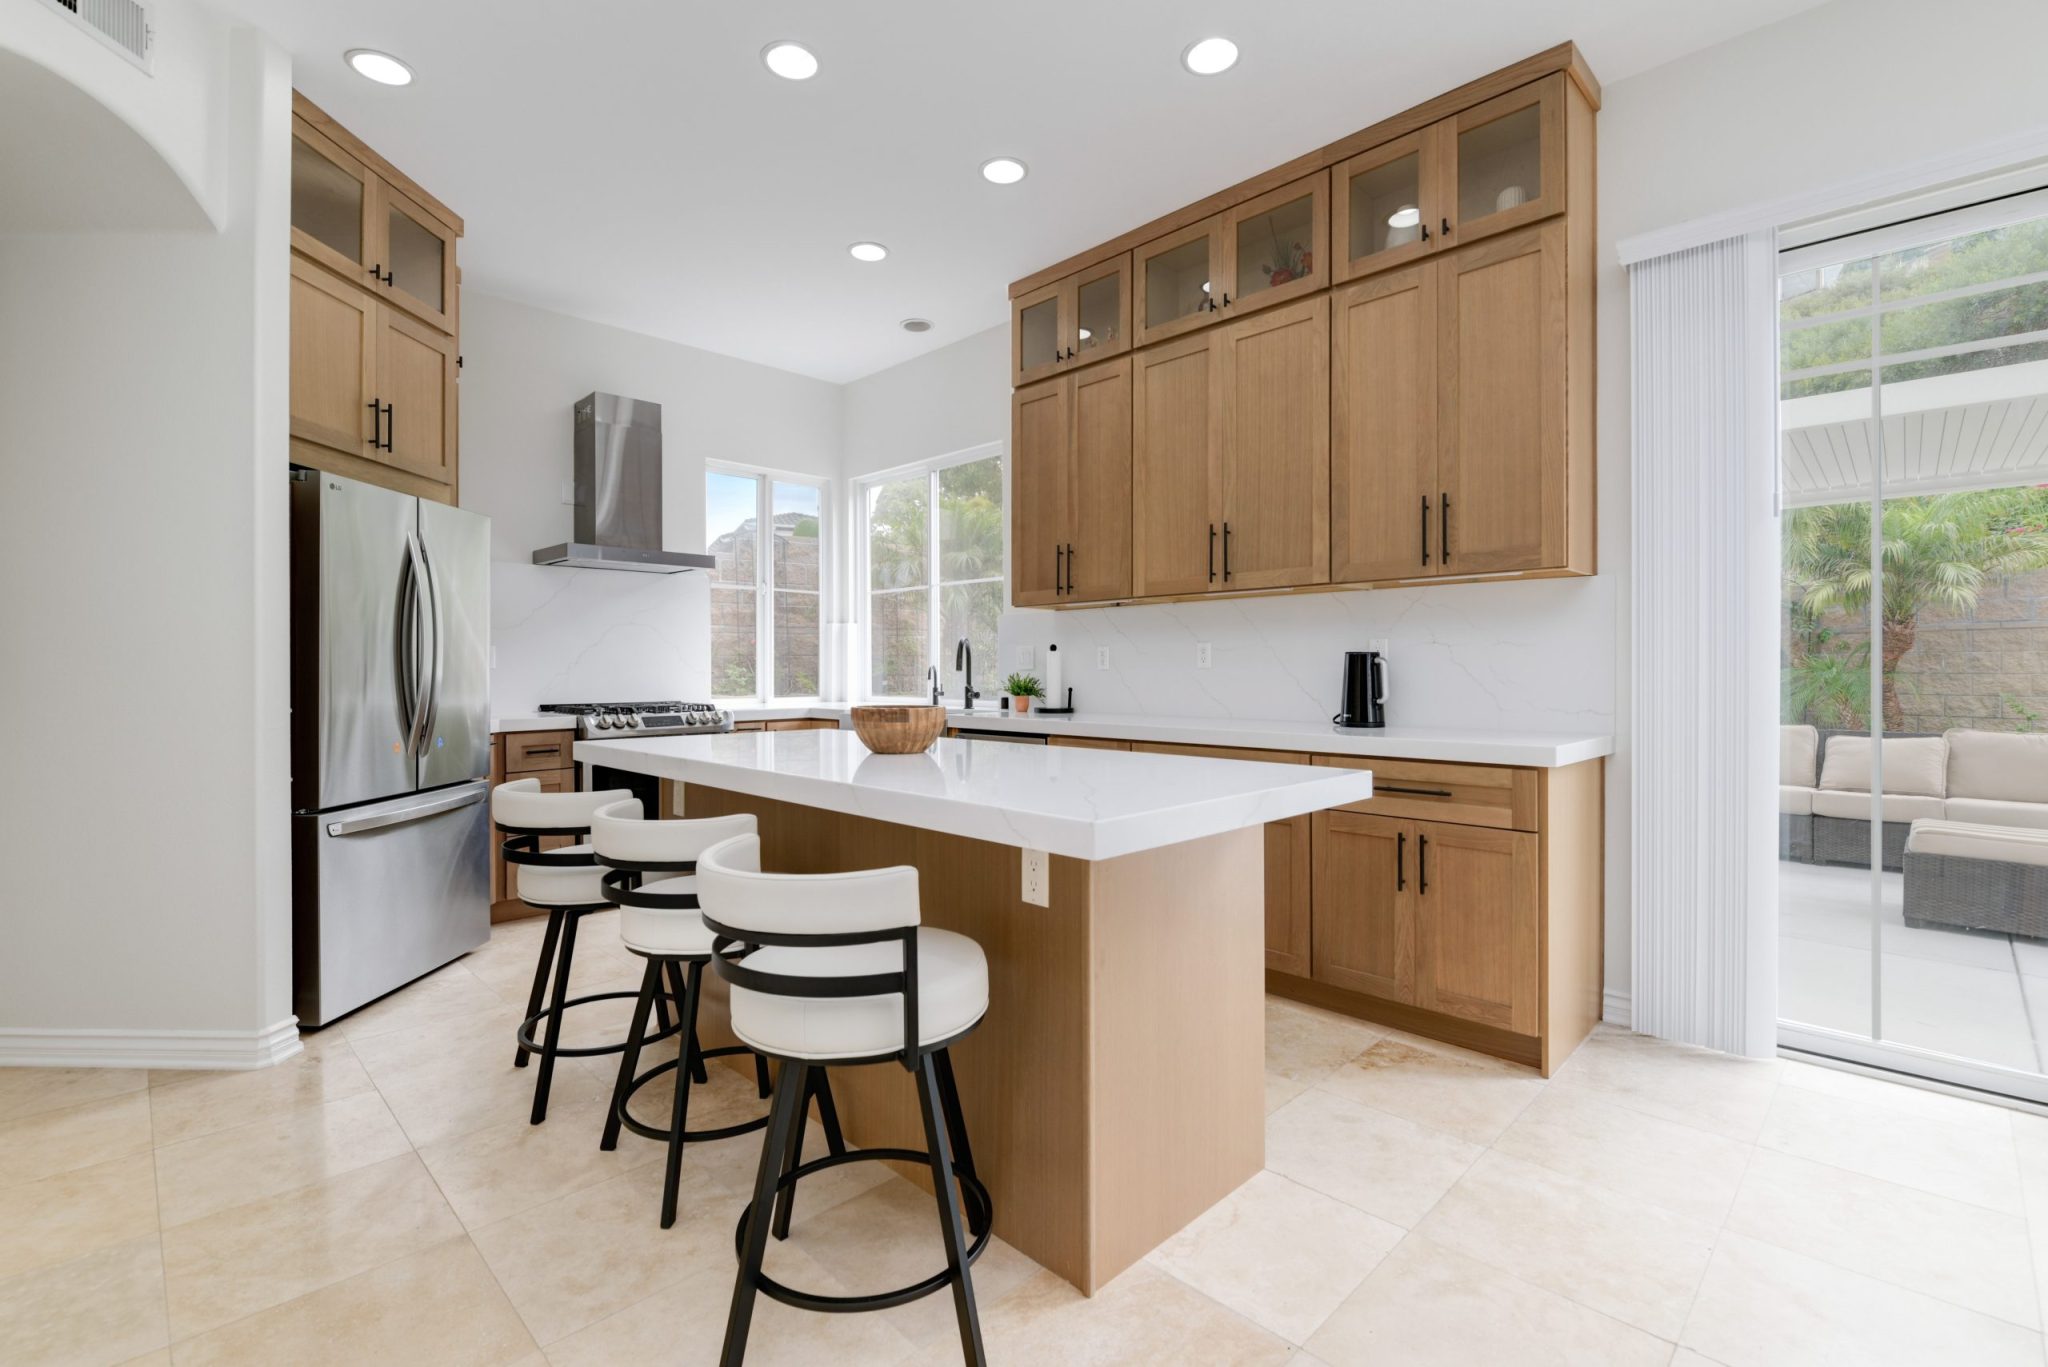
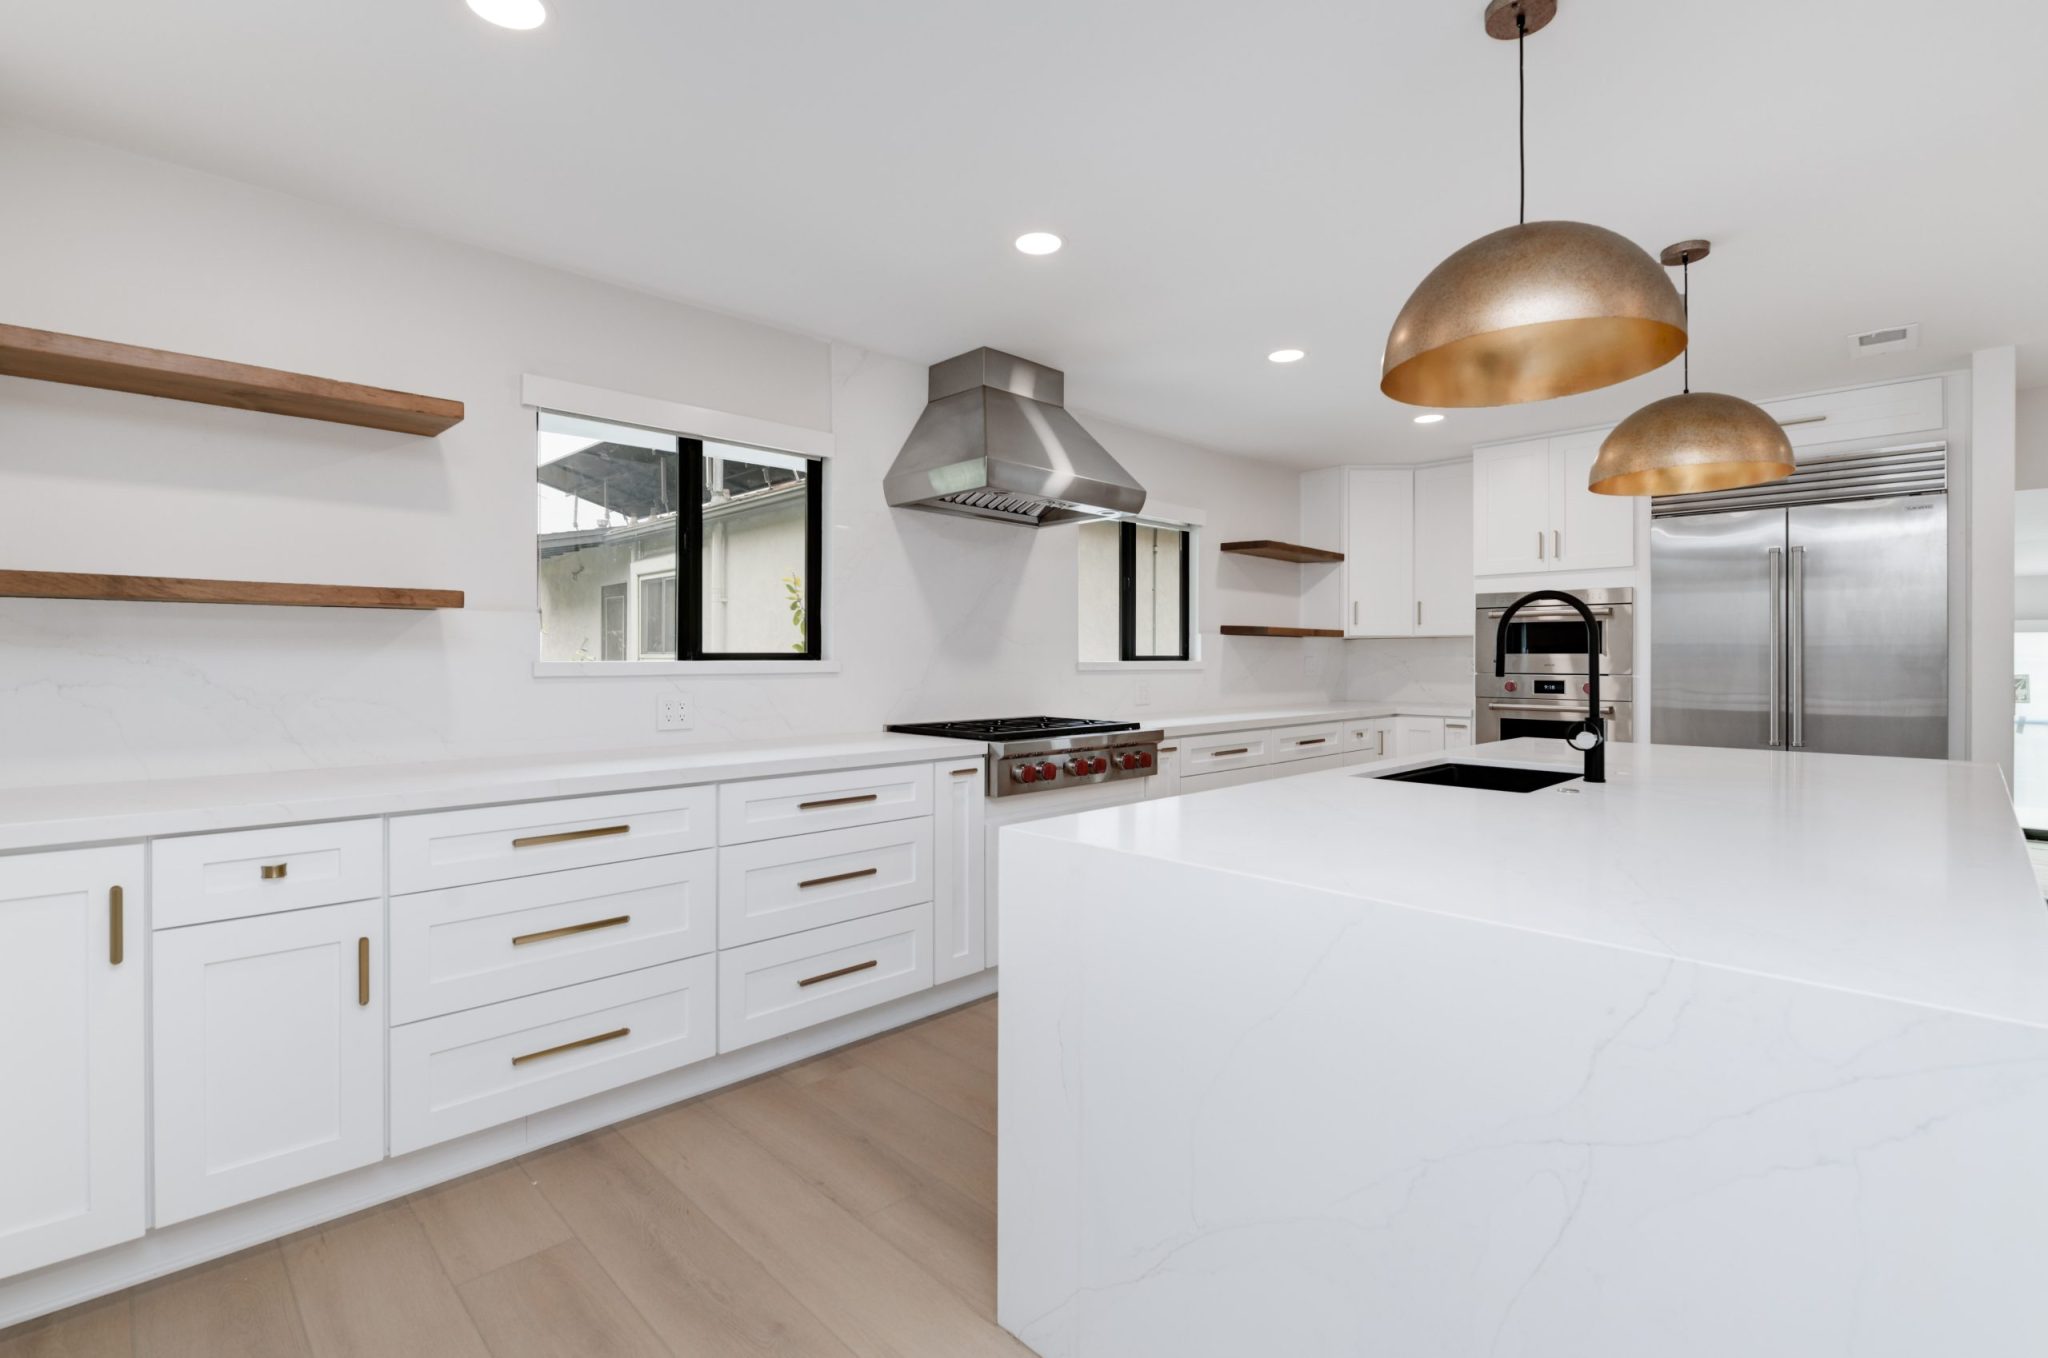
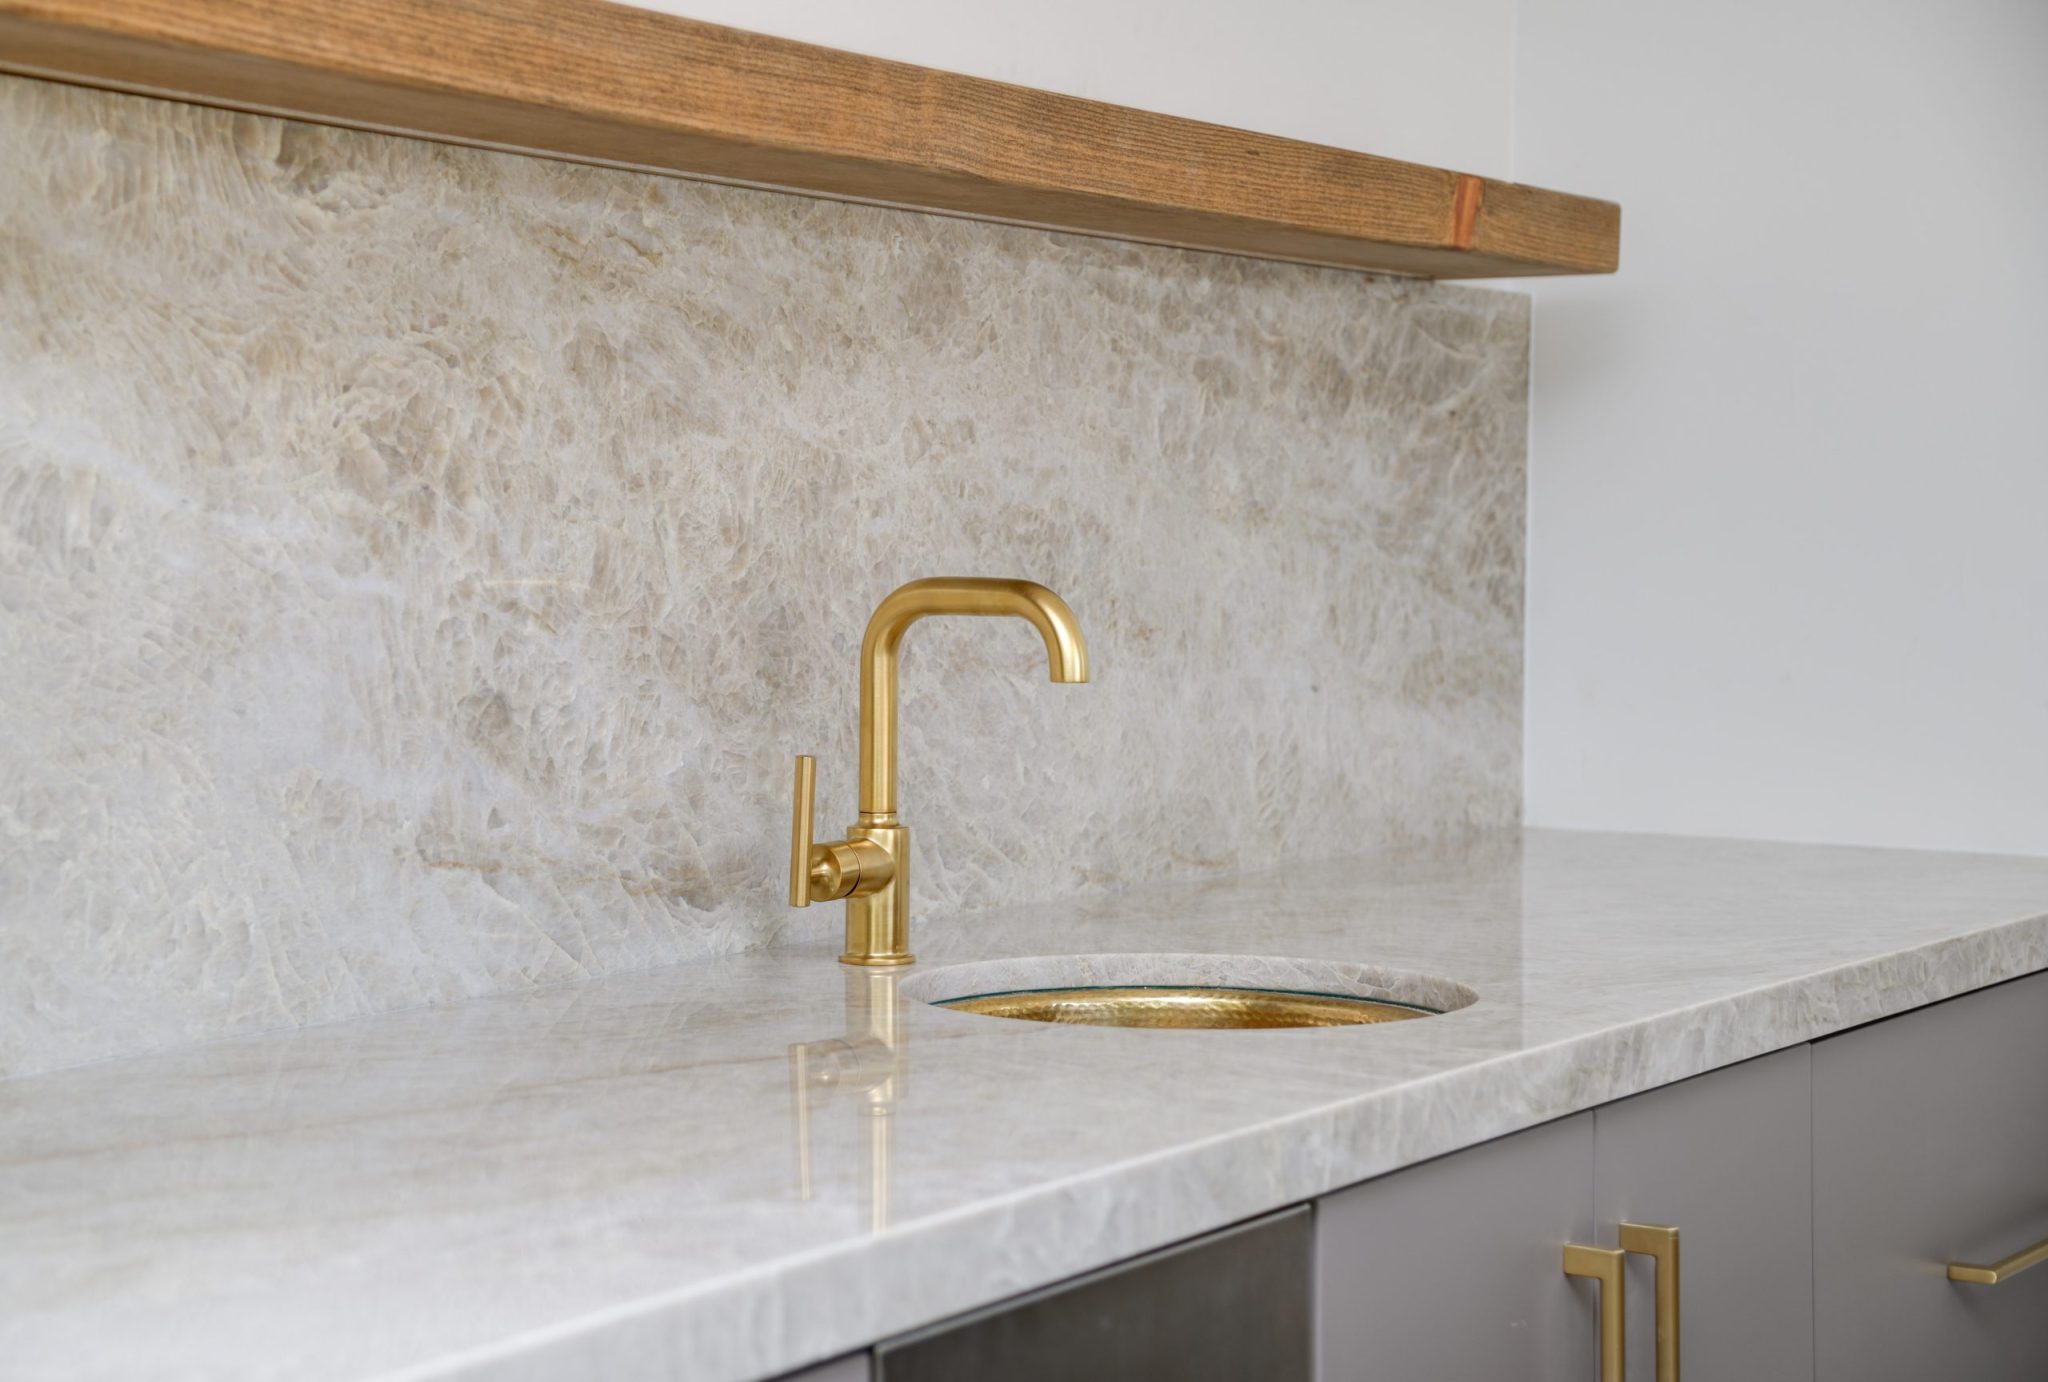
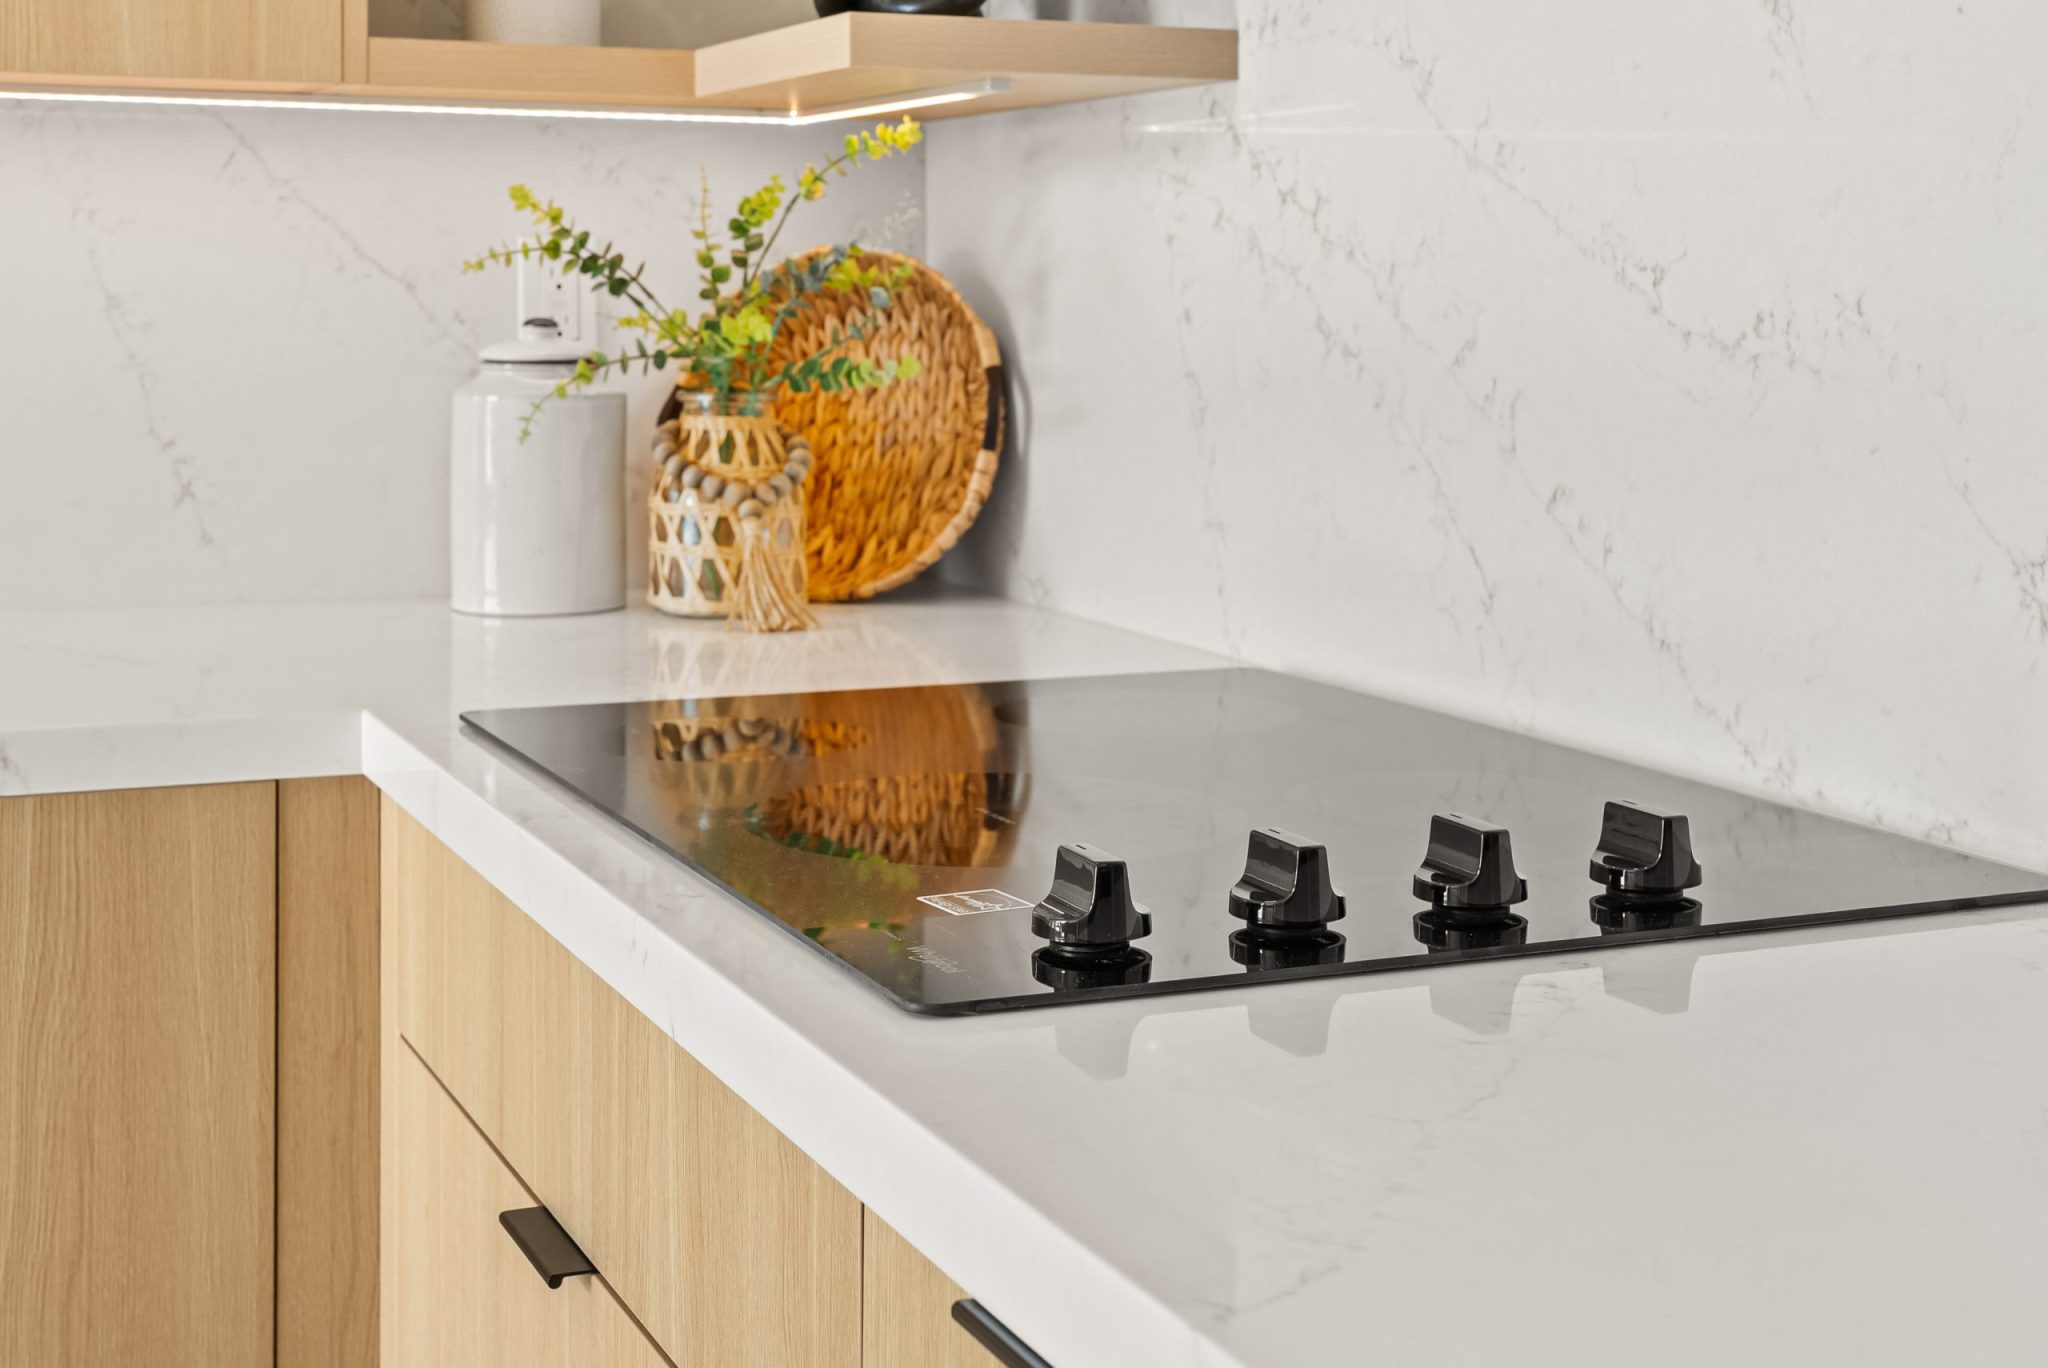
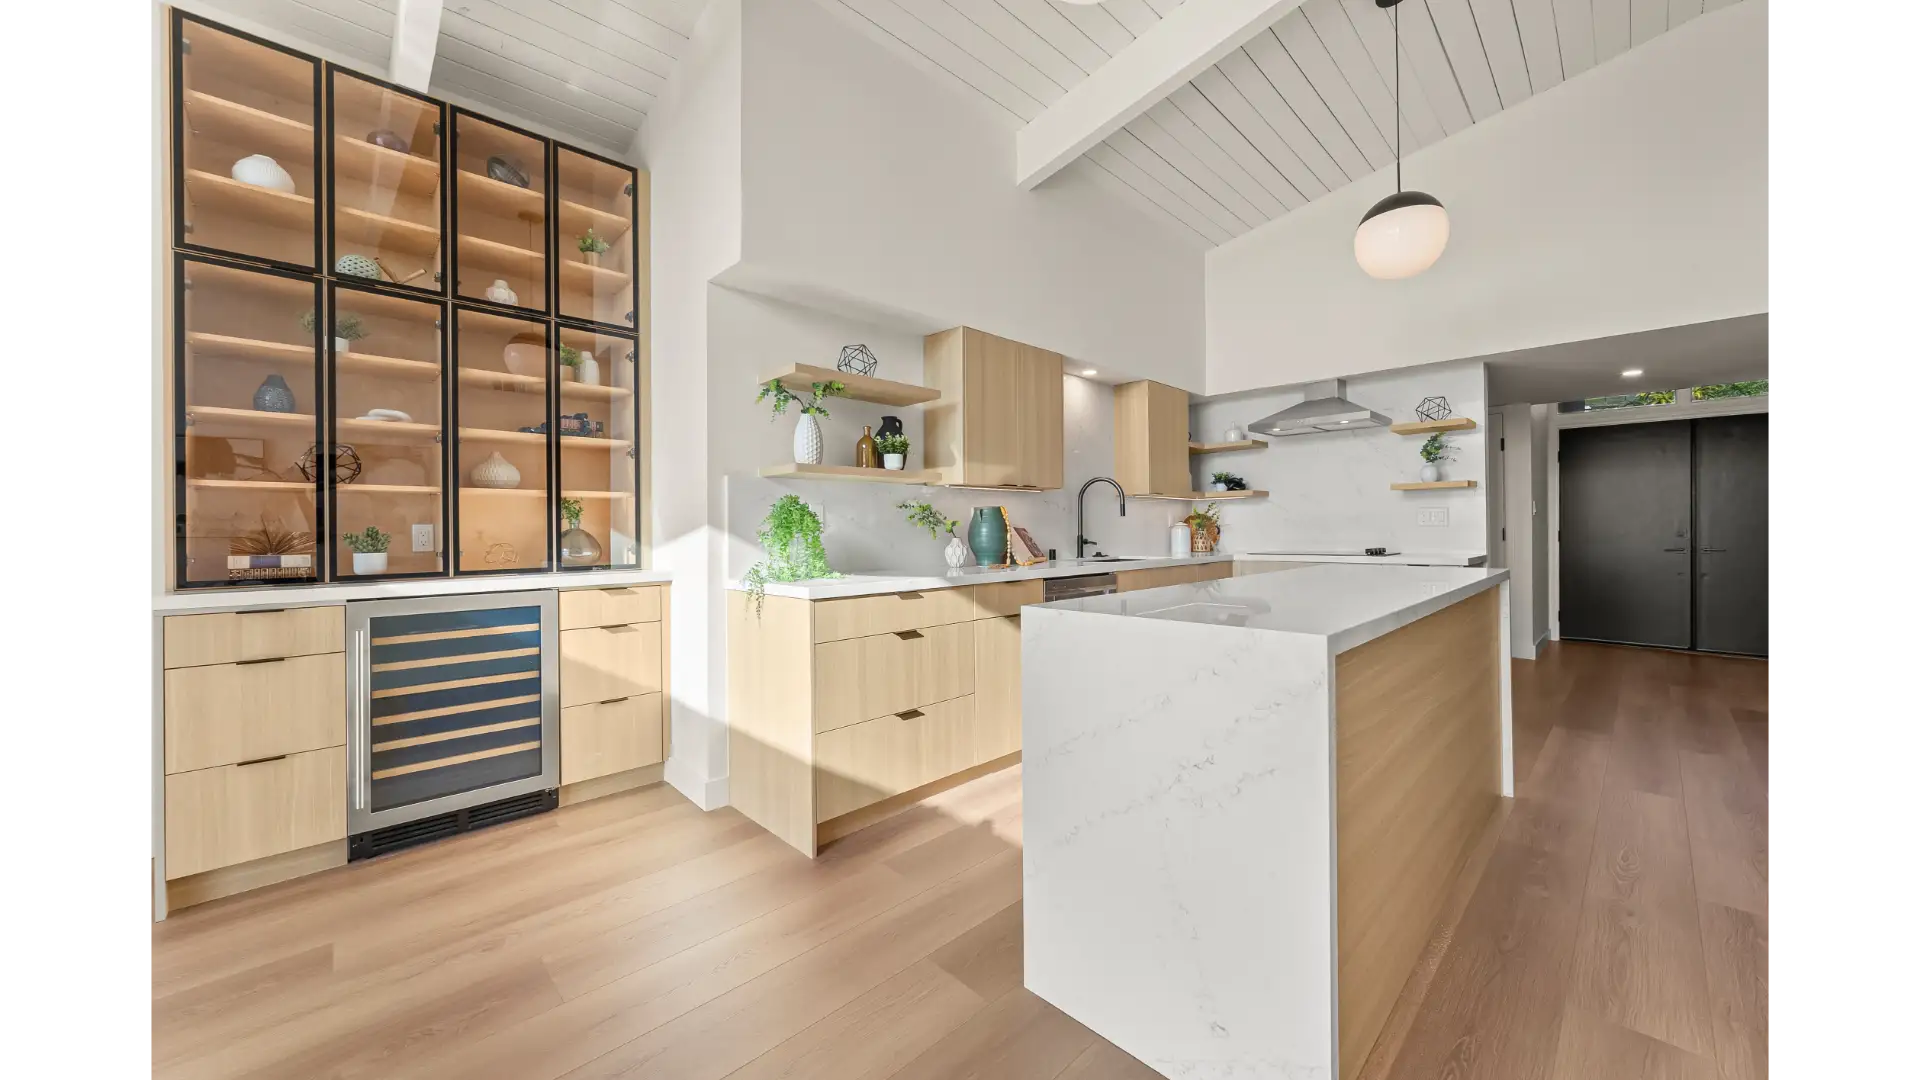
Check out our custome kitchen we did for a client

Why Soil and Foundation Movement Matter Before Opening Up a Kitchen
Soil composition across San Diego varies significantly with proximity to the coast. Moving inland toward areas like Rancho Santa Fe and Poway, the soil consists of heavy, expansive clay, primarily the Las Flores and Redding series. These soil types contain clay content exceeding 30% and exhibit a moderate to high shrink-swell potential. The soil mechanics are highly destructive to rigid building materials. When these soils absorb seasonal moisture during Southern California winter rains, the smectitic minerals within the clay expand significantly.
This hydrostatic pressure causes upward heave, resulting in a phenomenon known as “edge lift” along the foundation’s perimeter. Conversely, during the extended dry summer months, the soil dries and contracts, causing “center lift” as the outer edges of the foundation settle into newly formed subterranean voids.
If a kitchen remodel involves expanding the home’s footprint or replacing outdated, flexible flooring with modern, rigid, large-format porcelain or sintered stone, the foundation must be isolated from this geotechnical distress. Without installing proper uncoupling membranes over the concrete slab, or evaluating the need for a
4- to 6-foot-deep underground cutoff wall around the perimeter of the house, the sheer shear force of the shifting clay will inevitably crack high-end flooring and throw custom millwork out of plumb.
Furthermore, the rolling topography of San Diego’s foothill communities creates severe erosion challenges on slopes exceeding 15%, particularly in areas with granitic soils. Any kitchen remodel involving exterior structural work, cantilevered decks, or retaining walls on these hillsides requires comprehensive erosion control plans, including terracing and the establishment of deep-rooted native vegetation
Soil Type Profile in San Diego | Primary Locations | Dominant Characteristics & Management Challenges |
Coastal Marine Terraces | La Jolla, Del Mar, Point Loma | Saltwater corrosion risk, sandy loam stability, requires advanced moisture barriers. |
Expansive Clay (Vertisols) | Rancho Santa Fe, Poway, Scripps Ranch | High shrink-swell capacity, severe foundation cracking, structural heaving. |
Alluvial Soils | Mission Valley, Carmel Valley | Flood potential, seasonal high water table complications in valley bottoms. |
Granitic Slopes | Mt. Helix, Alpine, Fallbrook | Rapid nutrient leaching, highly susceptible to severe erosion on steep slopes. |

Transforming Dated Mediterranean Kitchens Into Open Entertaining Spaces

The predominant aesthetic of luxury San Diego estates built in the 1980s and 1990s relies heavily on Mediterranean-style architecture. While grand on the exterior – often featuring terra-cotta roof tiles, sweeping porticos, and heavy stucco finishes – the interior kitchen footprints are notoriously problematic by modern functional standards. These spaces are characterized by isolated, closed-off layouts that compartmentalize the home, separating the chef from the living areas and choking off the flow of natural daylight.
The interior aesthetics of these original builds typically feature an overwhelming amount of heavy, dark millwork, beige color palettes, and ubiquitous travertine flooring, which instantly date the space to a bygone era. Compounding the functional issues are heavy drywall soffits that overhang the upper cabinets. These soffits were historically used to conceal HVAC ductwork and electrical runs, but they artificially lower the ceiling height, making the kitchen feel compressed and cave-like. Furthermore, many of these kitchens utilized massive, space-consuming island downdraft ventilation units to exhaust the cooktops. These downdrafts are functionally obsolete; they counteract the natural physics of rising heat and often compete with the home’s central return air register, failing to adequately capture grease and smoke.
Reconfiguring these spaces requires aggressive structural modification. Modernizing a San Diego Mediterranean kitchen almost always involves eradicating the load-bearing walls that separate the kitchen from the formal dining and living spaces. This is not a cosmetic procedure. Safely removing a load-bearing wall requires constructing temporary shoring walls to support the second floor or roof structure, cutting out the existing timber studs, and installing massive steel I-beams or engineered Parallam (PSL) beams into the ceiling cavity. The point loads from these new beams must then be tracked down through the wall framing and transferred directly into the foundation, often requiring the concrete slab to be saw-cut so that new, reinforced concrete footings can be poured beneath the posts. This level of structural engineering provides the expansive, light-filled, open-concept spaces that modern luxury buyers demand, transforming a dark 1990s layout into a highly functional culinary sanctuary
Material and Installation Planning for Coastal and Inland Homes
The coastal environment adjacent to San Diego experiences fluctuating ambient humidity that directly affects the installation of Custom Millwork. Wood is a hygroscopic material; it breathes, absorbing and releasing moisture to reach equilibrium with its surrounding environment.
If high-end cabinetry is delivered to a job site in coastal areas like La Jolla or Del Mar and brought into an unconditioned environment before the home’s HVAC system is fully operational, the wood will aggressively absorb ambient marine moisture and expand. Once construction is complete and the air conditioning is turned on, rapid dehumidification causes the wood to shrink.
This violently pulls the cabinet joints apart, blows out the joinery, and fractures the painted finishes along the grain lines.
Establishing an actively climate-controlled staging area on-site is a non-negotiable protocol for MEE Builders before any luxury materials, solid hardwood flooring, or custom cabinetry cross the threshold of a residence.

Featured Kitchen Remodeling Project
")
")
Del Mar Open-Concept Kitchen Remodel
A modern, spa-inspired bathroom with striking marble-effect walls and sleek black stone flooring.
The double vanity features a dark wood finish, brass fixtures, and elegant oval mirrors with warm lighting. A freestanding white bathtub and textured glass window complete the clean, luxurious feel with soft natural light.

The Value of One Team From Design Through Construction
The luxury remodeling industry in San Diego is heavily populated by massive, corporate design-build firms that prioritize volume over precision. Many of these large entities structure their operations around a highly segmented, corporate assembly line. Their standard multi-step processes involve a homeowner interacting with a rotating cast of characters: an initial sales consultant conducts the in-home visit, hands the file off to an architectural drafter, who passes the blueprints to an interior designer, who then throws the specifications over the wall to an estimator, before the entire package finally lands on the desk of a project manager who has never met the client
How Poor Hand-Offs Derail Complex Kitchen Remodels
This segmented corporate structure is inherently flawed and highly susceptible to data degradation. Every time a complex remodeling project is handed off to a new internal department, critical, nuanced information is lost in translation. For example, the interior designer might specify a 48-inch fully integrated Sub-Zero refrigerator. However, if the framing crew misinterprets the rough-opening dimensions because the project manager missed an addendum in an email thread, the structural framing will be built 1/2-inch too narrow. By the time the appliance arrives on-site twelve weeks later, the cabinet run is permanently ruined, necessitating thousands of dollars in tear-out work and catastrophic schedule delays.
MEE Builders actively rejects this bloated corporate model. Under the direct, daily oversight of owner Yaron Gauzner 12, the complex thinking required for high-end cabinetry, structural load transfers, and smart-appliance integration is handled by a single, continuous point of authority. There is no corporate telephone game. The individual who collaborates on the structural load paths during the design phase is the exact same individual verifying the laser-level lines on the subfloor during framing, and the same individual inspecting the torque on the plumbing fittings before the drywall goes up. This lean, direct-response operational model eliminates the communication lag that plagues massive firms, ensuring that the initial design intent is flawlessly executed in the physical build.

One Team for Design, Engineering, and Permit Coordination

To streamline the notoriously difficult pre-construction and permitting phase in San Diego County, MEE Builders utilizes an integrated approach to drafting and structural compliance, leveraging specialized local architectural and civil engineering support. By bringing deep civil engineering and project management expertise directly to the contractor’s table from the absolute inception of the design, the initial blueprints are not just visually compelling, but structurally viable and instantly compliant with local municipal codes. This highly technical pre-vetting process prevents the costly “redesign loops” that occur when a purely aesthetic concept is abruptly rejected by the city planner for lacking proper shear wall calculations or structural load data. The result is a radically accelerated timeline from initial concept to the issuance of the building permit.
What Homeowners Need to Know About Kitchen Remodel Permits and Code
California’s Title 24 Building Standards Code underwent a massive, statewide overhaul that took full effect on January 1, 2026. Any major kitchen remodel, addition, or significant structural alteration in San Diego must now navigate a labyrinth of stringent energy efficiency and electrification mandates.
The 2026 update is unapologetically aggressive in its push to decarbonize residential buildings, effectively forcing the long-term phasing out of natural gas infrastructure to reduce greenhouse gas (GHG) emissions, which currently account for 25% of the state’s total output

California's Title 24 Building Standards Code
CSLB Class B and B-2 Licensing for Structural Kitchen Remodels
Undertaking a comprehensive kitchen remodel in San Diego County- particularly one that involves aggressive structural modifications, the relocation of main electrical sub-panels, and the trenching of concrete slabs for new plumbing lines- is a highly complex operation heavily regulated by the California Contractors State License Board (CSLB).
Operating without the correct, legally mandated license classification not only violates state law and can result in immediate project shutdowns, but also exposes the property owner to significant financial liability and uninsurable risk.

How Class B and B-2 Licensing Affect Remodel Scope
The CSLB sets exact parameters for which types of contractors can perform specific scopes of work. According to the California Business and Professions Code (BPC) Section 7057, a General Building Contractor holding a Class “B” license is authorized to execute prime contracts that require the use of at least two unrelated building trades or crafts. Crucially, the code explicitly states that rough framing and carpentry do not count toward this multi-trade requirement. A Class “B” contractor cannot legally take a prime contract for a single-trade project (such as simply replacing a roof or updating an electrical panel) unless they simultaneously hold that specific specialty “C” license, or unless they subcontract the work to a properly licensed specialist.
Recently, the CSLB introduced a new, restricted classification: the “B-2” Residential Remodeling Contractor. A B-2 licensee is authorized to work on existing residential wood-frame structures provided the project requires at least three unrelated building trades (e.g., hanging drywall, interior painting, and installing tile flooring). However, the B-2 classification imposes a major legal restriction: a B-2 contractor is strictly prohibited by law from making any structural changes to the building, including the removal or modification of load-bearing walls, nor can they perform work that alters the home’s structural envelope.
For a San Diego remodel that involves removing large load-bearing walls to open up a 1990s Mediterranean footprint, a full Class “B” General Building Contractor is legally required. The contractor must possess deep, documented field experience—at least four years operating at the journeyman level—to successfully orchestrate the complex sequencing of the rough framing crews, the licensed C-10 electrical teams handling the 240V Title 24 upgrades, the C-36 plumbing teams rerouting the gas and water lines, and the structural mechanical engineers.
By operating under strict CSLB Class “B” compliance and pulling all necessary municipal permits from the very beginning, MEE Builders ensures that the structural integrity of the estate is flawlessly preserved, avoiding the catastrophic “red-tags” from city building inspectors that can stall an unlicensed project for months and trigger devastating fines.

Electric-Ready Wiring and Induction Range Planning
The most disruptive element of the 2026 Title 24 code for high-end kitchen remodels is the mandatory “electric-ready” requirement. Even if a homeowner insists on keeping a professional-grade fossil-fuel range, the remodel must legally include robust electrical infrastructure to support future installation of electric appliances. To support high-efficiency induction cooking, the kitchen must be hardwired with a dedicated 240-volt, 50-amp circuit, using heavy-gauge copper wiring, terminating at a receptacle directly behind the cooktop.
Induction cooking is the pinnacle of modern culinary technology, transferring electromagnetic energy directly to ferromagnetic cookware, thereby avoiding the significant ambient heat loss associated with open gas flames. However, pulling new heavy-gauge copper wire through a sprawling 1990s home often necessitates a complete upgrade of the main electrical panel. The property is frequently required to upgrade from an obsolete 100- or 200-amp service to a robust 400-amp system to safely handle the concurrent electrical loads of new heat pump space heaters, heat pump water heaters, induction ranges, and Level 2 electric vehicle chargers.
Incentive programs, such as the Energy-Smart Homes Whole Building Electrification program, actively promote this transition by offering substantial rebates- up to $4,250 for converting all gas appliances to heat pumps and induction technology, plus up to $1,000 in bonuses for the underlying electrical infrastructure upgrades
Kitchen Ventilation, Makeup Air, and CFM Compliance
Proper ventilation is no longer simply about removing cooking odors; it is a strictly regulated component of indoor air quality and thermal envelope efficiency under Title 24. The 2026 standards mandate precise Cubic Feet per Minute (CFM) extraction rates that depend heavily on the kitchen’s total square footage and the specific type of cooking appliance used (electric vs. gas). For enclosed kitchens, the code dictates that a continuous exhaust fan must operate at a minimum of 300 CFM, or alternatively, the system must move a volume of air equivalent to 5 Air Changes per Hour (ACH) of the entire kitchen volume.
Minimum required airflow rates (CFM) and Capture Efficiency (CE) ratings for kitchen hoods over electric and gas ranges, mandated by the 2026 California Energy Code.
The physics of ventilation demand that the exhaust capacity matches the thermal output of the appliance. Gas ranges generate massive amounts of excess heat and combustion byproducts (including nitrogen dioxide and carbon monoxide). A standard rule of thumb dictates a minimal ventilation rate of 100 CFM per 10,000 BTU of cooktop output; thus, an 80,000 BTU gas range requires a minimum exhaust capacity of 800 CFM. Conversely, induction cooktops release significantly less ambient heat, allowing for highly efficient range hoods operating between 350 CFM and 500 CFM depending on the duct run length.
Furthermore, when installing professional-grade ventilation that exceeds 400 CFM, the building code triggers a mandatory makeup air requirement. Pushing 800 CFM of air out of a tightly sealed home creates negative pressure inside the building envelope. To mitigate this, the HVAC system must be engineered with motorized dampers that open simultaneously with the activation of the range hood. These dampers pull fresh, filtered outdoor air inside to replace the exhausted air, preventing the dangerous back-drafting of carbon monoxide from atmospheric-vented water heaters or furnaces located elsewhere in the property. All ductwork must be meticulously sealed and insulated, and the entire ventilation apparatus must undergo rigorous HERS (Home Energy Rating System) field verification and diagnostic testing by an independent third-party rater prior to final inspection
| Dwelling Unit Floor Area (ft²) | Hood Over Electric Range | Hood Over Gas Range |
|---|---|---|
| >1500 | 50% CE or 110 cfm | 70% CE or 180 cfm |
| >1000 – 1500 | 50% CE or 110 cfm | 80% CE or 250 cfm |
| 750 – 1000 | 55% CE or 130 cfm | 85% CE or 280 cfm |
| <750 | 65% CE or 160 cfm | 85% CE or 280 cfm |
Engineering the Components of a Luxury Kitchen
Structural Framing for Heavy Integrated Appliances
The seamless integration of luxury refrigeration sets a standard builder-grade remodel apart from a true Gourmet Design & Build project. Premium appliances like the Sub-Zero Designer Series are specifically engineered to disappear seamlessly into the surrounding custom cabinetry, a highly technical process known as flush inset or fully integrated installation.22 Achieving this monolithic, hidden look requires absolute precision from the framer, the cabinet maker, and the appliance installer; there is zero margin for error when wrestling with a 600-pound, 48-inch built-in refrigeration unit

Appliance Panel Clearances and Rough Opening Precision
A standard counter-depth refrigerator measures approximately 24 inches deep, aligning with standard base cabinets. However, to achieve a true flush inset application—where the front of the custom wood panel sits perfectly coplanar (level) with the adjacent cabinet doors—the framing rough opening must be calculated with rigorous mathematical precision.
The architectural design must provide an additional 1/2 inch of depth clearance to allow the custom panel to sit within the cabinet frame.
The custom millwork panels themselves are engineered to be exactly 3/4 inches thick. If the design calls for a stainless steel flush inset aesthetic, Sub-Zero provides specific panels crafted from heavy-duty 18-gauge, 304-type stainless steel featuring a #4 brushed finish. The 3/4-inch thickness of these metal panels is achieved through precise 90-degree mechanical bends at the edges.
The critical visual element of a flush inset installation is the “reveal”- the gap between the appliance panel and the surrounding cabinet frame. Sub-Zero engineering requires a 1/8-inch reveal at the perimeter.
The heavy-duty articulating hinges on the appliance are designed to throw the door slightly forward and then outward, allowing a 3/4-inch-thick panel with a 1/8-inch reveal to swing open a full 90 degrees without binding against the adjacent cabinet stile. If the custom cabinet opening is built out of square by even 1/16th of an inch, or if the floor is not perfectly level, this 1/8-inch reveal will appear visually crooked, entirely ruining the high-end aesthetic.
When executing a dual installation—such as placing a 30-inch all-refrigerator immediately adjacent to a 30-inch all-freezer or a wine storage unit—a specialized dual-installation kit is legally required.
This kit includes a central heater wire that runs between the two units to prevent ambient condensation from forming and rotting the surrounding millwork. The stiles and rails of the surrounding wooden cabinetry must maintain a minimum structural width of 3 3/4 inches to adequately hide the appliance hardware and support the immense weight of the units
Mechanical Ventilation and Electrical Delivery
Unlike standard freestanding refrigerators that vent heat out the back of the unit (requiring an air gap against the wall), Sub-Zero integrated units use an advanced top-mounted dual-compressor system.
This system draws in ambient room air and exhausts heated air through a front louvered grille. The millwork design must never obstruct this grille area; otherwise, the compressors will rapidly overheat, fail, and void the manufacturer’s warranty.
Electrically, these units demand pristine, uninterrupted power delivery. A Sub-Zero refrigerator requires a dedicated 115 VAC, 60 Hz circuit on a 15-amp breaker. It is strictly prohibited to share this electrical circuit with counter-level receptacles used for high-draw appliances like toasters or espresso machines. A shared circuit risks nuisance tripping the breaker, which can easily result in the spoilage of thousands of dollars’ worth of gourmet food.
Custom Cabinetry Specifications: Hardwood, Plywood, and Conversion Varnish
The defining characteristic of a luxury kitchen lies hidden behind the cabinet doors and beneath the surface coatings. Big-box retail showrooms are filled with builder-grade displays that look identical to premium cabinetry on the surface, but their structural integrity becomes apparent within 36 months.
Inferior construction is evident quickly: morning sunlight exposes yellowing lacquer, mitered doors crack at the seams, and the repetitive kinetic force of heavy pots causes particleboard drawer bottoms to fail completely. True Custom Millwork is defined by strict adherence to architectural standards


Better Cabinet Durability Starts With Better Joinery
Mass-produced, builder-grade cabinetry relies on rudimentary assembly methods, predominantly using metal staples, basic butt joints, or wooden dowels to secure drawer boxes. Over time, the repetitive kinetic force of opening and slamming a drawer loaded with 60 pounds of cast-iron cookware will shear the adhesive PVA joints of a doweled box, causing the drawer to rack, twist, and ultimately fail.
The absolute industry standard for high-end Custom Millwork requires 5/8-inch-thick solid hardwood (typically maple or birch) drawer boxes constructed with authentic dovetail joinery. A dovetail joint features flared, trapezoidal pieces of wood known as “tails” cut into one board that physically interlock with corresponding “pins” cut into the adjoining board. This mechanical lock prevents the wood from ever pulling apart, relying on the unyielding laws of geometry rather than chemical adhesives for its structural strength.
Furthermore, the bottom panel of the drawer must be constructed of hardwood plywood, and this panel must be captured entirely within a dado groove routed deep into the four sides of the dovetail box. This structural design ensures the bottom never drops out under heavy loads, a common cause of catastrophic failure in stapled or pinned drawers.
| Joinery Method | Mechanical Strength | Failure Risk Under Heavy Load | Aesthetic Value |
| Dovetail Joint | Maximum (Interlocking geometric wood pins/tails) | Near Zero (Dado-captured plywood bottoms) | High-end craftsmanship indicator |
| Dowel Joint | Moderate (Relies on shear strength of peg + glue) | High (Glue dries out, pegs snap under sheer force) | Hidden, utilitarian |
| Butt Joint / Staples | Low (Minimal surface area for adhesion) | Extreme (Fasteners pull through end-grain wood) | Poor, builder-grade quality |
Cabinet Core Materials and Finishes That Hold Up Over Time
The cabinet carcass – the structural box that mounts to the wall and supports the countertops—must be constructed from all-wood material. Plywood cabinets deliver 25 to 30 years of reliable service, compared to a mere 5 to 15 years for compressed particleboard. Plywood offers vastly superior moisture resistance if a plumbing leak occurs under the sink, and crucially, it provides exponentially better screw-holding power for the heavy-duty steel hinges and soft-close undermount drawer glides that handle daily abuse.
When applying protective finishes, high-end millwork utilizes clear-coated conversion varnish rather than standard, single-component lacquer. Conversion varnish involves a highly complex, two-part post-catalyzed chemical process. When the varnish is mixed with an acidic hardener just prior to spraying, it triggers a cross-linking chemical reaction. As it cures, it creates an incredibly hard, non-porous elastomeric shell, rendering the wood highly resistant to moisture, high heat, and corrosive household cleaning chemicals.
Finally, the construction of painted Shaker-style cabinet doors requires strict material discipline. Painted doors must avoid mitered corners at all costs. Wood naturally expands and contracts with humidity; a mitered joint expands at a 45-degree angle to the grain line, which inevitably fractures the brittle paint layer, causing highly visible hairline cracks known as “witness lines”.29 Superior cabinet construction mandates the use of mortise-and-tenon or cope-and-stick joinery for painted doors, allowing the vertical stiles and horizontal rails to expand parallel to the grain without compromising the paint film

Designing a Waterfall Island Around Stone Weight, Strength, and Finish


The Waterfall Island has firmly established itself as a hallmark of luxury San Diego kitchen design. This bold architectural element features countertop material that continues horizontally across the top of the island and then turns 90 degrees, cascading vertically down the sides to meet the floor, creating a monolithic, continuous flow of stone.
However, the difference between a stunning centerpiece and a structural liability lies entirely in the technical fabrication of the stone joints.
Seam Strategy for a More Refined Waterfall Countertop

Constructing a flawless waterfall edge requires extraordinary fabrication skill and highly calibrated machinery. The critical joint where the horizontal top surface meets the vertical leg cannot be a simple butt joint. A butt joint places one slab on top of the other, leaving a highly visible, unsightly seam that exposes the raw, unpolished edge of the stone, destroying the illusion of a solid block.
Instead, the stone fabricator must execute a precision 45-degree miter cut along the entire length of both the horizontal and vertical slabs.
When these two razor-sharp 45-degree edges are brought together, they interlock to create a perfectly sharp, seamless 90-degree outer corner.
The joint is then bonded together using high-strength structural epoxy resin. The fabricator meticulously blends chemical pigments into the epoxy to color-match the exact hue and veining of the stone. Once the epoxy is fully cured, the joint is sanded and polished so that the seam is practically invisible to the naked eye and imperceptible to the touch
Stone Weight, Span, and Load Limit Planning
The choice of surface material drastically alters the structural engineering required beneath the island. Heavy, dense natural stones like Granite or Quartzite weigh over 18 pounds per square foot at standard thicknesses. Mitering and suspending this massive weight require robust structural steel or heavy timber reinforcement built entirely within the cabinet island to prevent the vertical stone legs from cracking under the extreme shear. The fabricator must also meticulously account for the subfloor’s evenness; if the concrete slab is out of level by even an eighth of an inch, the immense weight of the vertical slab will cause the delicate mitered seam at the top corner to split open over time.

To achieve the dramatic waterfall aesthetic without adding massive, destructive weight stress to the wooden cabinetry, modern high-end remodels frequently utilize Porcelain or Sintered Stone slabs. These ultra-compact mineral surfaces are manufactured by subjecting natural minerals to extreme heat and pressure, resulting in a product that is highly scratch-resistant, completely UV-stable, and incredibly lightweight compared to natural stone. They can be milled to ultra-thin profiles—such as 12mm or even 6mm—making them ideal for dramatic, cantilevered waterfall drops that defy gravity.
Furthermore, during the fabrication process, the CNC (Computer Numerical Control) template must be programmed to ensure “book-matching” or flow-matching of the material. This requires analyzing high-resolution photographs of the raw slabs to ensure that the bold, intricate veining of the stone aligns perfectly as it cascades over the mitered edge, preserving an uninterrupted, continuous visual pattern from the top surface straight down to the floor.

High-CRI Kitchen Lighting That Improves Daily Use
A high-end kitchen is not merely a gathering space; it functions as a high-intensity culinary workspace. Relying solely on a standardized grid of recessed ceiling “can” lights creates an inherently flawed lighting environment. Overhead lighting invariably casts harsh shadows directly onto the countertops, as the chef’s own body blocks the illumination from reaching the cutting board. A properly engineered, professional lighting plan layers three distinct types of illumination: ambient light (general room illumination), accent light (highlighting architectural features like glass-front cabinets), and precise Task Lighting (highly focused illumination dedicated entirely to the primary work surfaces).
Lighting Performance Targets for Every Kitchen Work Zone
Professional culinary workspaces require precise photometrics to ensure physical safety during rapid knife work and to enable accurate visual assessment of food doneness. Task lighting installed above prep areas must deliver a highly concentrated output of between 50 to 75 foot-candles of illumination directly onto the horizontal preparation surface.
Equally critical to sheer brightness is the Color Rendering Index (CRI) of the LED fixtures. CRI is a quantitative metric that measures how accurately a light source reproduces an object’s true colors when compared directly to natural daylight. While a CRI of 80 is considered the baseline for standard residential lighting, a Gourmet Design & Build kitchen demands a CRI rating of 90 or higher.

High CRI lighting ensures that the subtle red hues of raw meat or the vibrant greens of fresh produce are not washed out or distorted by cheap, low-quality LED diodes that heavily favor the blue and green spectrums. This is not merely an aesthetic luxury; it is a critical component of food safety, allowing the chef to instantly detect early signs of bacterial spoilage or visually confirm the proper internal cooking temperatures of proteins. The color temperature (measured in Kelvin) of these task fixtures should be calibrated between 4000K and 5000K, providing a crisp, neutral white light that significantly reduces eye strain and visual fatigue during long periods of complex meal preparation

Shadow-Free Task Lighting for Better Prep and Safer Cooking
To effectively eliminate shadows and provide consistent illumination across the entire depth of the counter, LED strip lights or focused puck lights must be strategically mounted beneath the upper cabinets. The precise positioning of these fixtures is crucial. They must be mounted toward the absolute front edge of the upper cabinet box, angling the light slightly backward toward the backsplash. This configuration provides an even wash of light across the work surface and prevents glaring “hot spots” from reflecting off highly polished stone countertops.
When integrated with a modern smart lighting control system and automated motion sensors, the kitchen lighting can shift dynamically based on the time of day. The system can deliver maximum lumen output with crisp 5000K light during heavy dinner preparation and automatically dims to a warm 2700K low-level ambient glow for late-night access, enhancing both safety and energy efficiency in the home.


3D Kitchen Visualization That Validates Layout Before Construction
Attempting to accurately visualize a massive spatial reconfiguration- especially one involving the removal of structural walls and the rerouting of plumbing stacks- using flat, 2D architectural blueprints is a guaranteed recipe for miscommunication and disappointment. The human brain cannot easily translate flat lines on a page into volumetric space, nor can it accurately perceive how complex lighting dynamics will interact with reflective material textures.
Before a single sledgehammer hits the drywall, the entire San Diego remodel is meticulously modeled using advanced CAD (Computer-Aided Design) software in a dedicated Designer Showroom. 3D kitchen rendering allows the engineering and design team to build a highly precise, digital twin of the proposed space. This digital environment is not merely an artistic sketch; it is built on hard mathematical data, accurately calculating the exact dimensions of the room, factoring in the thickness of the new drywall, the structural depth of the required steel beams, and the precise swing clearances required for cabinet doors to open 90 degrees without striking adjacent appliances

Pre-Construction Testing for Layout, Clearances, and Finish Choices
Through immersive 3D rendering, the homeowner can essentially stand virtually inside the new layout before purchasing any materials. This process validates the design’s ergonomics—ensuring that the critical “working triangle” (the distance between the main sink, the induction range, and the Sub-Zero refrigerator) is highly efficient and free of physical bottlenecks.
Furthermore, the CAD software allows for real-time material and texture simulation. Instead of laying tiny two-inch sample swatches on a table and guessing how a matte black cabinet finish will interact with a highly polished, book-matched quartzite waterfall island, the rendering engine applies accurate photometric lighting parameters and real-world textures to the digital model. The client can instantly see how the morning sunlight pouring through a newly expanded window will reflect off the floor. This intensive digital pre-planning prevents costly, mid-project change orders during the physical construction phase, reliably saving up to 30% on project timelines and significantly reducing expensive material waste.
Kitchen Remodeling FAQs
Can I stay in my home while you perform a kitchen remodel?
Kitchen remodeling permits in San Diego County typically take about 8 to 12 weeks, depending on current municipal backlogs and the complexity of the project. MEE Builders helps reduce long redesign loops by integrating local civil engineering into the 3D CAD phase and reviewing key code and ventilation requirements before plans are submitted.
How long does it take to get kitchen remodel permits approved by the City of San Diego?
Securing building permits in San Diego County typically takes anywhere from 4 to 8 weeks, depending heavily on current municipal backlogs and the complexity of the project. MEE Builders helps bypass standard, months-long “redesign loops” by integrating specialized local civil engineers directly into our 3D CAD rendering phase. We pre-vet shear wall calculations and 2026 California Energy Code compliance metrics internally, so our blueprints efficiently meet municipal code requirements for load transfers and ventilation mandates.
Do you handle Architectural Review Committee (ARC) approvals for HOAs in Rancho Santa Fe or Del Mar?
Yes, MEE Builders works closely with you to navigate the rigorous Architectural Review Committee (ARC) approval process for your specific Homeowner Association. Meeting the strict aesthetic guidelines of exclusive enclaves like The Covenant requires highly detailed 3D digital modeling and comprehensive exterior erosion control plans. We help prepare the necessary geotechnical engineering data and exterior structural modifications for your HOA board, ensuring compliance before any heavy timber reinforcement is constructed.
Why might I need an electrical panel upgrade for my San Diego kitchen remodel?
Upgrading your main electrical panel—often to a robust 200-amp or 400-amp service—is frequently required under the 2026 Title 24 Building Standards Code to support mandatory electric-ready infrastructure. Sprawling 1990s Mediterranean homes were typically built with outdated electrical services that physically cannot handle the concurrent loads of modern, decarbonized technology. To meet code, MEE Builders often must pull new heavy-gauge copper wiring to a dedicated 240-volt circuit to safely accommodate future high-efficiency induction cooking alongside heat pump water heaters
Can I still install a professional gas range under the 2026 California Energy Code, or must I switch to induction?
Yes, you can still legally install a professional fossil-fuel gas range, but the remodel must simultaneously include fully hardwired electric-ready infrastructure directly behind the appliance. Additionally, if you choose a high-output gas range, California regulations generally require a highly efficient continuous exhaust fan system to capture the combustion byproducts. Pushing massive volumes of air out of the thermal envelope will legally trigger the installation of automated motorized dampers to provide necessary makeup air, preventing dangerous carbon monoxide back-drafting.